S Class 3 User’s Manual
Setup 1-6
FIG 1-2
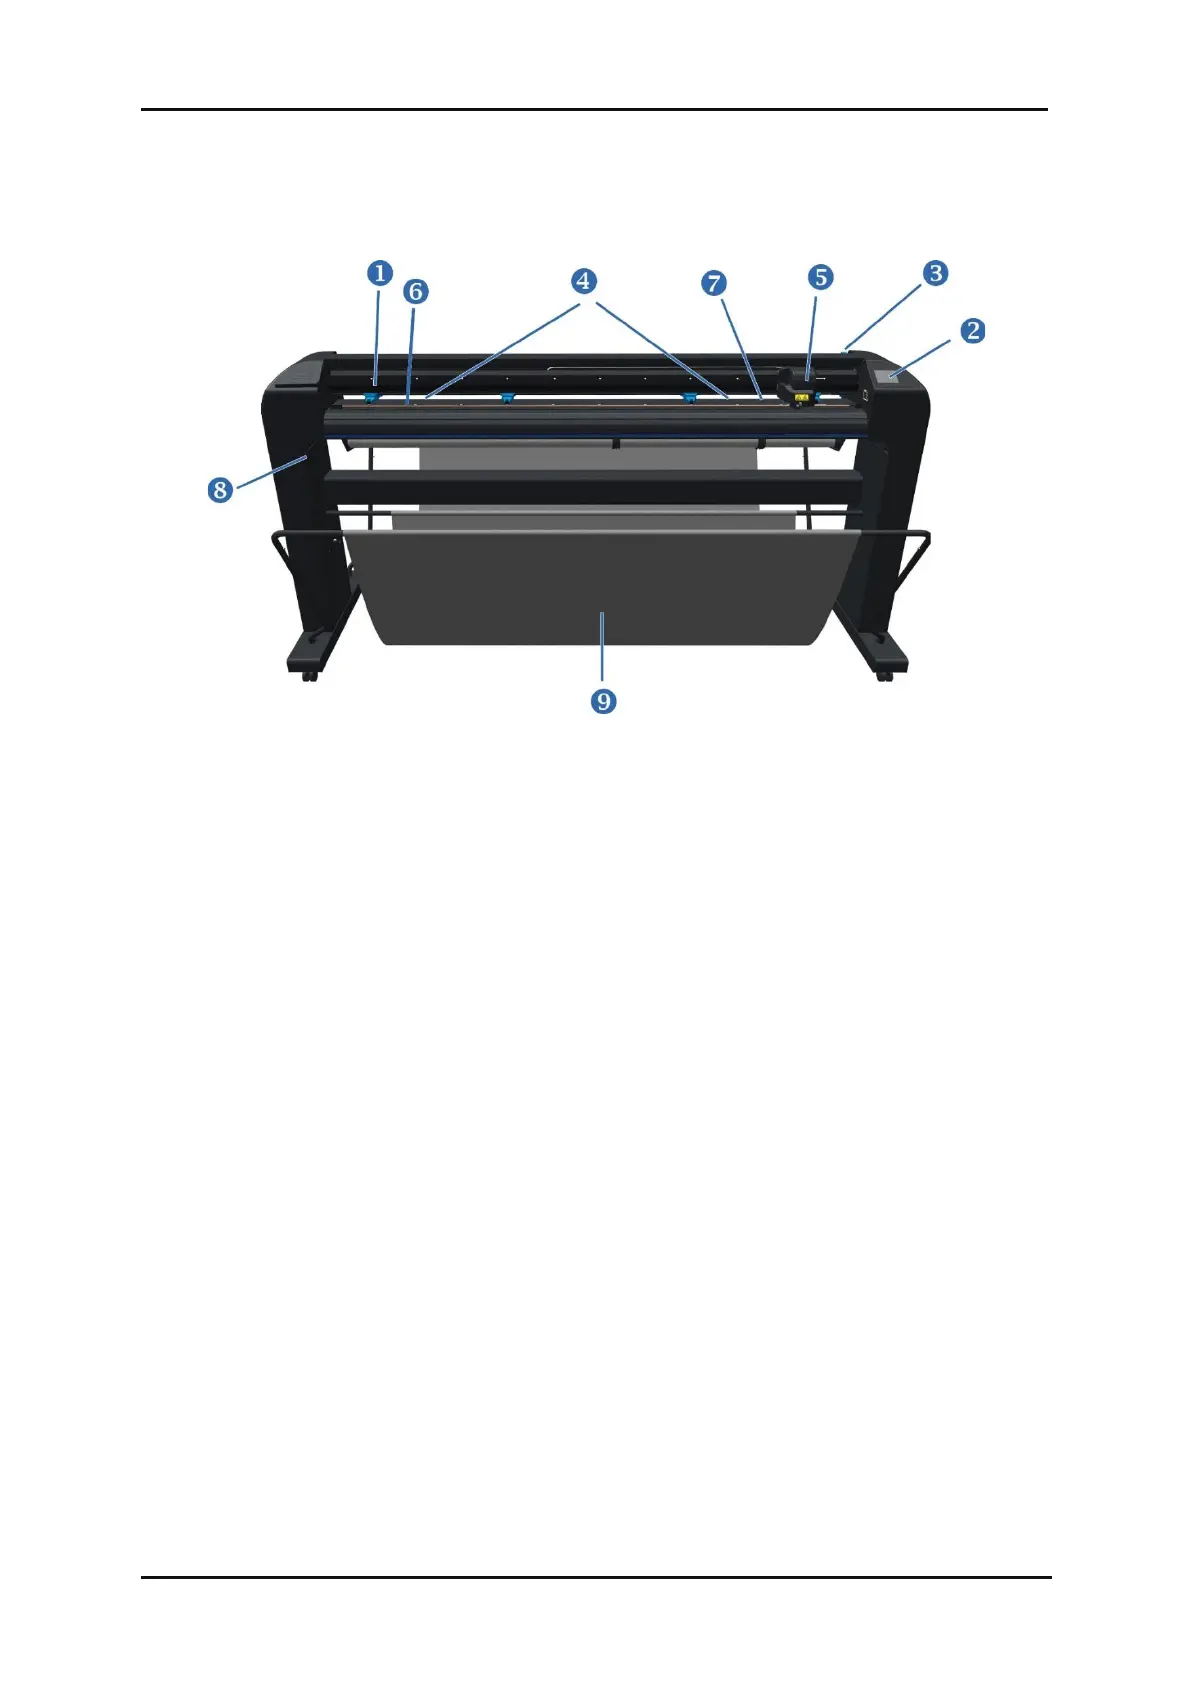
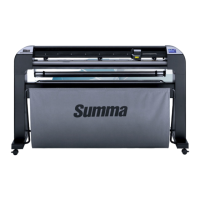
1-2 S CLASS 3 CUTTER FRONT VIEW
1. Pinch rollers: The pinch rollers clamp the media to the grit rollers to ensure accurate tracking.
Larger models have one or two pinch rollers in the middle to ensure that wide media stays flat in
the middle. These pinch rollers can be enabled/disabled, while of the outer pinch rollers the
pressure is adjustable. It is possible to install additional pinch rollers that will function the same
as any middle pinch rollers already provided.
2. Touchscreen: All cutter activity can be initiated from the touchscreen. It displays information
about the cutter’s current status and/or actions that need to be taken.
3. Pinch roller lever: This lever is used to raise and lower the enabled pinch rollers for media loading.
4. Media grit rollers: The media grit rollers only move the media when the pinch rollers are lowered.
The larger the model, the more small rollers.
5. Tool carriage: The tool carriage is the mount for the knife holder, pen or pouncing tool. It also
holds the Optical POSitioning sensor (OPOS).
6. Cutting strip: A self-healing orange strip helps avoiding damage to the knife tip when no media is
loaded. Since cutting is done on the cutting strip, the strip must remain intact.
7. Media sensor: A media sensor behind the right grit roller is used to detect the end of the loaded
media.
8. Screws to secure the cutter base: Make sure all screws are secured at each side before using the
cutter.
9. Media basket to recover the cut material.



 To Next Page