CHAPTER 6 Operation
Sysmex XE-5000 Instructions for Use 6-31
Revised July 2007
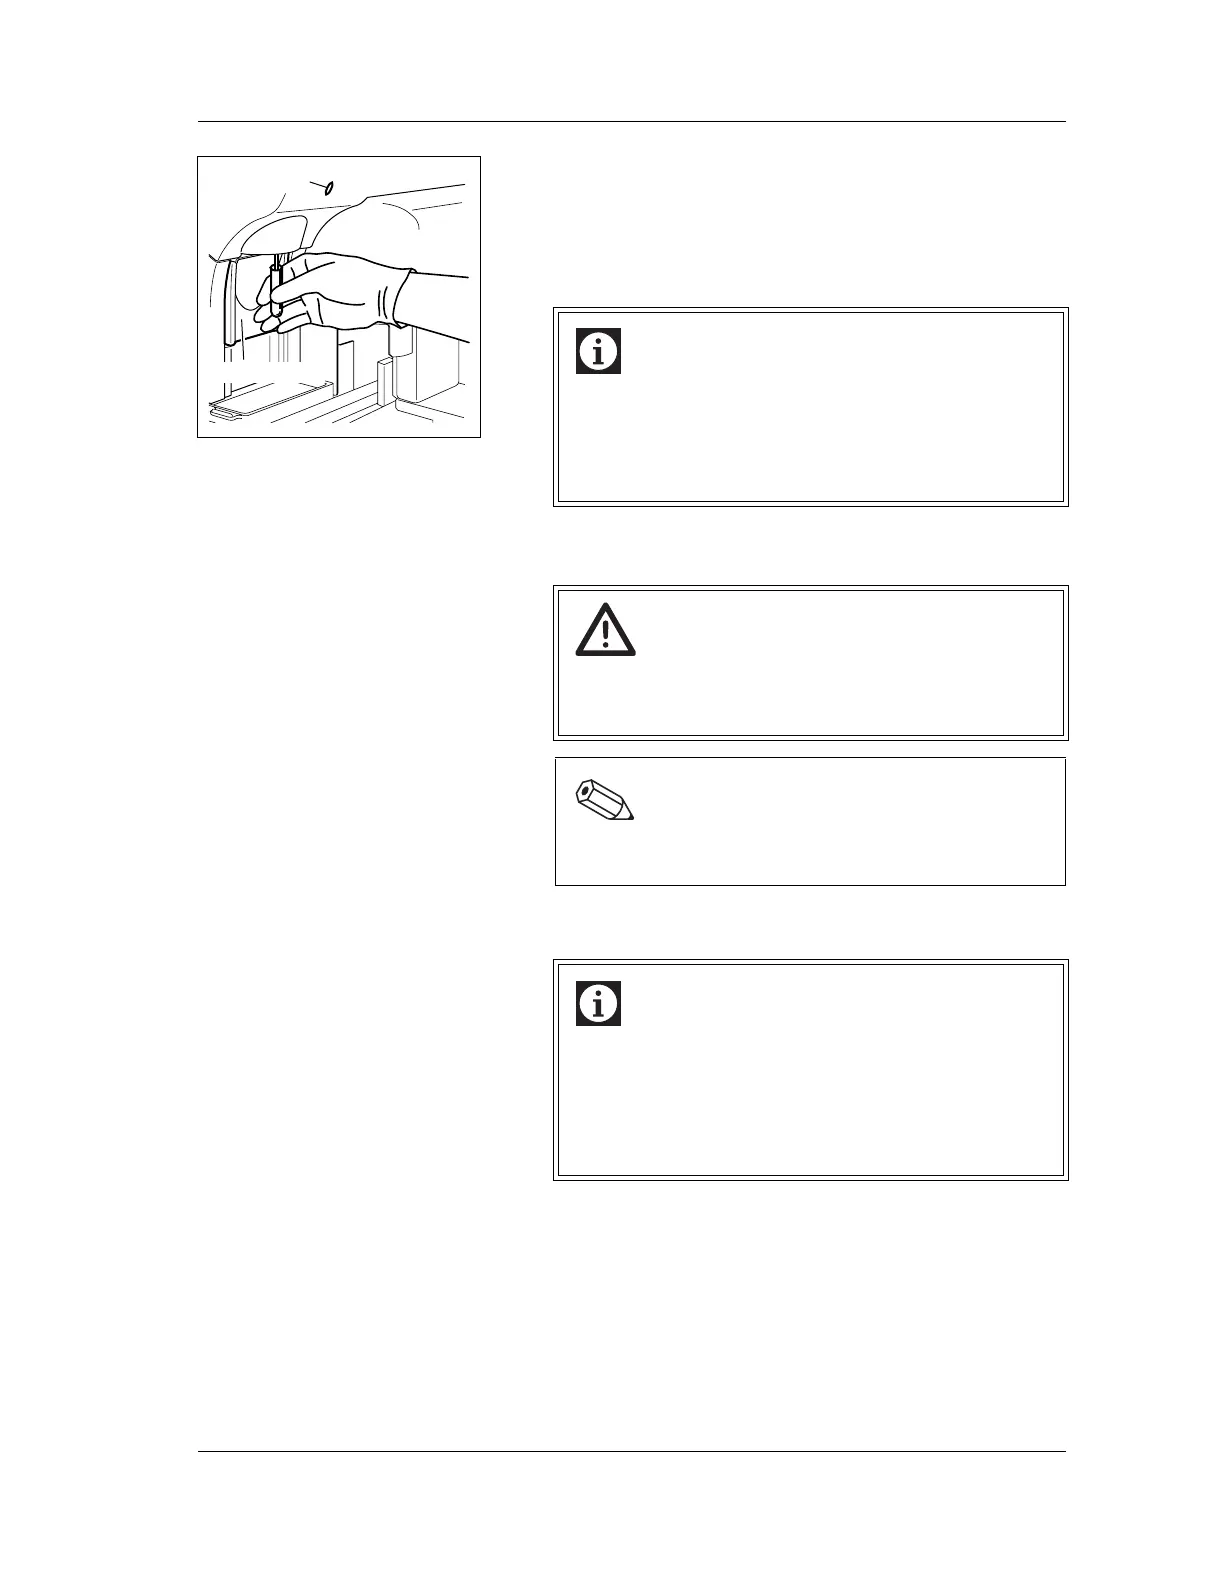
10. Remove the cap carefully in order not splash the blood.
11. Hold the sample tube under the manual aspiration pipette
so that the tip of the pipette is at the bottom of the sample
tube; then press the START switch.
Do not remove the sample tube while the READY LED is
blinking; sample is being aspirated.
12. After the READY LED turns off (and a short beep sounds
two times), remove the sample tube.
13. Once analysis is complete, set “Sample” to “Normal” on
the Sample No. Setting screen to return to normal mode.
Display analysis results
HPC# analysis results are displayed on the main menu
screen of the Main Unit LCD screen. The results are also
displayed on the sample explorer and data browser screens of
the Information Processing Unit (IPU).
Analysis results analyzed in HPC analysis mode are marked
with an “H” to the left of the sample No. on the Main Unit LCD
screen.
“H” is displayed in the analysis mode display on the sample
explorer and data browser screens.
Information
• Analysis requires an adequate sample volume.
Correct analysis results cannot be obtained if the
instrument does not aspirate an adequate sample
volume. For required sample volumes, see “Chapter
6: 6.16 Preparing sample analysis”.
Caution!
To remove the sample tube, pull straight down to
prevent bending the manual aspiration pipette.
Otherwise the blood may scatter.
Note:
The manual aspiration pipette is automatically rinsed,
and does not need to be wiped manually.
Information
• If the value of HPC# is low, we recommend
performing multiple analysis.
• A sample to be used for any purpose other than HPC
analysis should be analyzed in normal mode.
• Abnormal judgments and sampler stop conditions do
not apply to HPC#.
READY LED
START Switch