3.6 Printing on Envelopes, Transparencies, and Custom-size (Long) Paper
87
3
Basic Printer Operation
6
When you finish making the settings, click OK in the Custom Paper
Size dialog box.
7
In the Properties dialog box, click OK.
The user defined size is now set.
How to Print
Follow the steps below to print on custom-size (long) paper.
Procedure
1
Adjust the paper guide to the width of
the paper that you are about to use.
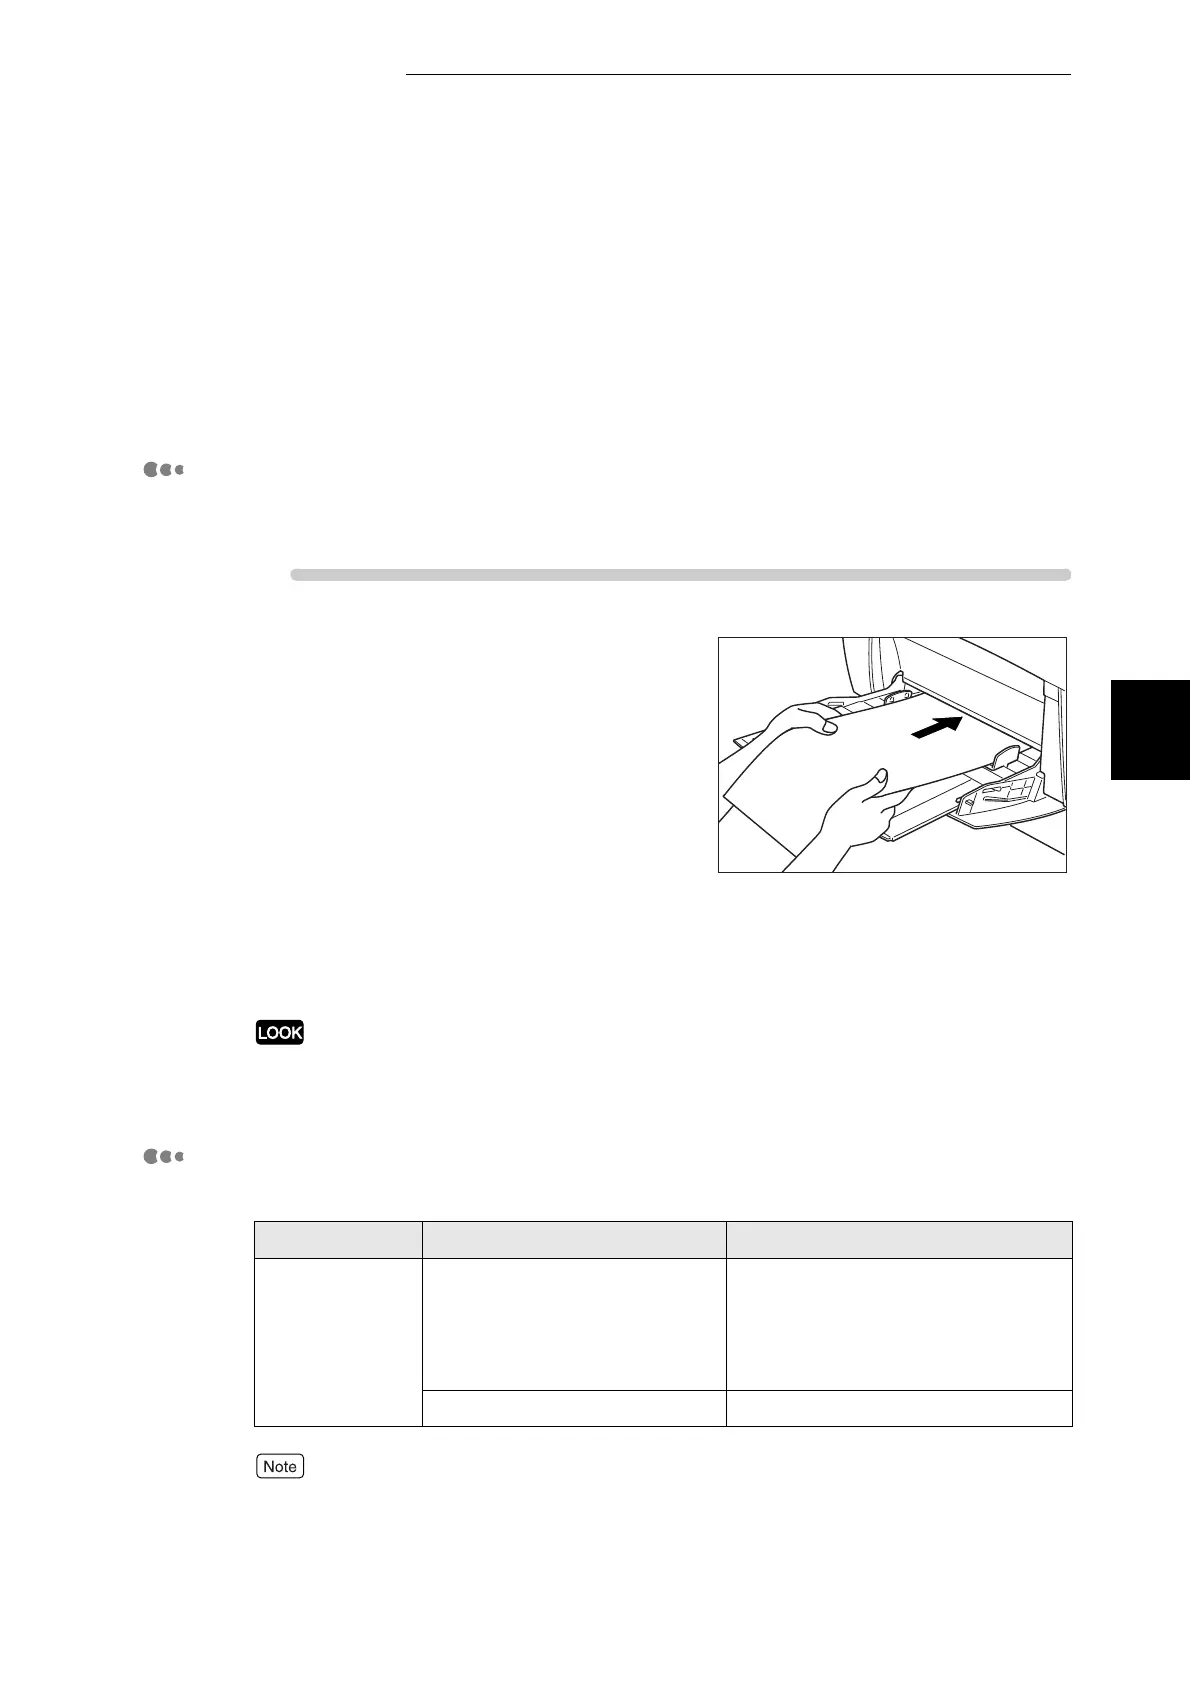
2
With the printed side facing down, set
the paper into the multi purpose tray so
that it lightly touches the feeding slot.
3
Launch printing from your program
after setting the paper.
Set the items for "Printer Driver
Settings (for Custom-size (Long)
Paper)" as shown below:
When printing on long paper, after giving the print command, support the paper with your
hands while it feeds in the printer.
Printer Driver Settings (for Custom-size (Long) Paper)
■Windows settings:
For details about individual printer driver items, refer to Help.
For details about how to use Help, refer to "3.3 Using Online Help".
Tab Item Value
Paper/Output Paper Size Select a setting from Custom 1 to
Custom 5.
(The paper size selected in the
Custom Paper Size dialog box on
the Configuration tab.)
Paper tray Manual