4-102 4203780 First Edition
ELECTRICAL
4
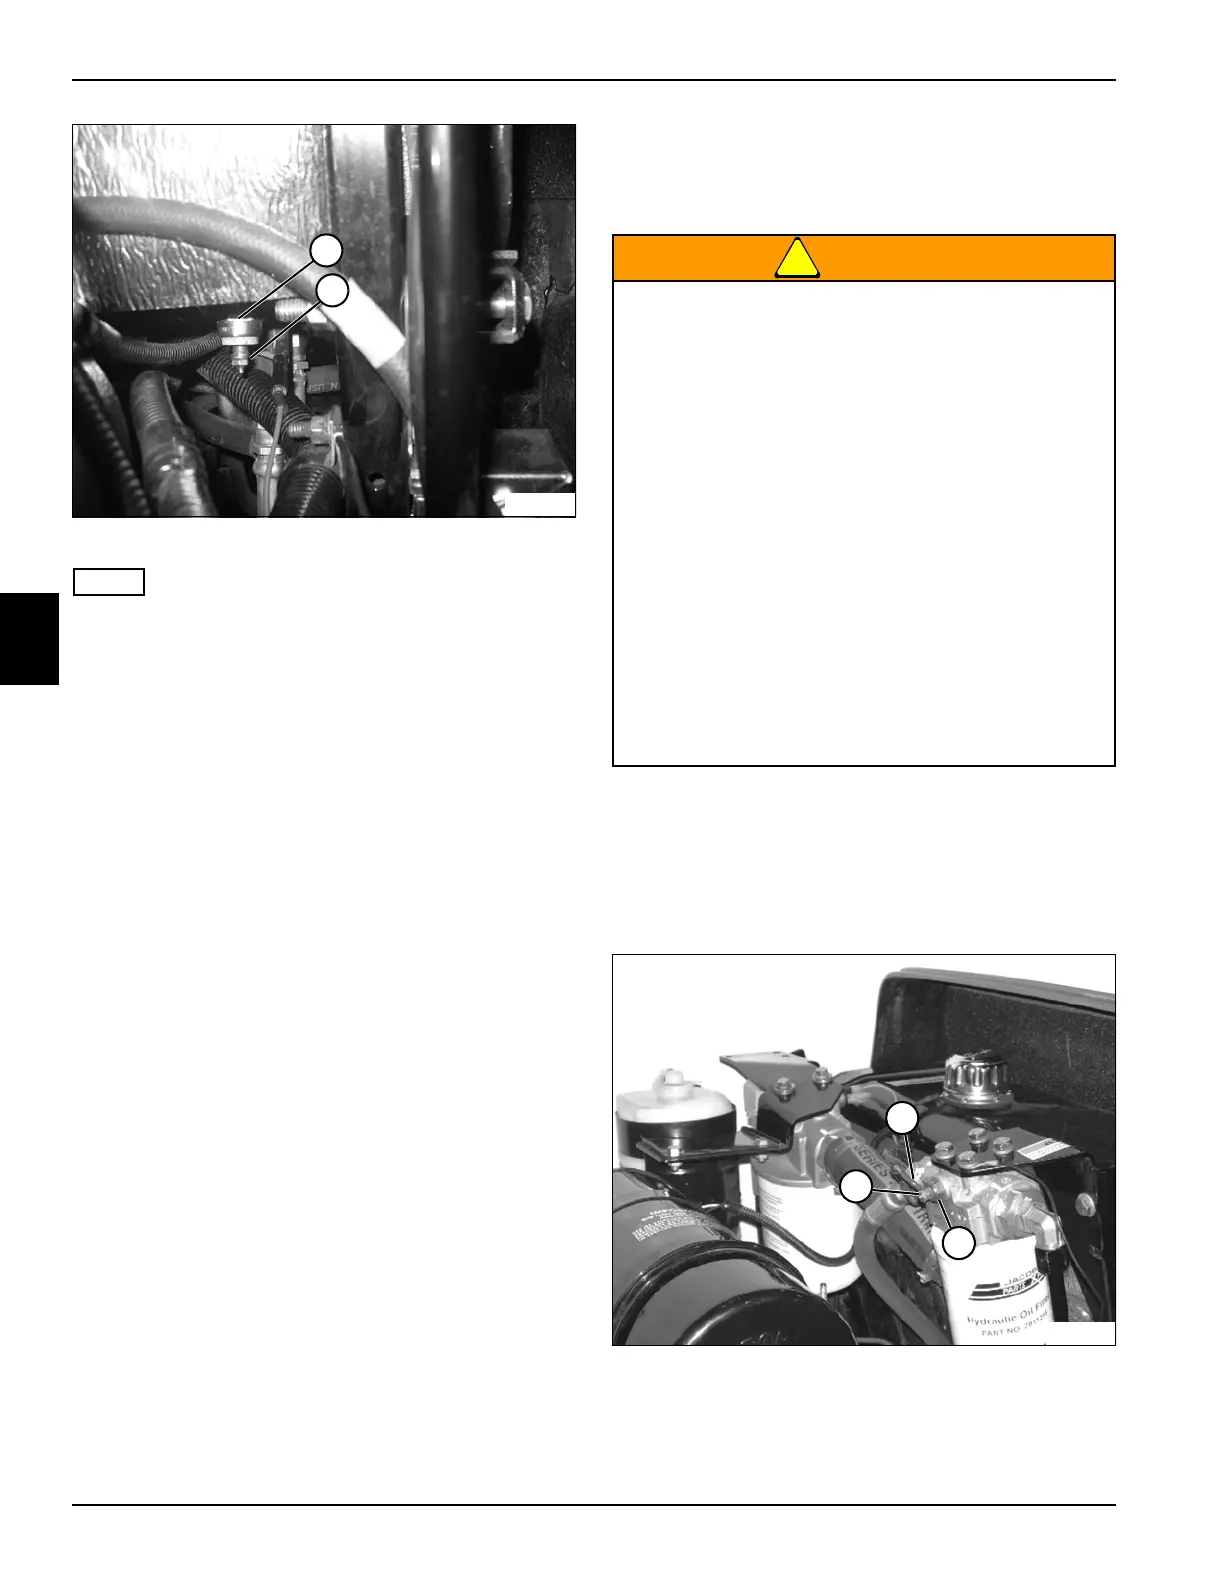
Figure 4-104
NOTE
Label all wires before disconnecting to ensure correct
installation.
5. Disconnect wire connector (2).
6. Remove hyd oil temp switch (1).
Installation Notes
• Install the hyd oil temp switch by reversing the order
of removal.
• Replace hydraulic oil return filter. (See “Hydraulic Oil
Return Filter” on page 6-67.)
• Replace charge pressure filter. (See “Charge
Pressure Filter” on page 6-68.)
• Refill hydraulic tank. (Refer to “Safety, Operation, and
Maintenance Manual” for oil specifications.)
• Start engine. Check hydraulic system for leaks.
Repair as necessary.
• Check hydraulic oil level and add if necessary.
Charge Filter Pressure Switch
Removal and Installation
See Figure 4-105.
!
WARNING
1. Park the mower safely. (See “Park Mower Safely” on
page 1-6.)
2. Raise the hood.
3. Disconnect the negative (–) battery cable at the
battery.
Figure 4-105
4. Remove nut (1) and disconnect wire (2) from the
charge filter pressure switch (3).
5. Remove charge filter pressure switch (3).
TN2028
2
1
The hydraulic system is under pressure, and the
oil may be hot!
• Always allow the machine to cool completely
before performing service.
• Always relieve pressure in the hydraulic
system before performing service.
• Always use appropriate safety equipment and
clothing to protect exposed skin and eyes
from high-pressure oil.
• Tighten all connections to proper
specifications before applying pressure.
• Never use bare hands to check for leaks! Oil
under pressure can penetrate the skin and
can cause gangrene within a few hours if not
properly removed. Use a piece of cardboard
to check for leaks.
Failure to follow appropriate safety precautions
may result in death or serious injury.
TN1938
1
3
2

 Loading...


