77
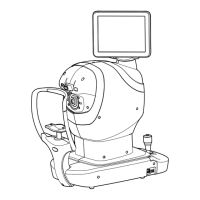
OPTIONAL OPERATIONS
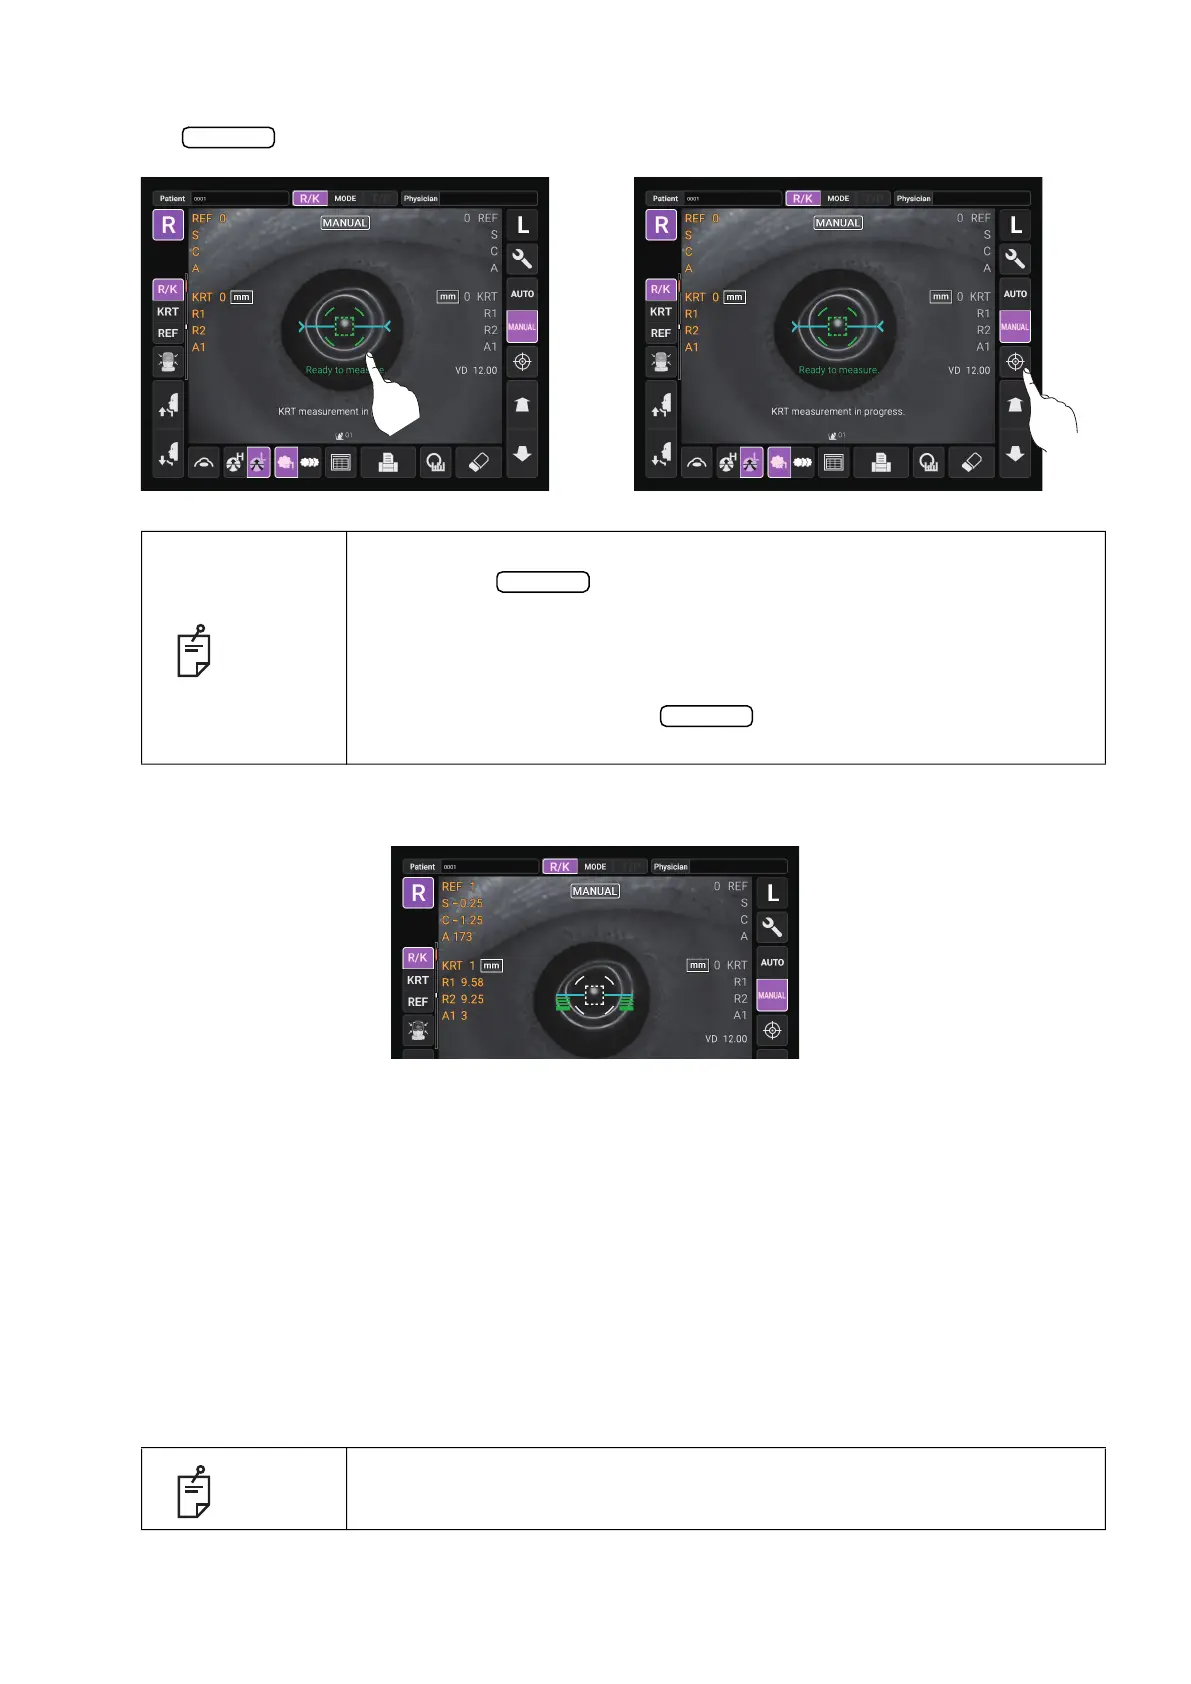
5 When the alignment dot becomes smaller in size and “Ready to measure” is displayed, tap the
button to start measurement. If “Touch Measure” is set to “ON”, the measurement
starts only by tapping the screen. (See page 106)
6 Measurement is performed and measurement values are displayed on the control panel.
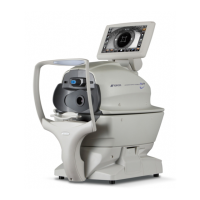
DISPLAYING MEASUREMENT VALUES
With regard to measurement values, data of the latest measurement is displayed on the control
panel.
numerical value only: Measurement was done correctly.
ERROR: Measurement was not done correctly.
OVER-SPH: When spherical power exceeds -25D or +22D.
OVER-CYL: When Cylindrical power exceeds ±10D.
NO TARGET: When there is no target or the eye image is too dark.
AGAIN:
When there is more than ±5D difference from previous measurement value.
NO CENTER: When center of eye can not be found.
ALIGN ERR: When the alignment is significantly failed during the measurement.:
NOTE
• Even if the alignment is not correct, measurement can be performed by
tapping the
button. To ensure correct measurement with high
accuracy, try to get correct alignment.
• If the instrument is moved before measurement values are displayed, it
may cause incorrect measurement result.
• When rotating the control panel to operate it at the upper part of the
instrument, do not press the
button too hard, so as not to lose
the alignment.
NOTE
For explanation of the messages on the control panel screen, refer to
“
MESSAGE LIST” on page 120.
Start
“Touch Measure” is ON “Touch Measure” is OFF
Start
Start