January 2010
3-13
Phaser 7760 Color Laser Printer
Initial Actions Before Troubleshooting
Image Quality
Revised
Single Color
1. Inspect the Toner Cartridge for toner clumping.
2. Check the Imaging Units.
All Colors
1. Inspect the paper path.
2. Inspect the Accumulator Belt Cleaner and replace it if necessary.
3. Inspect the Transfer Roller and replace it if necessary.
4. Replace the Fuser.
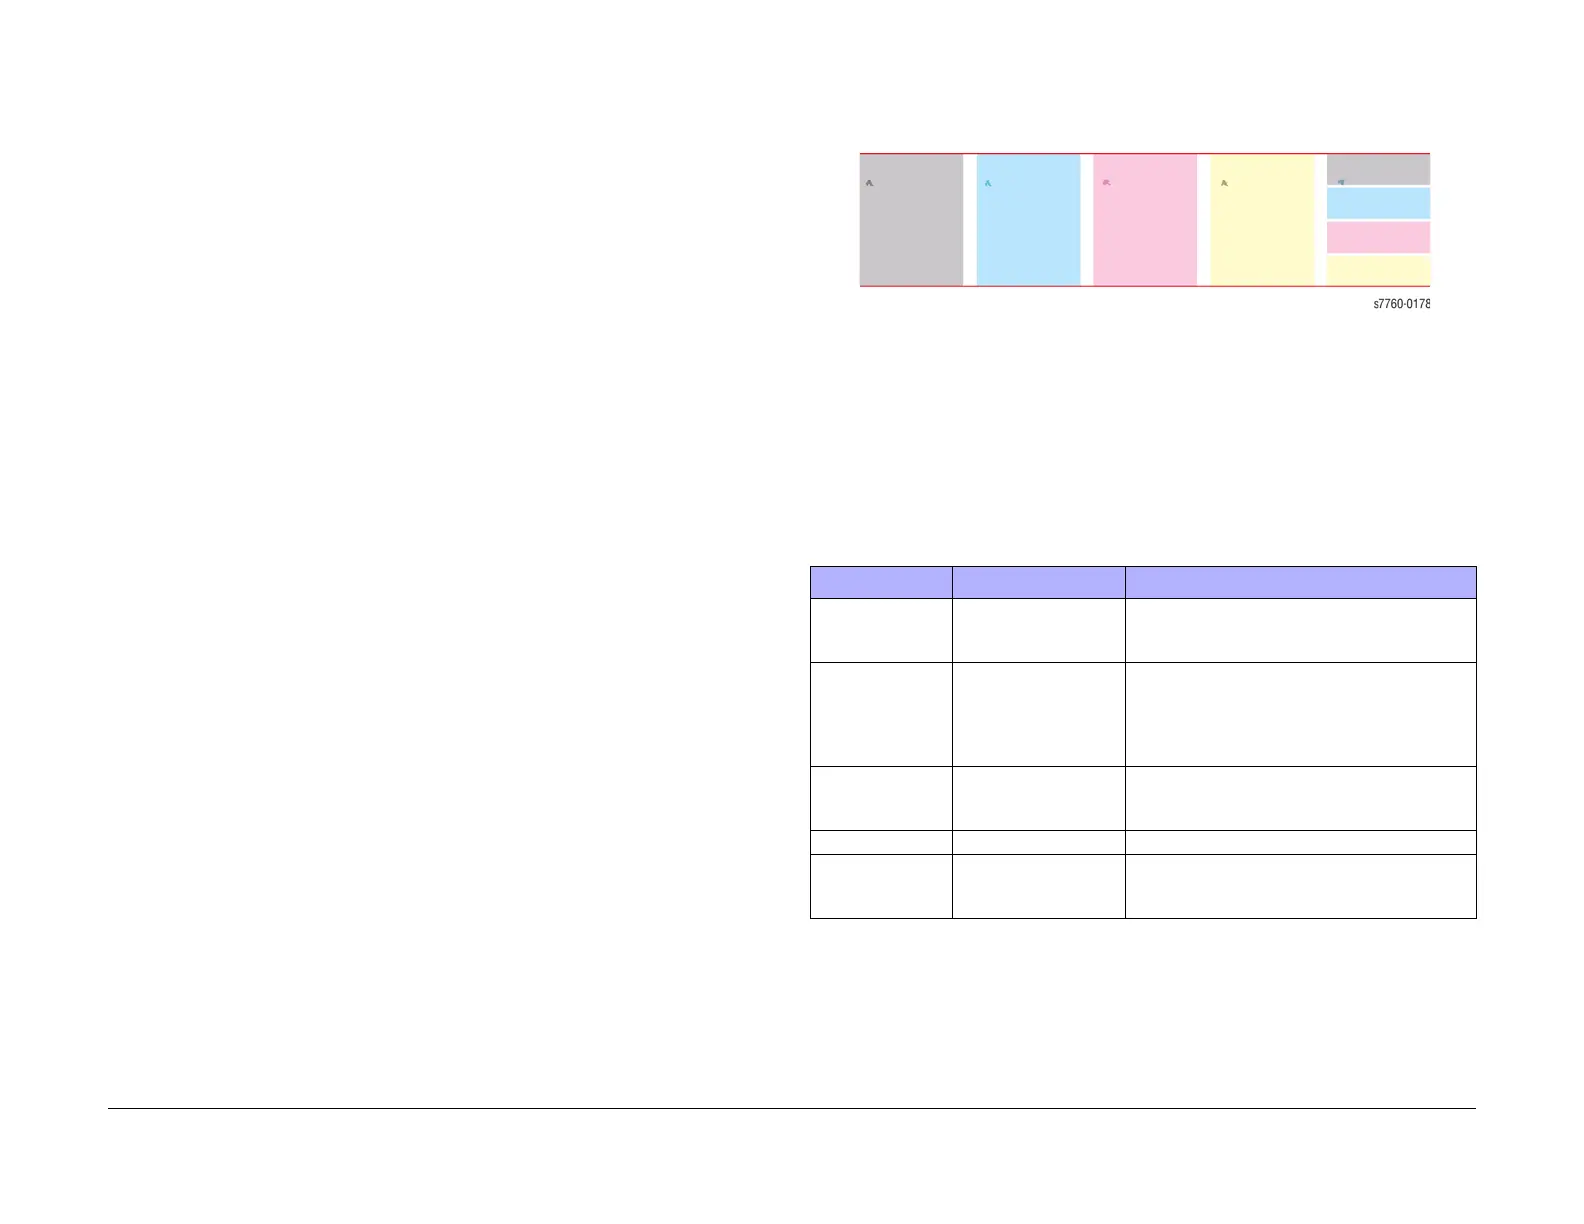
Repeating Bands, Streaks, Spots, and Smears Appear on Each Print
An identical mark or image appears on each, or every other printed image.
Figure 9 Repeating Bands, Streaks, Spots, and Smears Appear on Each Print
1. Perform Remove Print Smears procedure (Printer Menu > Troubleshooting > Print
Quality Problems > Remove Print Smears). The printer prints 5 blank pages. This func-
tion passes blank sheets of paper through the printer to clean the Fuser Rollers.
2. Perform Repeating Defects Page (Printer Menu > Troubleshooting > Print Quality
Problems > Repeating Defects Page). The printer prints 1 Repeating Defects page. The
Repeating Defects Page contains rulers to help determine the source of the repeating
defects.
Table 1 Repeating Defects
Measurement Printer Component Repair Actions
84 mm (3.3 in.) Fuser Remove the Fuser Assembly. Check the Heat
Roll for damage (nicks, wear, or cuts) or contam-
ination. Clean or replace as required.
94 mm (3.7 in.) Fuser (mark in All Col-
ors) OR
Imaging Unit (mark in
Single Color)
All Colors - Remove the Fuser Assembly.
Check the Heat Roll for damage (nicks, wear, or
cuts) or contamination. Clean or replace as
required.
Single Color - Replace the Drum Cartridge.
88 mm (3.5 in.) Transfer Roller (2nd
bias)
Check the 2nd BTR Assembly for damage or
contamination. Clean, repair, or replace as
required. Replace the Transfer Belt.
44 mm (1.7 in.) Imaging Unit Replace the Imaging Unit.
28.3 mm (1.1 in.) Developer Housing
Roller
Check the Developer Roll Bias for floating or
shorting out. Replace the Developing Housing if
required.