Administrator’s Guide for SIP-T5 Series Smart Media Phones
262
3. For each contact that you want to add, add the following string to the file. Each starts on a
separate line:
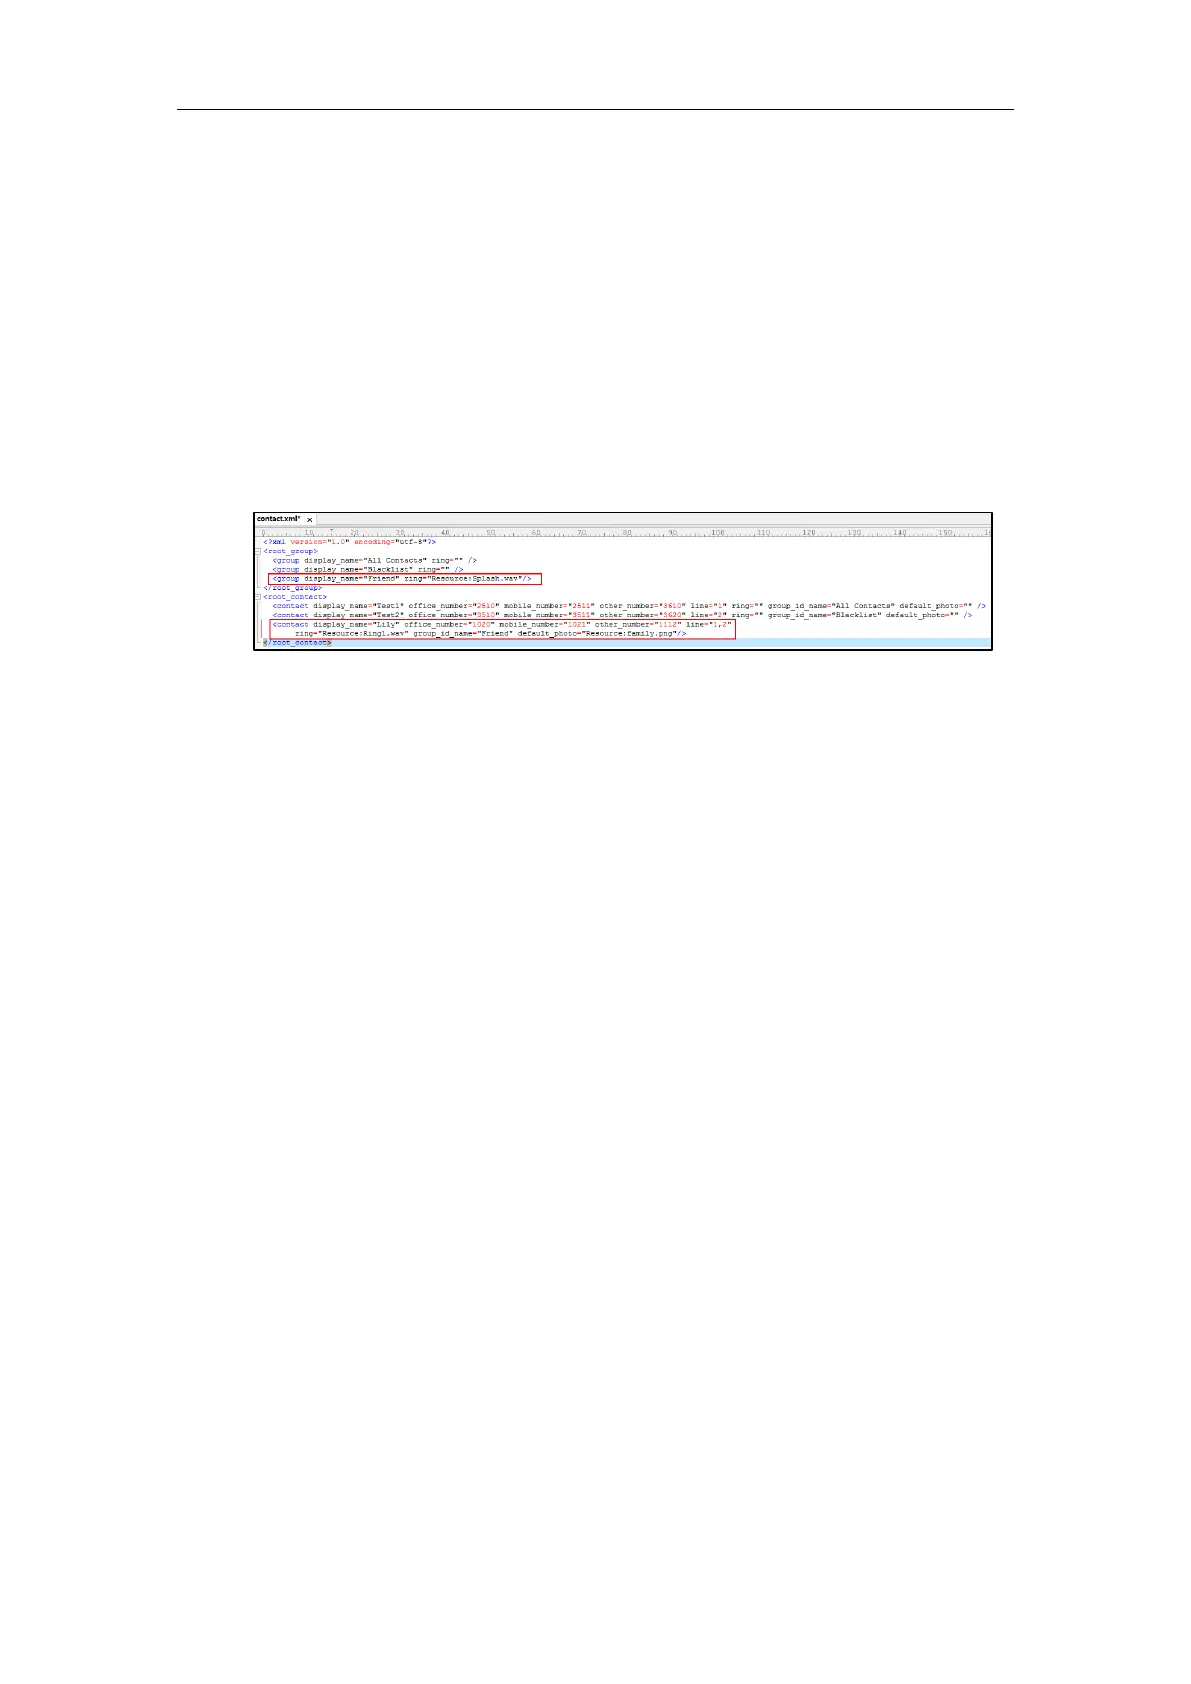
<contact display_name="" office_number="" mobile_number="" other_number="" line=""
ring="" group_id_name="" default_photo=""/>
4. Specify the values within double quotes.
For example:
<group display_name="Friend" ring="Resource:Splash.wav"/>
<contact display_name="Lily" office_number="1020" mobile_number="1021"
other_number="1112" line="1,2" ring="Resource:Ring1.wav" group_id_name="Friend"
default_photo="Resource:family.png"/>
5. Save the change and place this file to the provisioning server.
6. Specify the access URL of the custom local contact template in the configuration files.
For example:
local_contact.data.url = tftp://192.168.10.25/contact.xml
During the auto provisioning process, the IP phone connects to the provisioning server
“192.168.10.25”, and downloads the contact file “contact.xml”.
Scenario B - Using the Custom Avatar for Contact
To specify custom avatars for contacts, you need to upload the custom avatars to the
provisioning server in advance. In addition, you can also compress all the avatars as a tar
formatted file, and then upload the tar formatted file to the provisioning server.
Preparing the Tar Formatted File
You can package the tar formatted file using the tool 7-Zip or GnuWin32. You can download
7-Zip online: http://www.7-zip.org/ and GnuWin32 online:
http://gnuwin32.sourceforge.net/packages/gtar.htm. This section provides you on how to
package the tar file using 7-Zip.
To package a tar formatted file using the tool 7-Zip on the Windows platform:
1. Download and install 7-Zip on the local system.
2. Create a folder (e.g., photo) on the local system (e.g., C:\Program Files) and place the file
that will be compressed (e.g., cutom1.jpg, cutom2.png) to this folder.
3. Start the 7-Zip file manager application (7zFM.exe).
 Loading...