106 8210-00020 R1
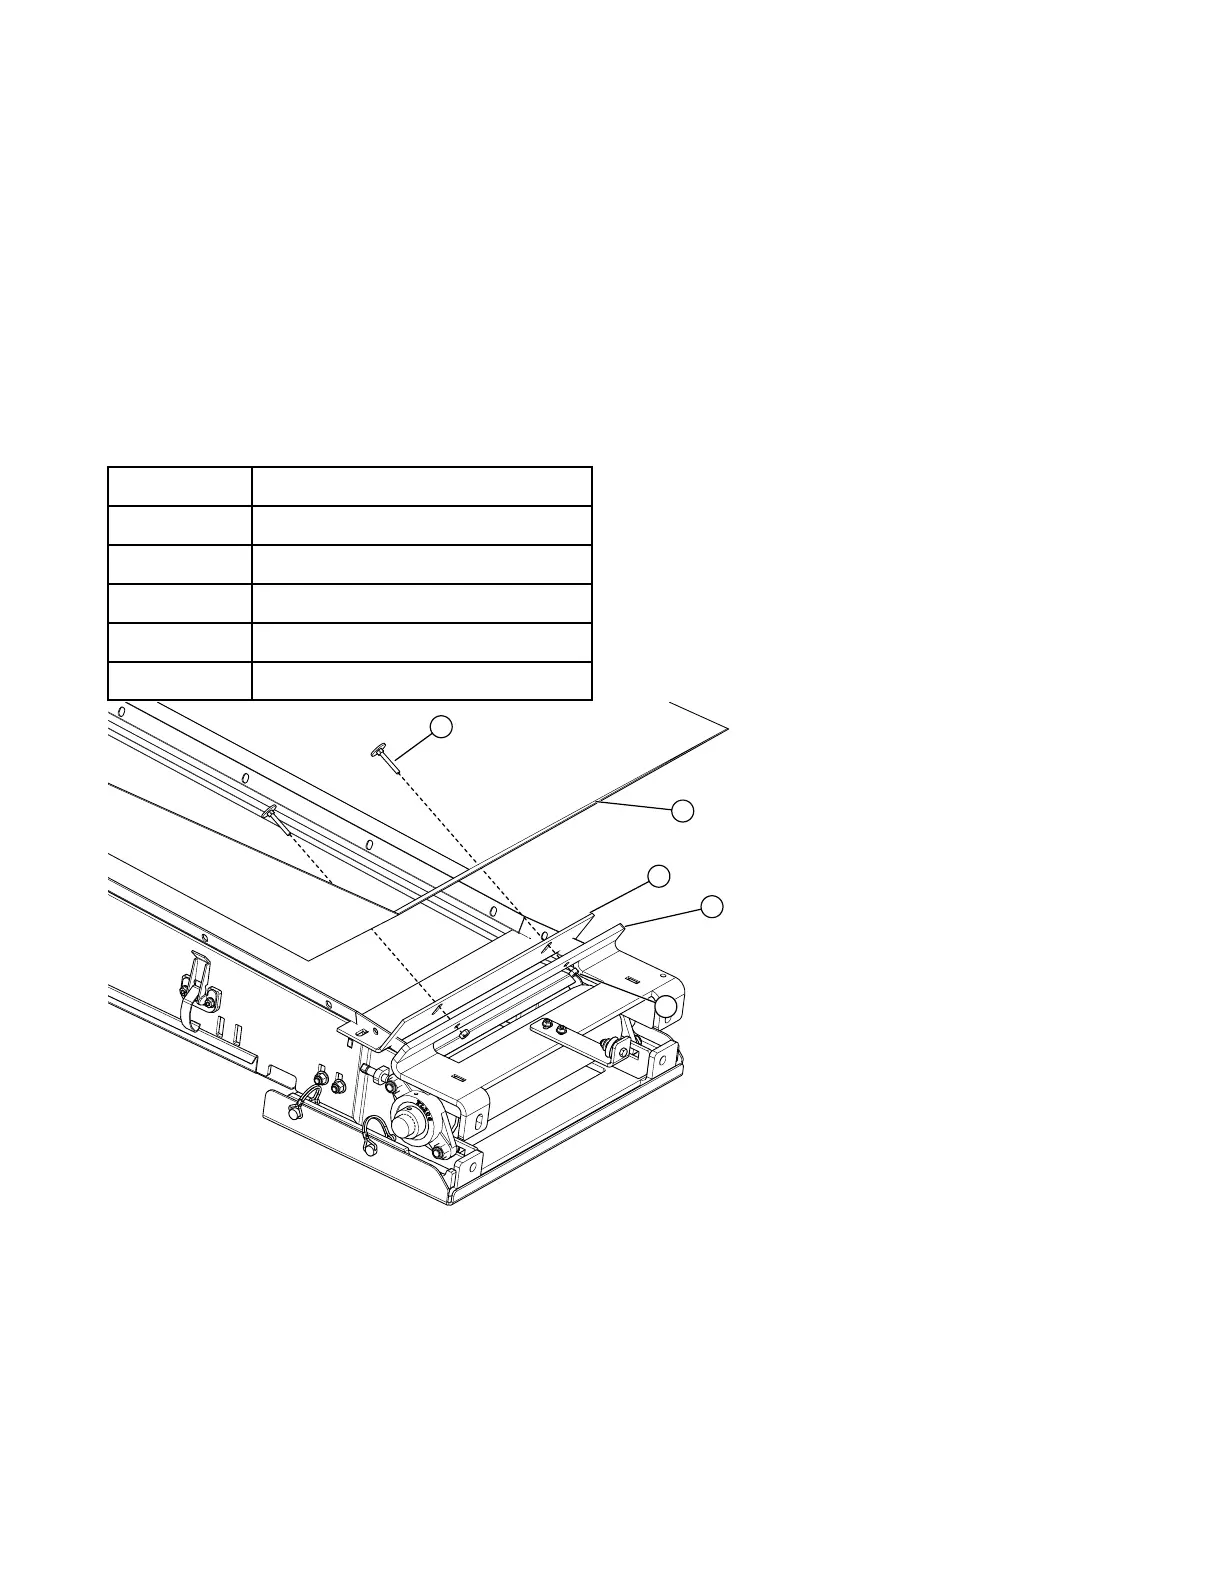
3.23.6 Secure the Front Lower Hopper Cloth Frame to the Hopper
Note
Finger-tighten the bolts only.
1. Drill holes through the cloth to match the frame holes.
2. Position the cloth (2) and frame on top of the flashing (3), aligning the holes of the cloth, flashing, and
weldment (5).
3. Drill holes through the cloth, flashing, and weldment
4. Insert and finger-tighten the bolts (1, 6).
5. Remove the chain or bungee used to secure the upper frame to the hopper.
6. Tug on the cloth to ensure it is fully stretched out and has no wrinkles.
Item
Description
1
1/4" x 1-3/4" Elevator Bolt (GR 2)
2
Hopper Cloth (with frame inserted)
3
Flashing
4
Hopper Weldment
5
1/4" Hex Nut
3. ASSEMBLY FIELD LOADER S-DRIVE – PORTABLE GRAIN BELT CONVEYOR
 Loading...