28 8210-00020 R1
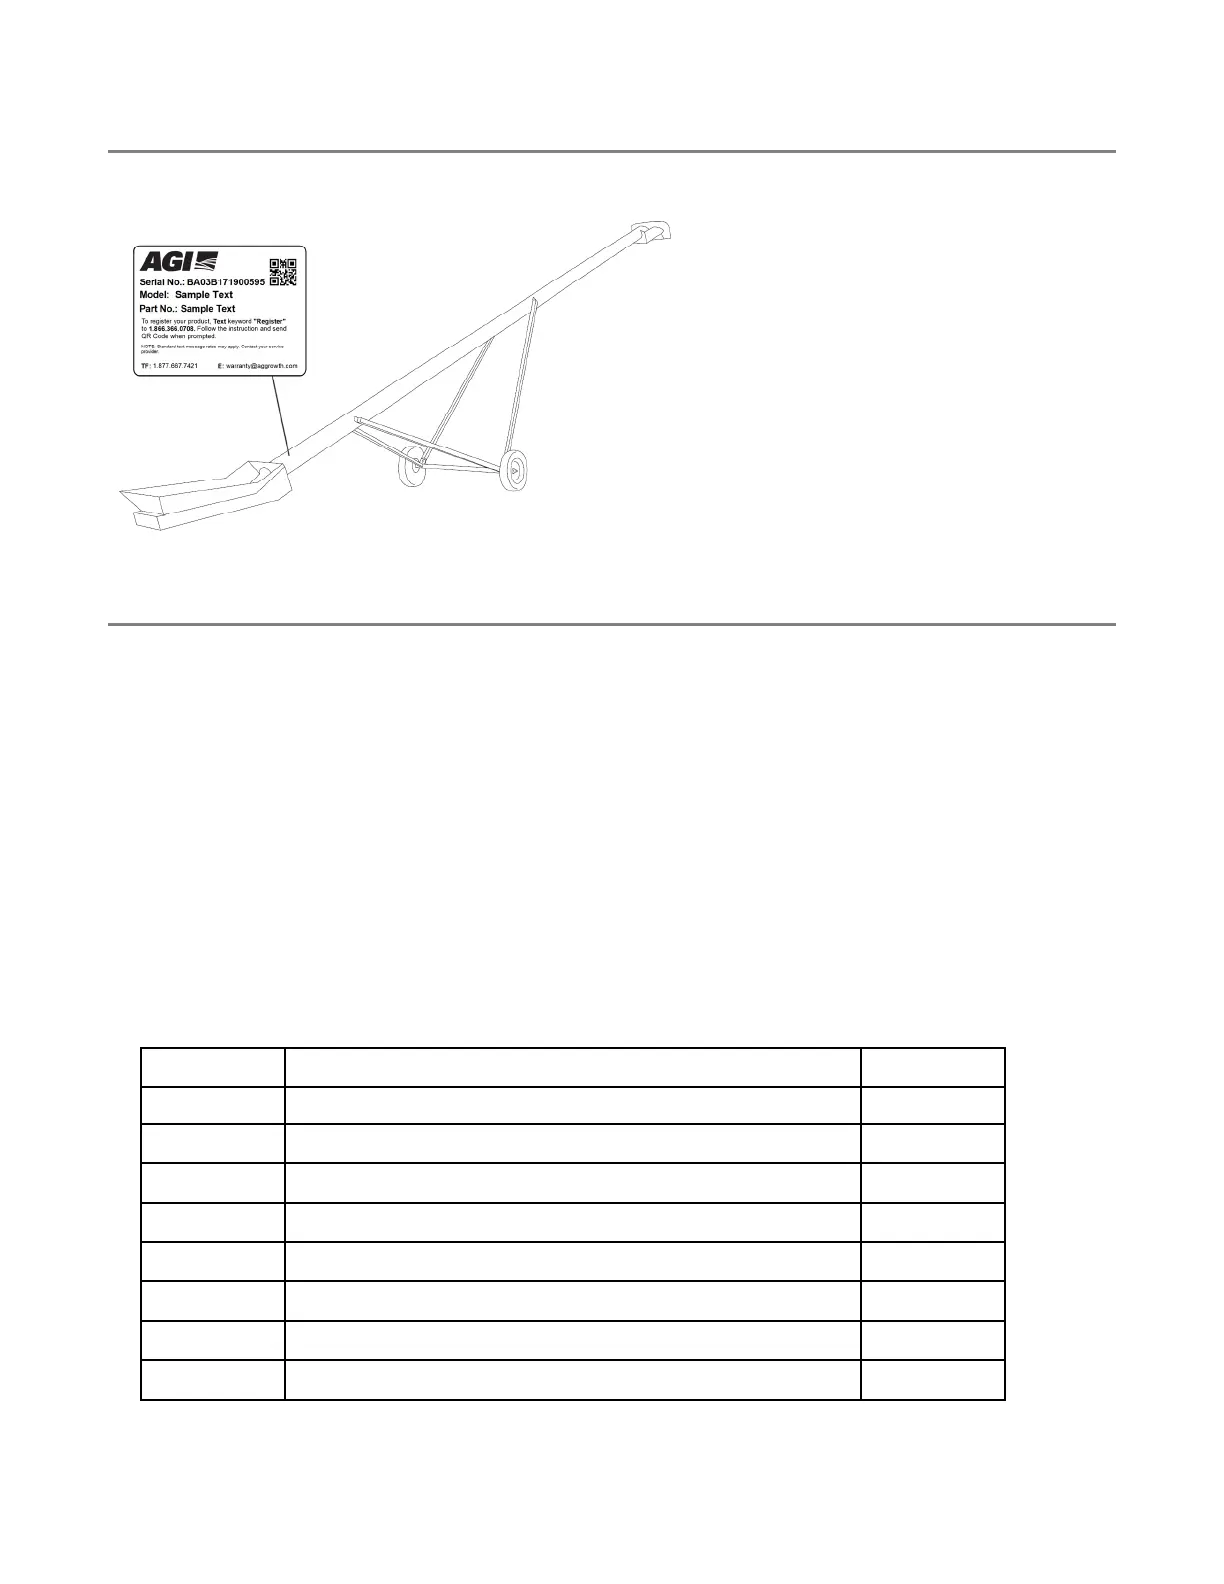
3.9. Serial Number Decal Placement
Place the serial number decal on the conveyor as shown below.
3.10. Install the Spout Roller
1. Insert the roller (2) into the spout (1) (see Figure 15).
2. Slide a bearing (3) and a tracking plate (4) on each end of the roller . Secure bearing and plate to the spout
using 1/2" x 1-1/2" and 1/2" x 2" carriage bolts (5, 7) and 1/2" locknuts (6).
3. Center the roller (2) in the spout.
4. Make sure the roller (2) is positioned straight by measuring the distance (d) from the end of the tracking
plate to the end of the spout weldment sidewall on both sides (it should be the same distance).
5. For each bearing, use a hammer and punch to rotate the lock collar so that it seats onto the inner race of
the bearing. Tighten the lock collar securely to the shaft with its hex set screw.
6. Insert the 7/16" x 1-1/2" square-head set screws (8) in the spout.
Note
The square-head set screws are used to set the alignment of the belt, after the belt is installed.
Table 4. Spout Roller Components
Item
Description Quantity
1 Spout 1
2
Spout Roller
1
3
1-1/4" Bearing Flange Unit (SAFL206–20)
2
4
Tracking Plate (RHS and LHS)
2
5
1/2" x 2" Carriage Bolt (GR5)
4
6
1/2" Nylon Locknut (GR8)
8
7
1/2" x 1-1/2" Carriage Bolt (GR5)
4
8
7/16" x 1-1/2" Square-Head Set Screw
2
Hardware Kit: HRDW-15-96
3. ASSEMBLY FIELD LOADER S-DRIVE – PORTABLE GRAIN BELT CONVEYOR