8210-00020 R1 99
3.23.2 Assemble and Install the Upper Hopper Cloth Frame
1. Place the cloth flat on the floor.
Note
The “AGI” logo must be face up.
2. Slide the frame pieces through the channels in the hopper cloth.
Note
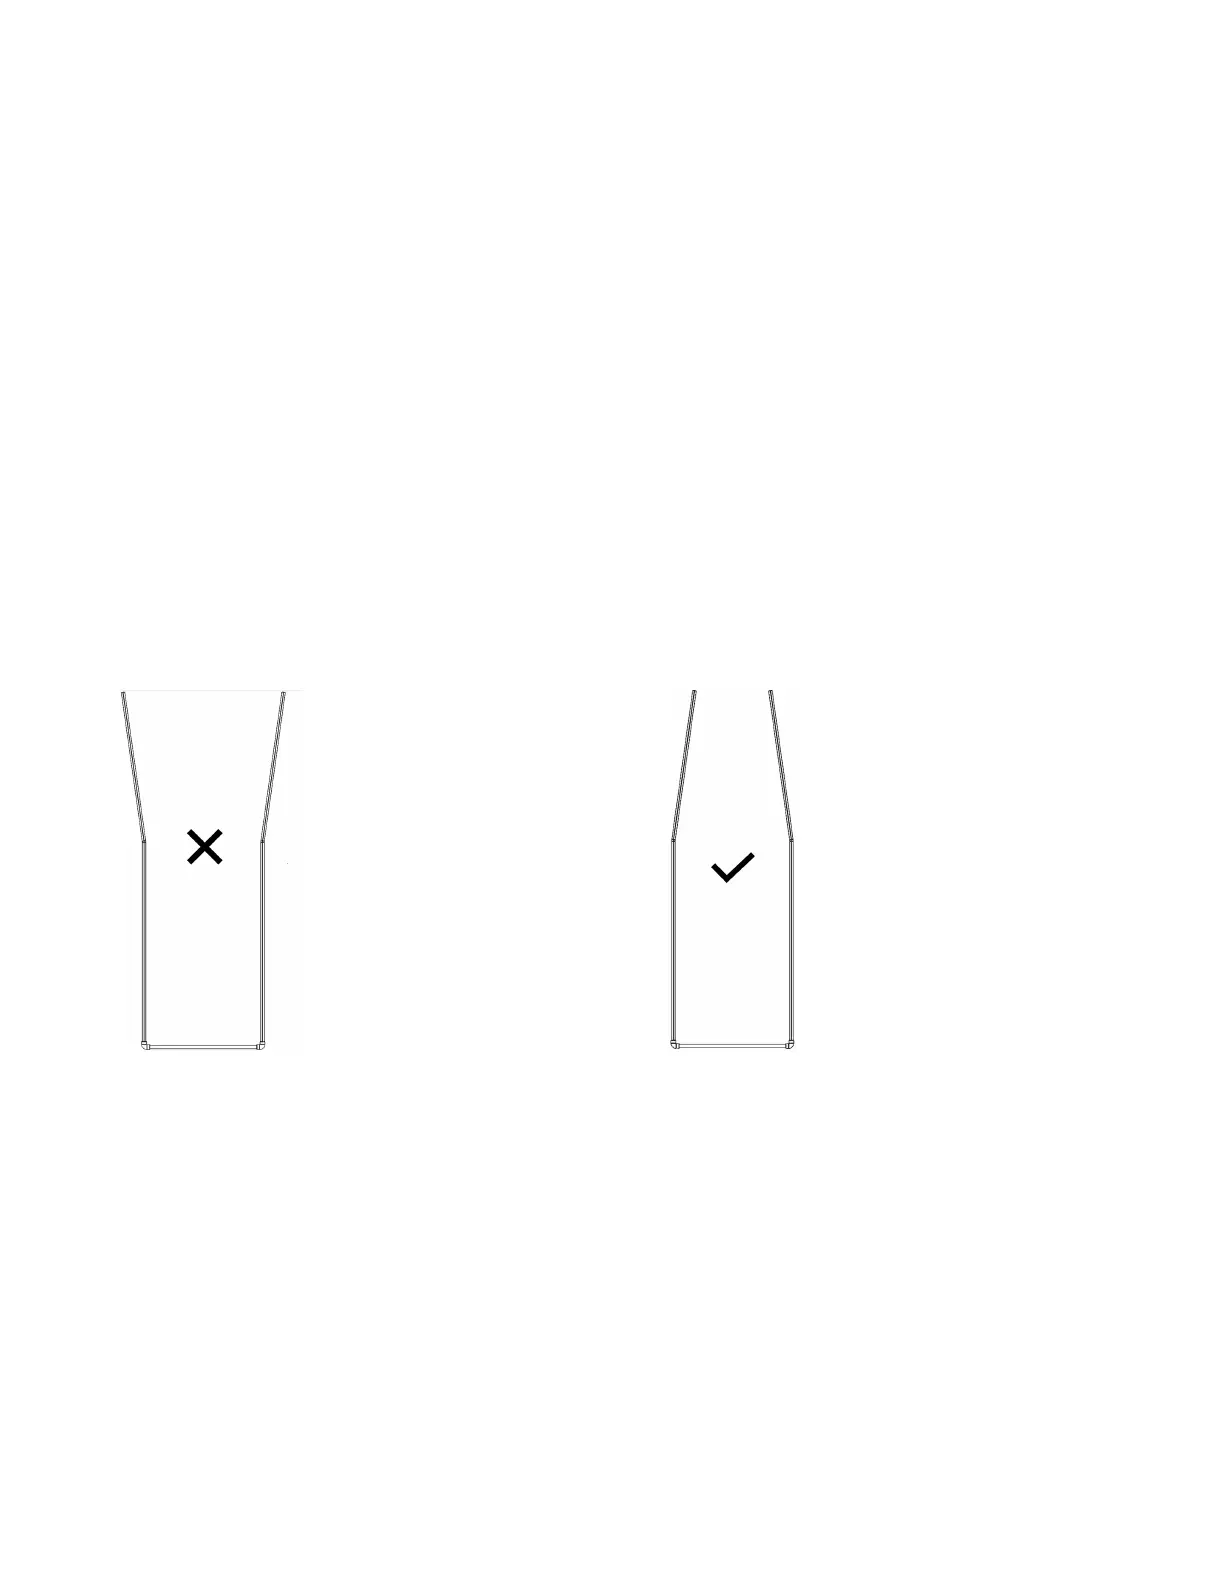
The frame pieces must be oriented as shown in Orientation of Frame Pieces.
3. Insert the ends of the frame pieces into the elbow fittings.
4. Remove the set screws from the elbow fittings where it connects to the side frame pieces.
5. Secure the side frame pieces into the elbow fittings with tek screws.
Important
A tek screw must replace the set screw on the side frame piece to ensure the frame keeps its shape
after installation.
6. Secure the front frame piece into the elbow fittings with the set screws already installed in the fitting.
7. Slide the assembled hopper cloth onto the hopper springs.
Orientation of Frame Pieces
FIELD LOADER S-DRIVE – PORTABLE GRAIN BELT CONVEYOR 3. ASSEMBLY