2. Route the cables through the openings on the fan bracket.
3. Align and place the fan bracket on the fans.
4. Slide and insert the fan grommets into the slots on the fan bracket.
5. Route the cables through the routing guides on the fan bracket.
6. Slide and push the bottom fan until the releasing clip snaps into position on the chassis.
7. Replace the two screws (M3x5) that secure the bottom fan to the chassis.
8. Connect the bottom fan cables to the connectors (FAN6 and FAN7) on the system board.
9. Route the bottom fan LED cables (FAN6 LED and FAN7 LED) from the opening on the chassis.
10.Lay the computer on its left side.
11. Insert the bottom fan LED cables into the securing clip and lock the securing clip to secure the bottom fan LED cables.
12. Connect the bottom fan LED cables to the connectors (FAN6 LED and FAN7 LED) on the AlienFX board.
Next steps
1. Install the power-supply unit cover.
2. Install the right cover.
3. Install the left cover.
4. Follow the procedure in After working inside your computer.
Fan grommets
Removing the fan grommets
CAUTION: The information in this removal section is intended for authorized service technicians only.
Prerequisites
1. Follow the procedure in Before working inside your computer.
About this task
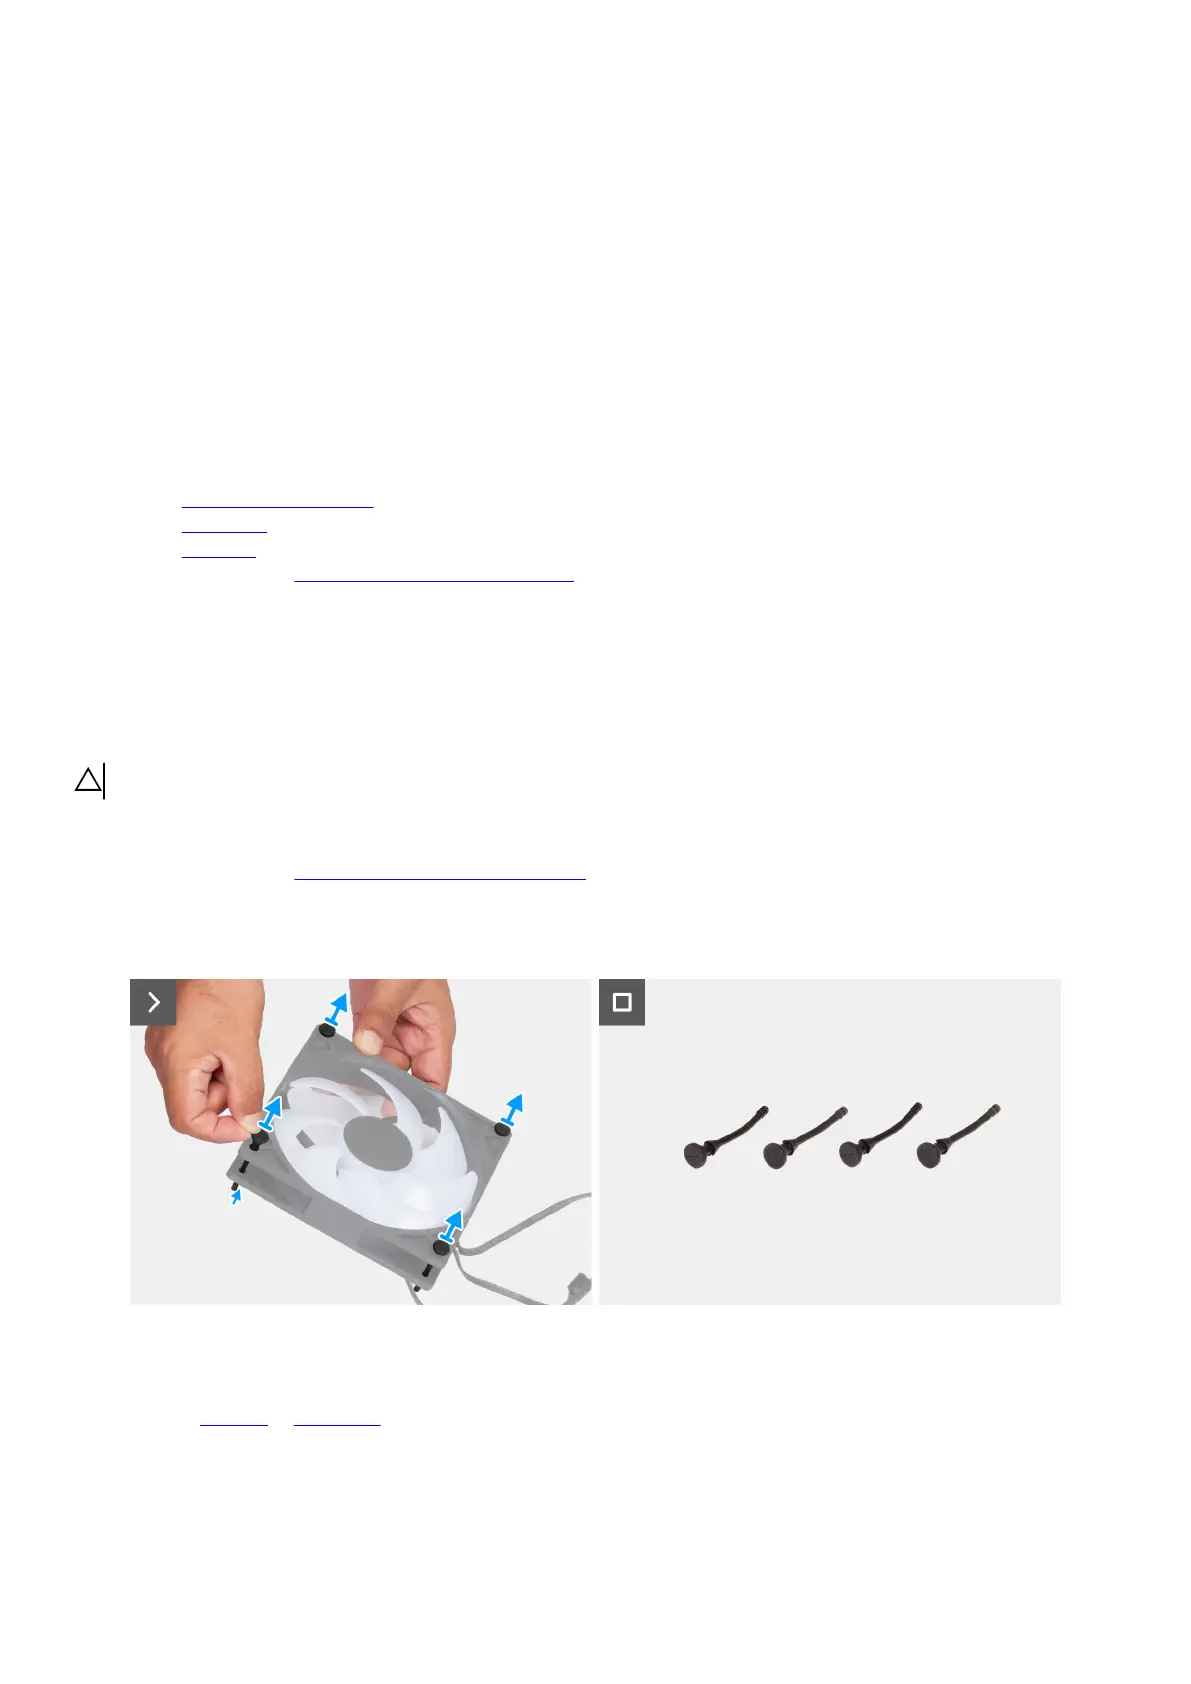
The following images indicate the location of the fan grommets and provide a visual representation of the removal procedure.
Figure 114. Removing the fan grommets
Steps
1. Remove the front fan or bottom fan for which you must replace the fan grommets.
2. Using your fingertips, pull the fan grommets from the top, releasing the fan grommets from the slots on the fan bracket.
3. Lift the fan grommets off the fan bracket.
Removing and installing Field Replaceable Units (FRUs) 127