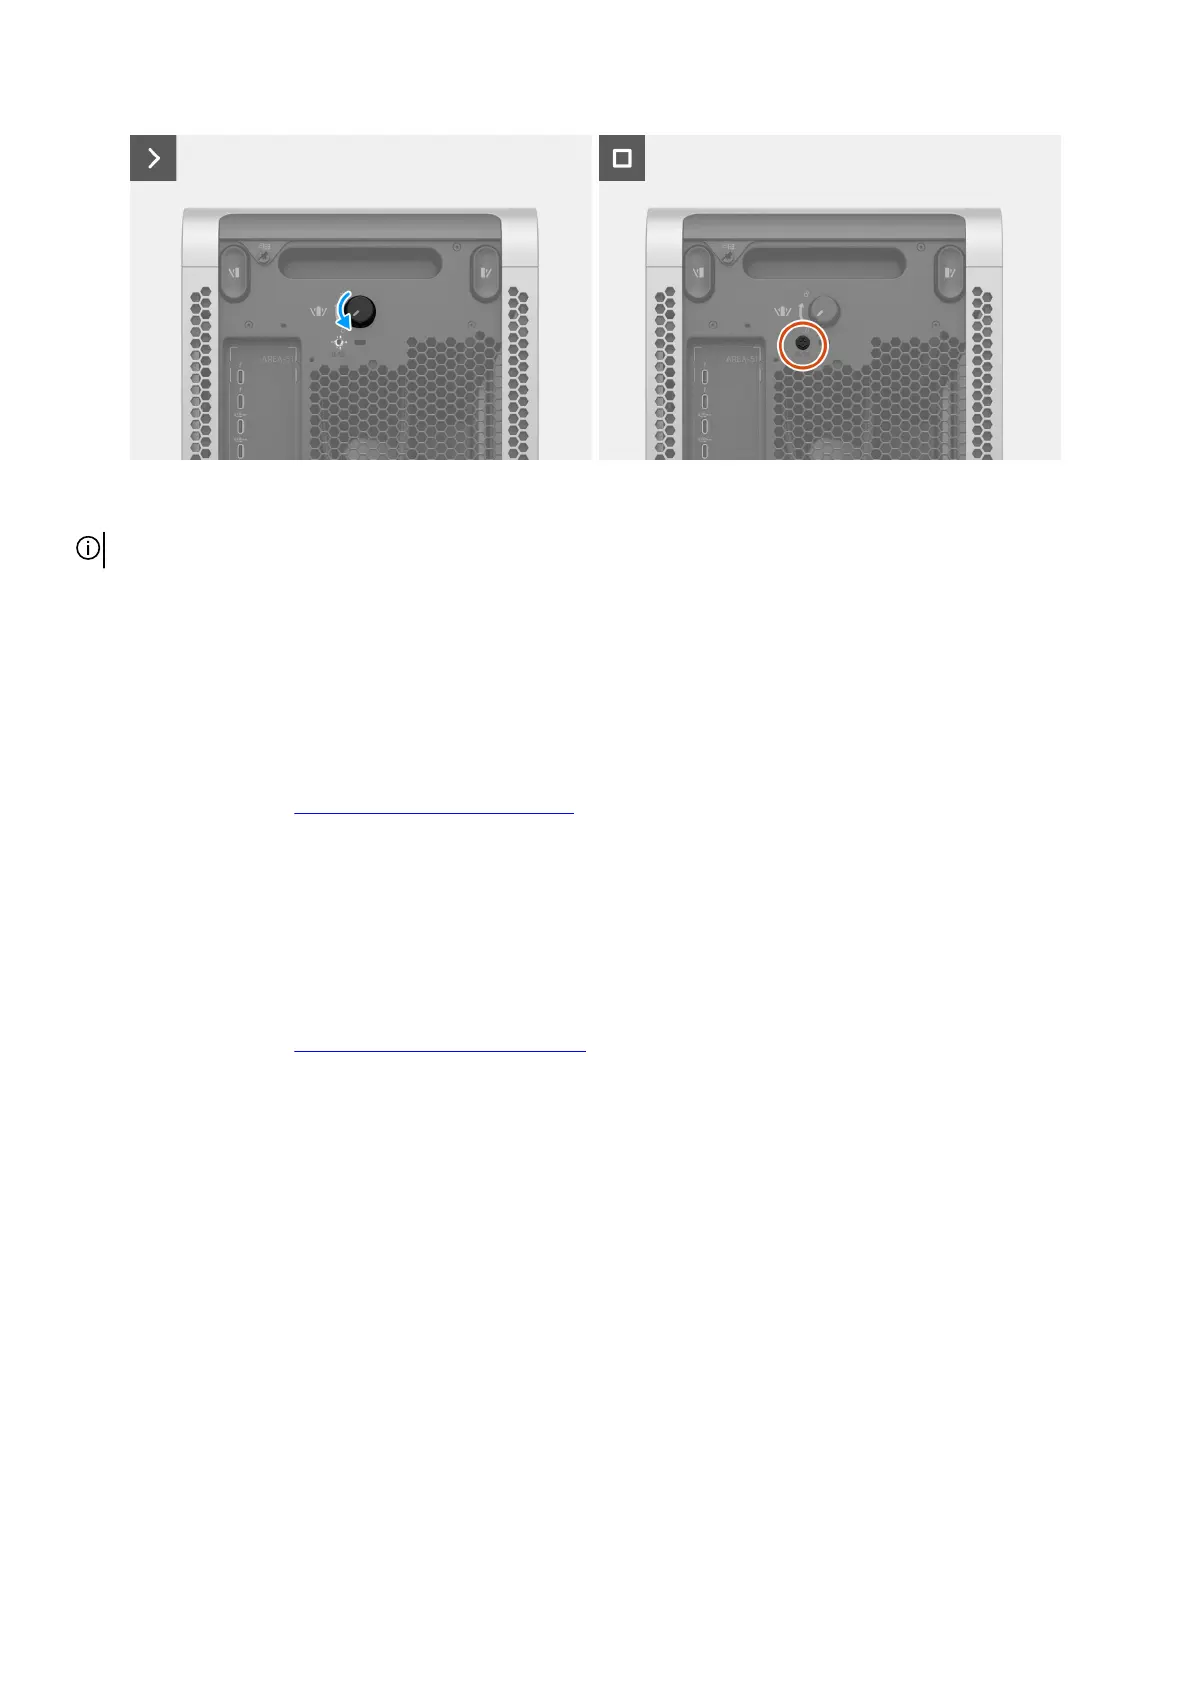
Figure 42. Rotating the knob and installing the safety screw
NOTE: Do not apply pressure to avoid breakage of the glass and handle with care while installing the left cover.
Steps
1. Align the tabs at the bottom of the left cover with the slots on the chassis.
2. Tilt the left cover towards the computer until it clicks into place.
3. Turn the knob counterclockwise until it locks.
4. Replace the safety screw (#6-32) that secures the knob to the chassis.
Next steps
1. Follow the procedure in After working inside your computer.
Right cover
Removing the right cover
Prerequisites
1. Follow the procedure in Before working inside your computer.
About this task
The following images indicate the location of the right cover and provide a visual representation of the removal procedure.
Removing and installing Customer Replaceable Units (CRUs) 59