3-5 Using Limit Lines - Setting up Non-segmented Limit Lines Chapter 3 — Vector Network Analyzer
3-10 MS20xxA VNA Master UG 10580-00166 Rev. C
3-5 Using Limit Lines
To access the functions under the Limit menu (on page 3-35), select the Shift key, then the
Limit (6) key.
Two types of limit lines can be specified, lower limit lines and upper limit lines. Limit lines
can be used for visual reference only, or for pass/fail criteria using the limit alarm. Limit
alarm failures are reported whenever a signal is above the upper limit line or below the lower
limit line.
Each limit line can consist of a single segment, or as many as 40 segments across the entire
frequency span of the instrument. These limit segments are retained regardless of the current
frequency span of the instrument, allowing the configuring of specific limit envelopes at
various frequencies of interest without having to re-configure them each time the frequency is
changed. To clear the current limit setup configuration and return to a single limit segment
starting at the current start frequency and ending at the current stop frequency, press the
Clear Limit soft key.
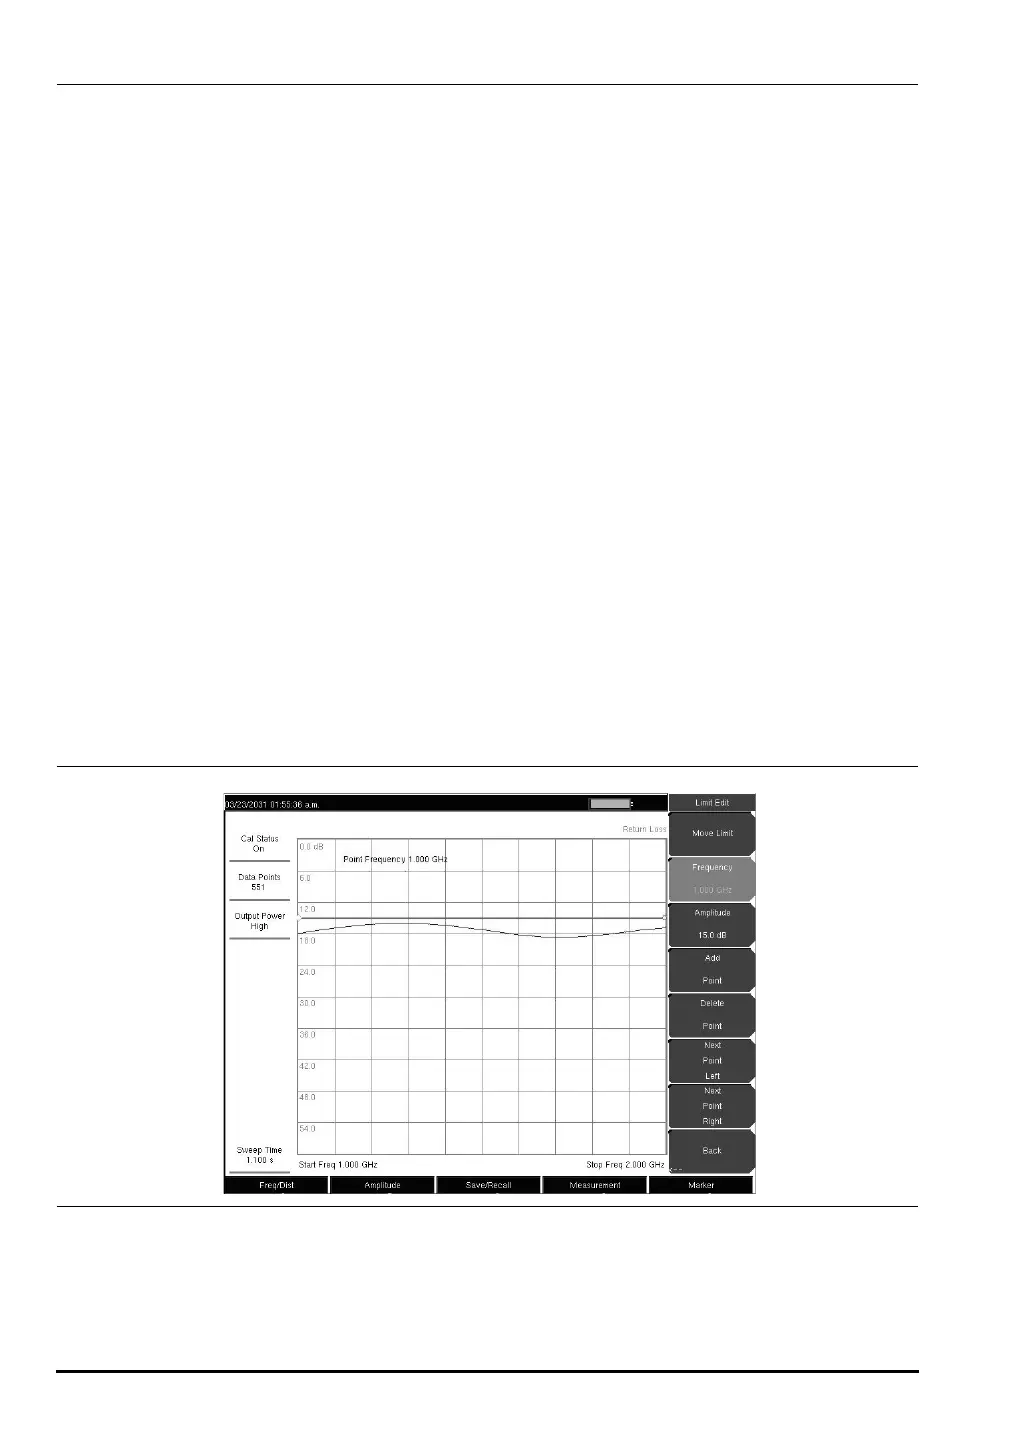
Setting up Non-segmented Limit Lines
1. Press the Shift key, then the Limit (6) key.
2. Press the
On/Off soft key to turn on the upper or lower limit line.
3. Press the
Limit Edit soft key.
4. Press the
Move Limit soft key and use the number keys to enter the new limit value and
press the
Enter key. The Move Limit soft key will move the entire limit line so that the
active limit point will move to the new limit value. The Limit value can also be adjusted
by using the up and down arrow keys or the rotary knob.
Figure 3-4. Non-segmented Limit Lines
10580-00166C.book Page 10 Thursday, February 21, 2008 12:52 PM