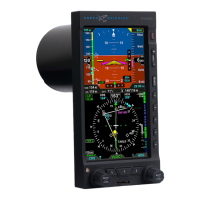
EFD1000 PFD Pilot’s Guide
CHAPTER 3, FLYING THE EFD1000 PRO PFD
EFD1000 PFD Pilot’s Guide
EFD1000 PFD Pilot’s Guide Page 3-5A-01-184-00 REV B
default settings.
The Garmin 430Ws are congured with ILS CDI Capture set to AUTO, meaning that
when an ILS approach is loaded and active in the GPS, and the aircraft is established
inbound to the FAF, the 430W will automatically switch its CDI output from GPS to the
VHF localizer frequency. The EFD1000 will follow this switch on its CDI Source Select,
automatically changing from GPS1 to VLOC1.
3.2.1. Pre-Departure
Once the pre-ight inspections and checklists are complete, and before starting
engines, turn the Battery Master ON.
NOTE
The EFD1000 is wired directly to the main battery bus in most
installations. Some installations may have an EFIS Master circuit breaker
switch on the main battery bus; in those cases there is no problem
leaving the EFIS Master on most of the time. The EFD1000 will not be
harmed by voltage variations during engine start.
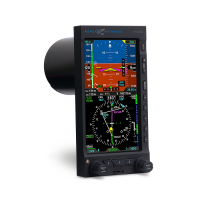
When power is applied to the EFD1000, the bezel backlighting illuminates and
the annunciation “Initializing…” appears on the screen against a black background
(Figure 3-2).
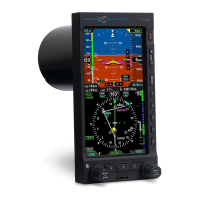
As the software initializes and the PFD warms up, the Attitude and Navigation Displays
will appear rst (typically within 20-30 seconds), with red X’s showing for the airspeed
and altitude tapes (Figure 3-3). In a short while (from a few more seconds to a few
minutes, depending on how cold the aircraft is), the air data sensors will warm up to
operating temperature and the airspeed and altitude tapes will appear. At that point,
the EFD1000 is ready to go. The PFD will usually be ready by the time engines are
started or the After Start checklist is complete.
Figure 3-2
EFD1000 PFD Initializing
Figure 3-3
Initialization Complete,
Sensors Warming Up