My BERNINA
2 Introduction 21
Gestures with
Two Fingers
Application
Move Apart
n Zoom the preview in, e.g.
in the Stitch Designer
Move Together n Zoom the preview out,
e.g. in the Stitch Designer
Operation with Mouse
You can also operate the user interface with a mouse
connected into a USB connection.
n Single Left-click
A single left-click works in the same way as tapping
with a finger throughout the entire user interface.
You can click to select elements, menus and
windows.
n Left-click and Hold
By pressing and holding the left mouse button on
an embroidery design, you can open the context
menu.
By pressing and holding the left mouse button on a
stitch pattern or embroidery design in the file
manager, you can display further information
about the stitch pattern or embroidery design.
n Right-click and Hold and Move
By holding down the right mouse button and
moving the mouse, you can move the preview in
the Embroidery Screen, in the Stitchout and in the
Stitch Designer.
n Mouse Wheel
You can use the mouse wheel to zoom and scroll in
the Sewing and Embroidery Screen, in the
Stitchout, in the Stitch Designer, in the File
Manager and other screens with a scroll bar.
Navigation
To go back step by step to a previous screen use the
Navigation Path located on the Navigation Bar. Find
Navigation Paths in the Help Center, Settings and File
Manager. With the Back
function, you can go
back step by step.
Activating/Deactivating Functions
You can switch functions on and off as follows:
n Tap the Switch
n
Green: Function is switched on.
n
White: Function is switched off.
n Tap Icons
n
Blue: Function is switched on.
n
Gray: Function is not available.
n
Yellow Bar: Function or value deviates from the
default value.
n
Red: Warning.
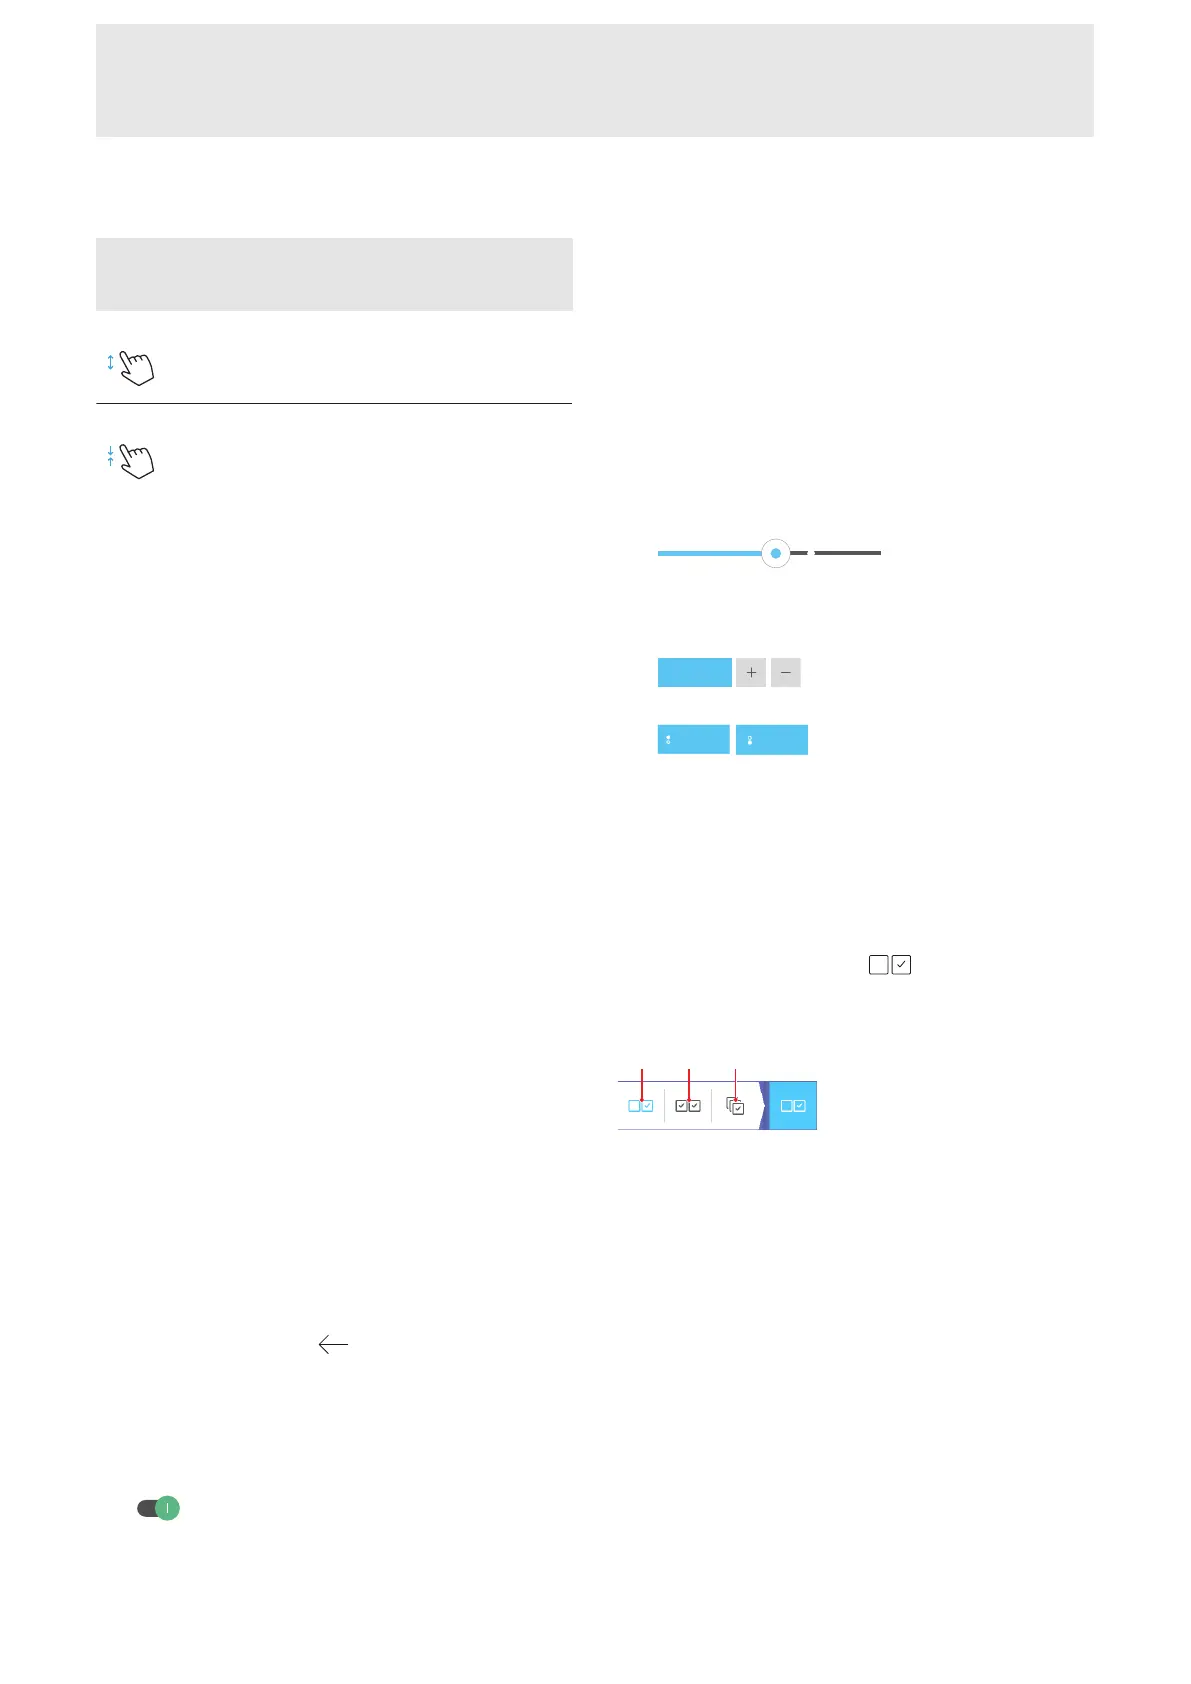
Setting Values
You can set values as follows:
n Slider
Set the value with the slider control or reset the
value to the default by tapping the small bullet.
n Plus and Minus Icons
n Multi-function Knobs
The knob icon that appears solid white identifies
which knob modifies the value.
Modified values are marked in yellow. You can reset a
modified value to the default by tapping the yellow
field.
Selection Options
With the Selection Options
function, you can
define whether you want to select an individual object,
multiple objects or all objects.
1Single Selection 2Multiple Selection 3Select All
 Loading...