My BERNINA
3 Set Up the machine 28
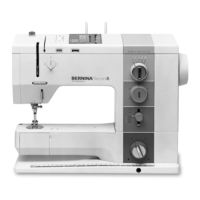
1. Unfold the feet and stand up the accessories box.
2. Open the doors.
3. If necessary, insert the holders into the grooves in
the accessories box.
NOTICE
Incorrect storing of the bobbin
Scratched or dirty sensor surfaces on the bobbins can
cause malfunctions of the lower thread indicator.
►
Always position the bobbins in the bobbin holder
with the silver sensor surface to the right.
4. Place your accessories in the appropriate holders
and compartments.
5. To remove a bobbin, press the spring button down.
6. Store small parts in the drawers.
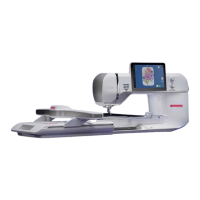
3.8 Slide-on Table
You can use the Slide-on Table to increase the sewing
area. This makes it easier to position and work on your
sewing project. The viewing window allows for visual
access to the bobbin area while changing the bobbin
without having to remove the table. The table has a
printed ruler in both centimeters and inches to aide in
aligning various projects. The zero center is aligned
with the center needle position when attached.
1Adjustable Leg with Adjusting Screw 2Viewing
Window 3Ruler 4Release Button
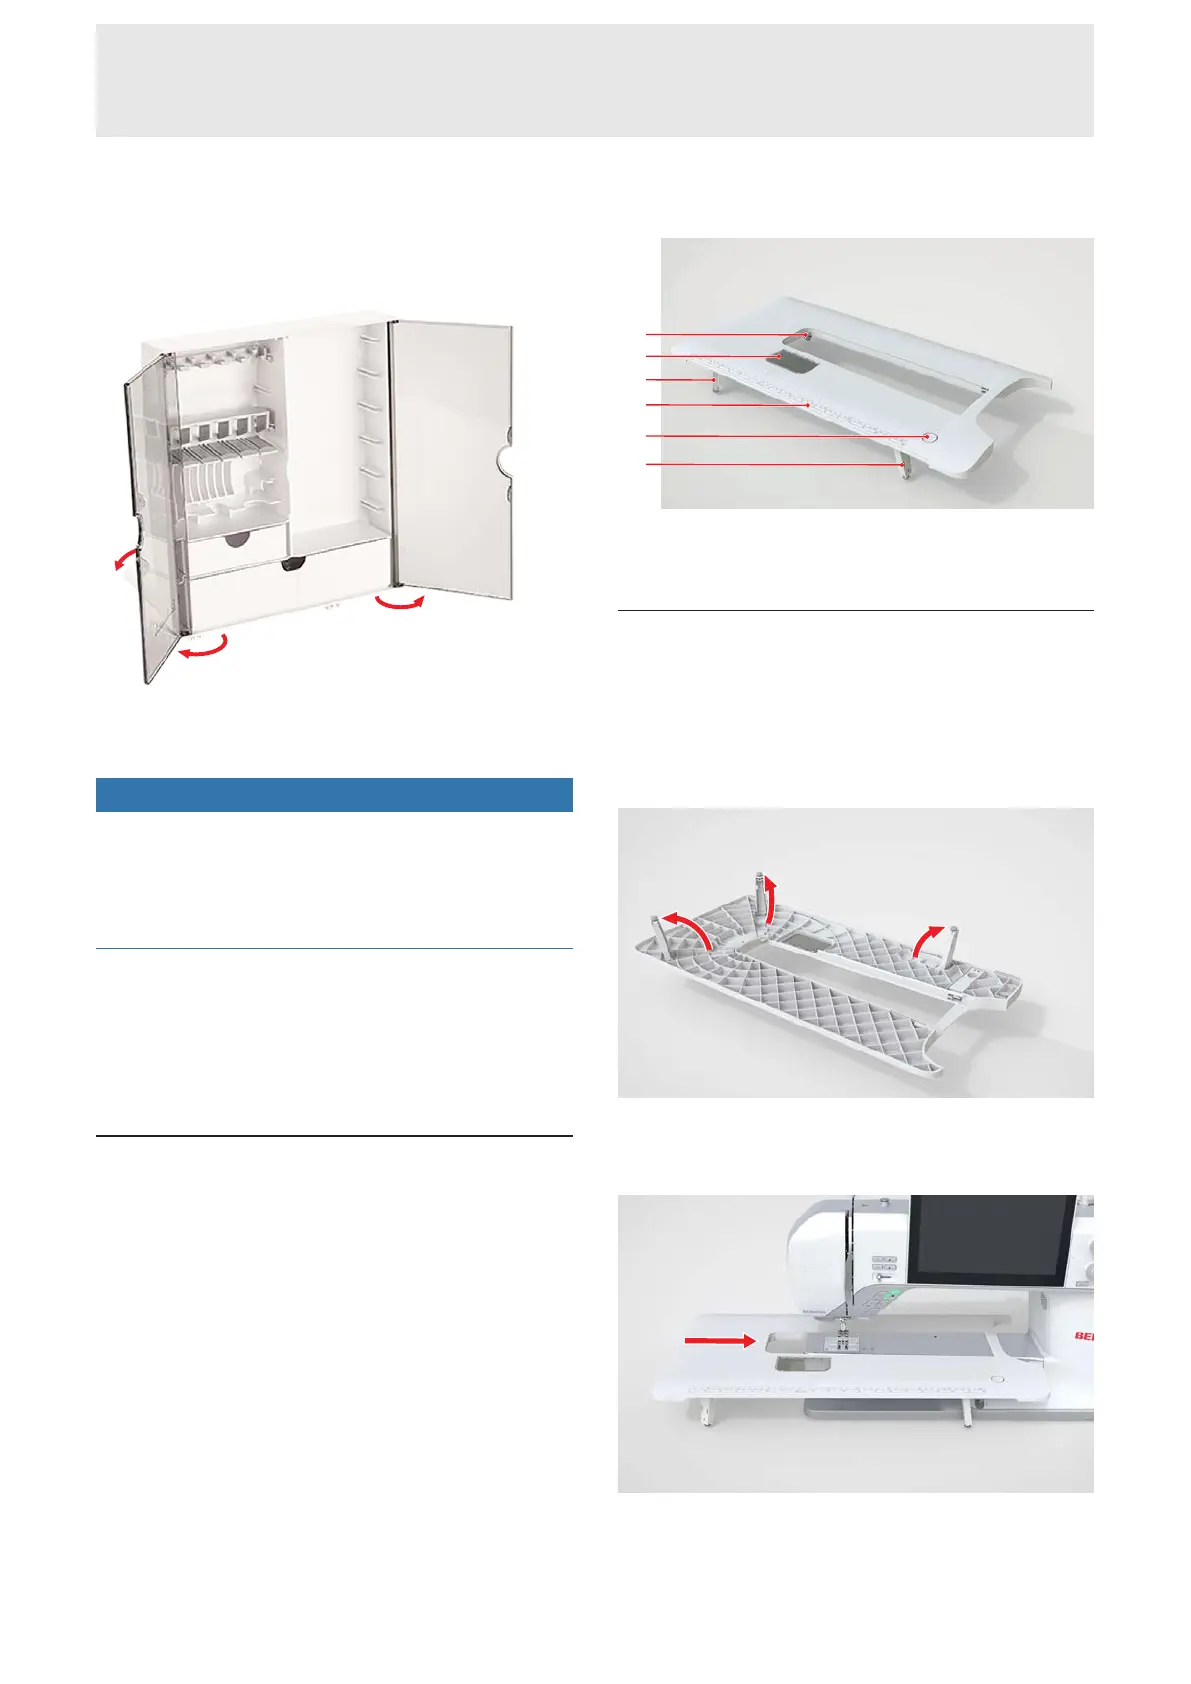
Attaching the Slide-on Table
1. Raise the needle.
2. Raise the presser foot.
3. Release the adjustable legs on the Slide-on Table.
Make sure that the adjusting screws are not turned
out too far.
4. Slide the table over the freearm under the needle
and foot to the right until it engages on the right
side.
5. Fully extend the legs of the table.