My BERNINA
3 Set Up the machine 29
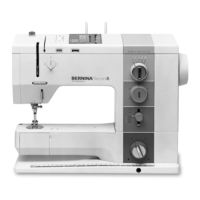
6. Adjust the height by turning the screw at the feet.
Ensure the table is flat and supported on the
surface below without raising it above the freearm.
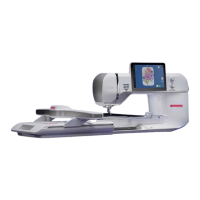
7. To remove the Slide-on Table, press the release
button down and remove the Slide-on Table from
right to left under the needle and presser foot.
8. Lock the legs into place for storage.
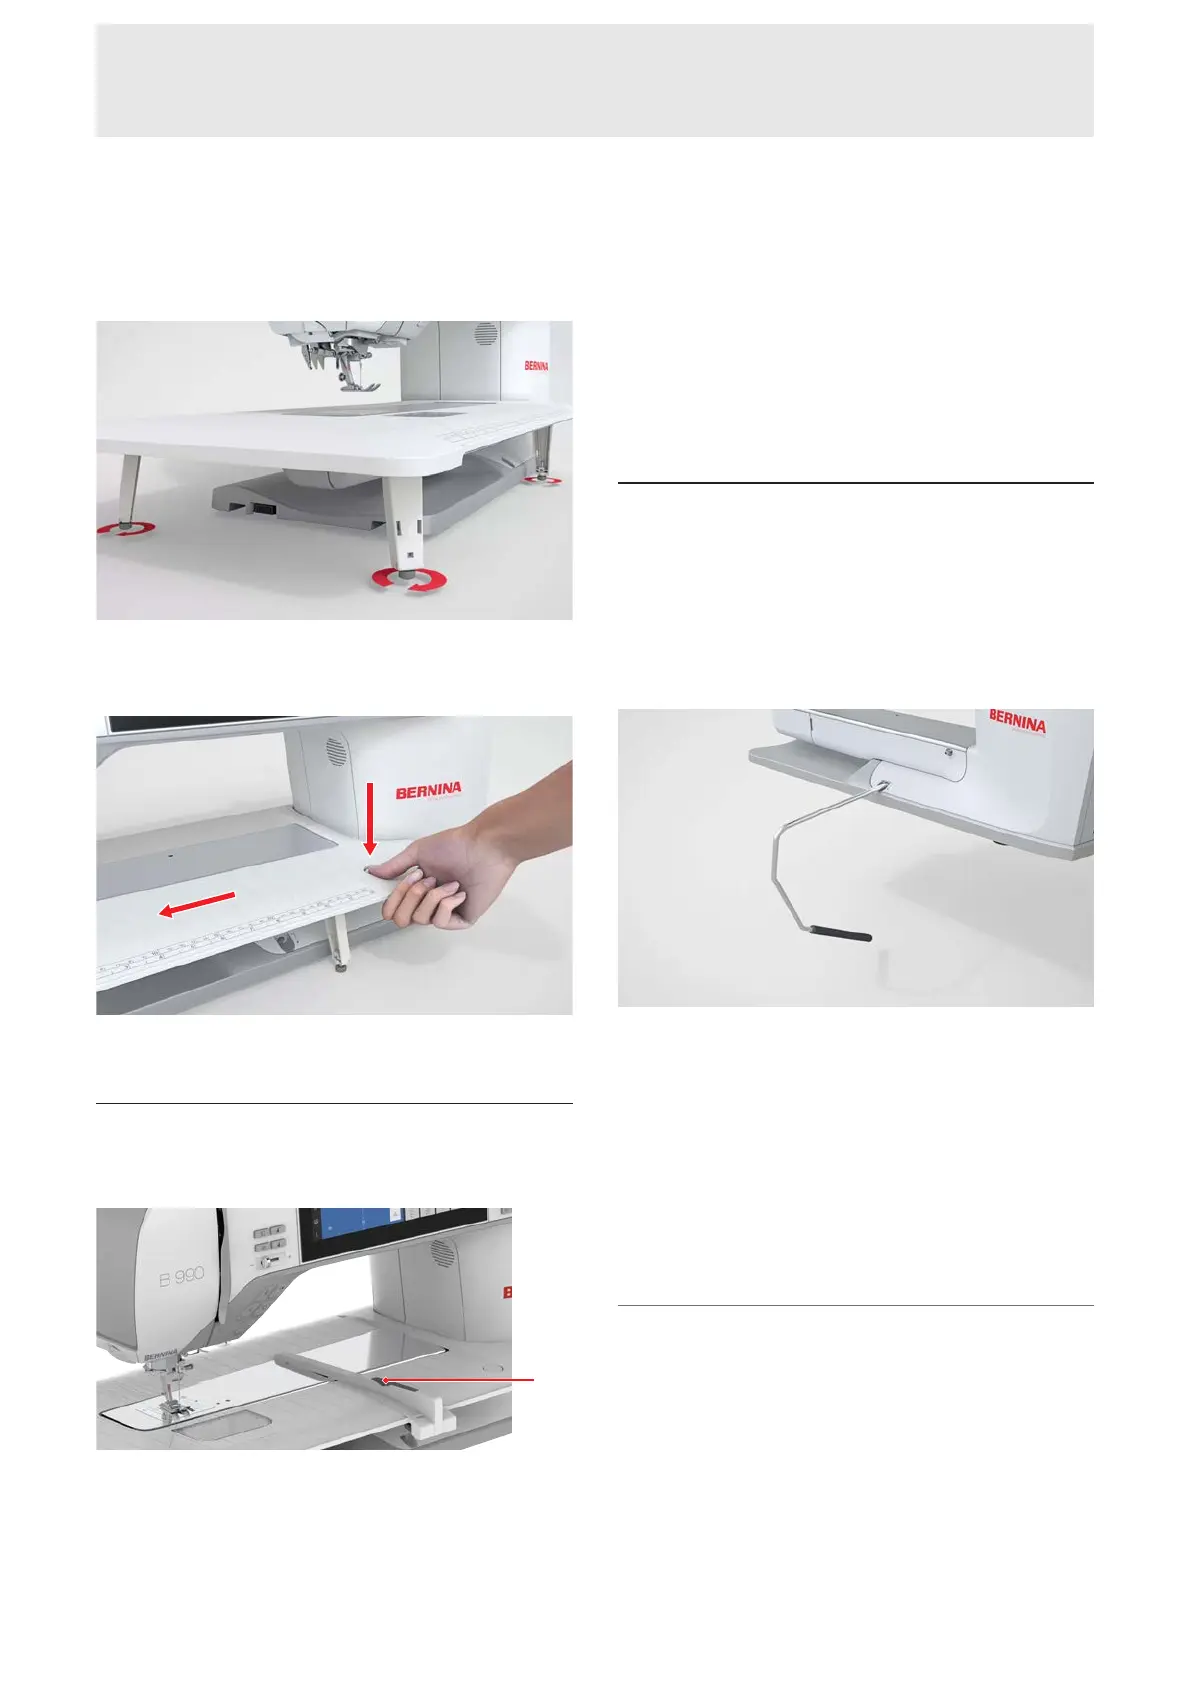
Using the Seam Guide
The Seam Guide for the Slide-on Table allows you to
sew along the guide for unifom seams.
1Release Button
Prerequisite:
n The Slide-on Table is attached.
1. To attach the Seam Guide, press the release button
and engage the Seam Guide from the front to the
back on the Slide-on Table.
2. Press the release button down once attached and
position in place as desired.
3. To remove the Seam Guide, press the release
button and pull the Seam Guide away to the front.
3.9 Knee Lifter / Free Hand
System
With the Knee Lifter, you can raise and lower the
presser foot without taking your hands away from your
sewing project.
If the presser foot is raised, you can also lower the
presser foot using the Knee Lifter.
Working with the Knee Lifter offers the following
advantages:
n When the presser foot is raised with the Knee
Lifter, the feed dog is lowered at the same time
and the thread tension is released, enabling you to
easily move or remove your sewing project.
n When the presser foot is lowered with the Knee
Lifter, the feed dog is raised and, if necessary, the
thread tension is activated, enabling you to simply
continue sewing.
Using the Knee Lifter
Attaching the Knee Lifter of the Free Hand System
1. Insert the Knee Lifter into the Knee Lifter
Connection as far as it will go.
2. Adjust the sitting height so that the Knee Lifter can
be comfortably operated with the knee.