4 - 18
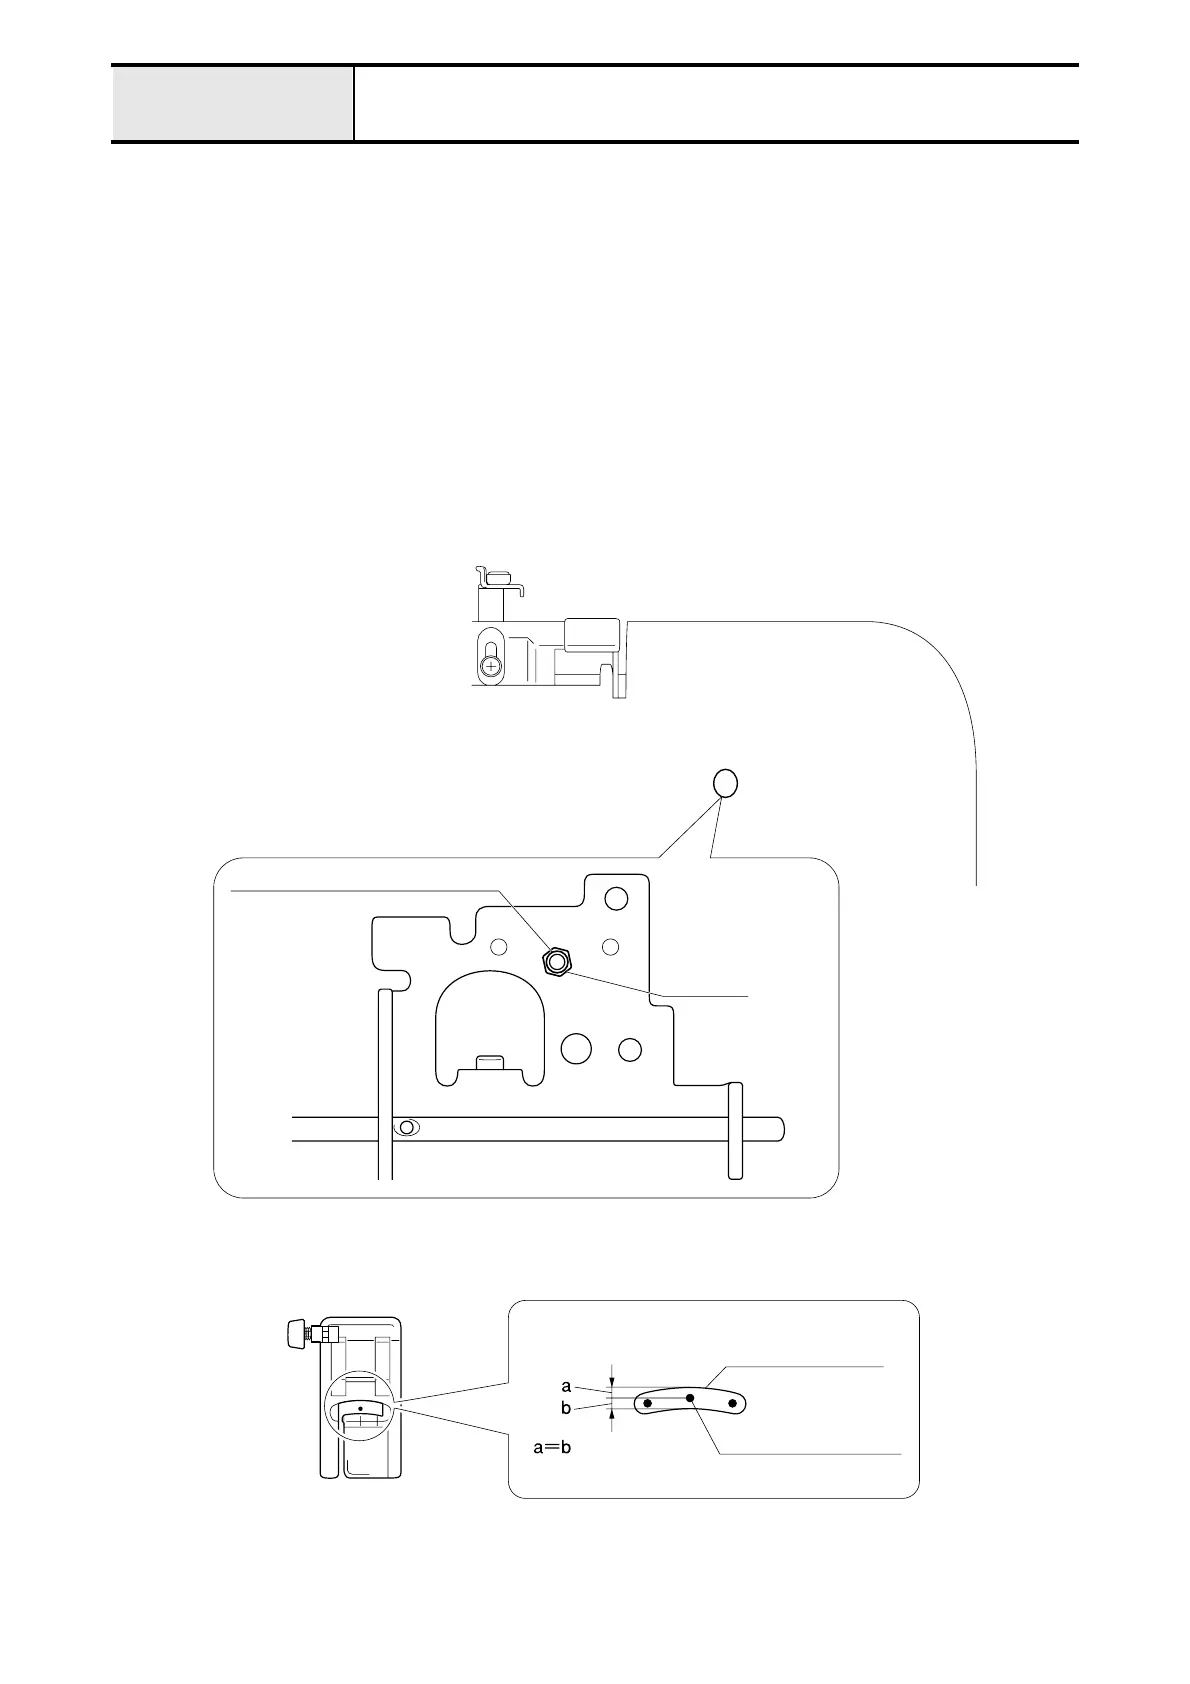
Adjustment Needle and presser foot front/back position
[Adjustment standard]
The needle top must drop in the center position (front/back) of the presser foot hole.
[Adjustment procedure]
1. Attach the J foot, and lower the presser lever.
2. Turn the pulley by hand, and drop the needle top into the presser foot hole.
3. Turn the screw (set screw socket (CP) M4 x 12) with the hex wrench (2mm), to adjust the needle top to the center
position (front/back) of the presser foot hole.
*Key point
• If loosen the screw (set screw socket (CP) M4 x 12) drastically, the fixing lock nut may be loosen.
• When the lock nut is loosen, remove the needle bar-presser unit and tighten the lock nut, then tighten the
screw (set screw socket (CP) M4 x 12).
NOTE
• Need to adjust “4-12 Clearance between needle and rotary hook point” after this adjustment.
Set screw socket (CP) M4 x 12
Lock nut
Presser foot hole
Needle top position
 Loading...


