3 - 46
Application of Assembly
Main parts
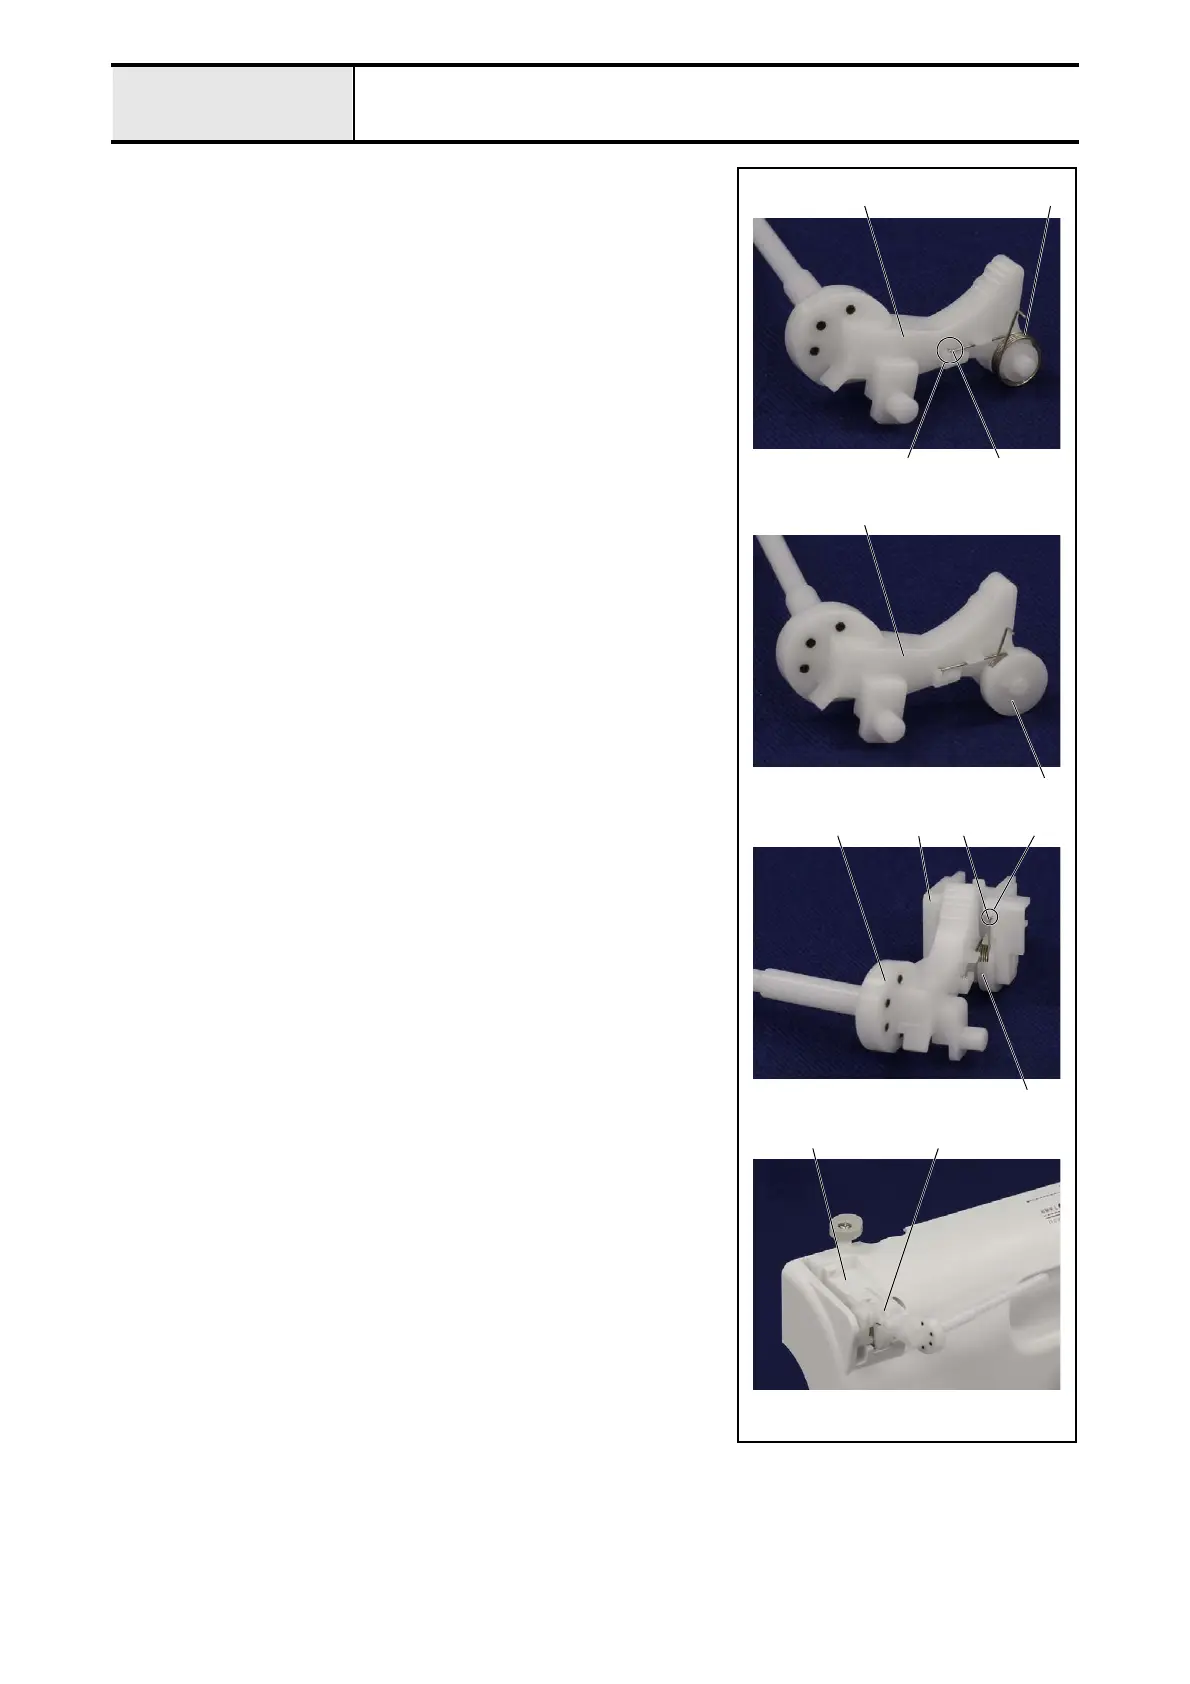
1-8 Attachment of Spool pin
1. Set the spool pin spring 1 to the spool pin 2.
*Key point
• Insert the hook part 3 of long side of the straight section of
the spool pin spring 1 into the hole 4 of the spool pin 2.
2. Set the spool pin spring cover 5 to the spool pin 2.
*Key point
• Check that there is the short side of the straight section of the
spool pin spring 1 in between the groove part of the spool pin
spring cover 5.
3. Set the spool pin 2 to the spool pin supporter 6.
*Key point
• Check that the protrusion of the spool pin spring cover 5
engaged with the groove part of the spool pin supporter 6.
• Insert the hook part 7 of long side of the straight section of
the spool pin spring 1 into the hole 8 of the spool pin
supporter 6.
4. Hang the rib of the spool pin supporter 6 on the spool pin holder
9, and
then push it to the lower side and secure it rear cover assy..
2
3
1
4
2
5
2
5
8
6
6 7
9
 Loading...


