1-38
Confidential
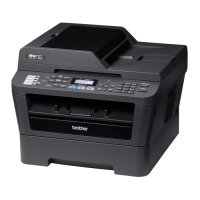
■ Faint print
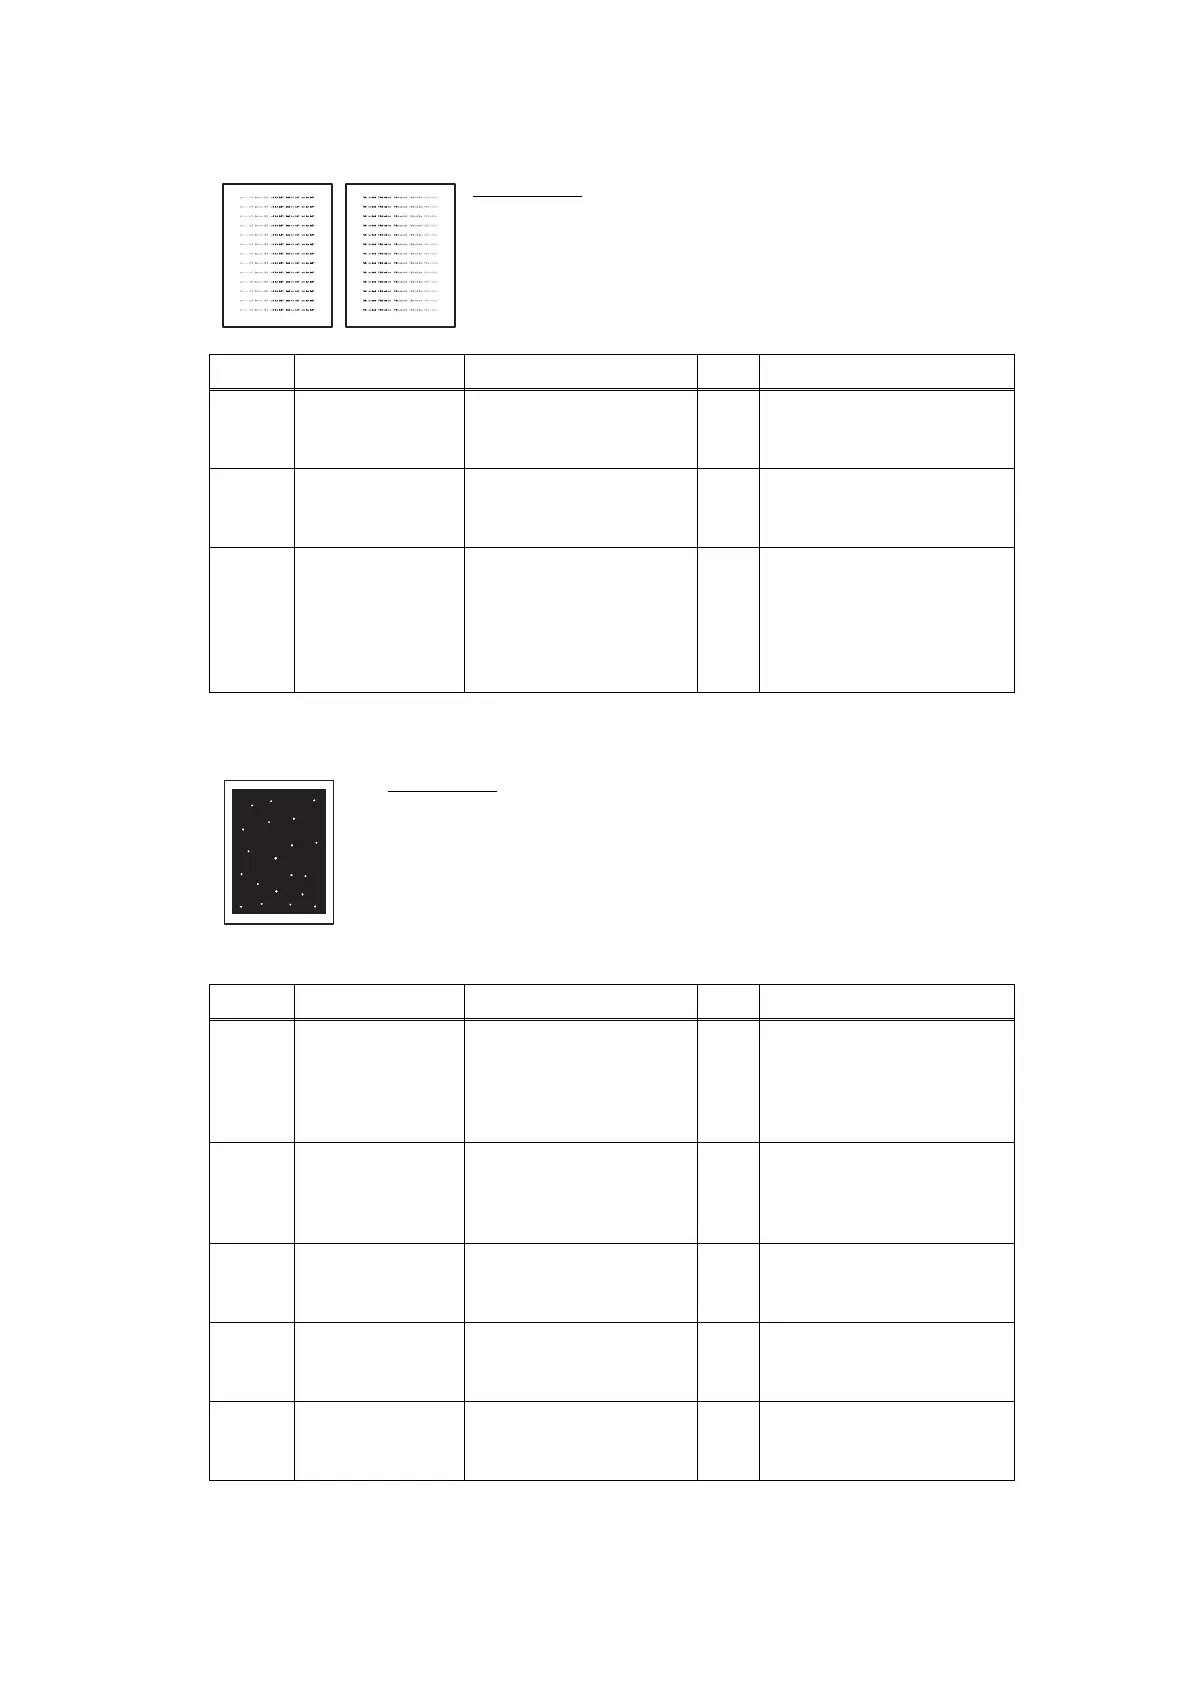
■ White spots
User Check
• Check that the machine is installed on a level surface.
• Replace the toner cartridge with a new one.
• Clean the scanner windows of the laser unit with a soft
cloth. (Refer to Fig. 1-6.)
Step Cause Check
Result
Remedy
1
Main PCB failure Is the problem solved
after replacing the main
PCB ASSY?
Ye s
Replace the main PCB
ASSY.
2
Laser unit failure Is the problem solved
after replacing the laser
unit?
Ye s
Replace the laser unit.
3
Toner empty
sensor failure
Is the "Toner Life End"
message indicated on
the LCD after replacing
the current toner
cartridge with the empty
toner cartridge?
No
Replace the toner sensor
PCB ASSY.
User Check
• Toner may be empty. Replace the toner cartridge with a new one.
• If the problem is not solved after printing a few pages, the drum unit
may have glue from label stuck on the exposure drum surface. Refer
to the next page, and wipe it off gently with a cotton swab.
• The drum unit may be damaged. Replace the drum unit with a new
one.
Step Cause Check
Result
Remedy
1
Toner attached
on the develop
roller
Are the white spots at
40.6 mm (develop roller
circumference)
intervals?
Ye s
This problem will
disappear by printing
approximate 10 pages. If
the same problem occurs,
replace the toner cartridge.
2
Scratch and Dirt
on the exposure
drum
Are the white spots at
75.0 mm (exposure
drum circumference)
intervals?
Ye s
Replace the drum unit.
3
Drum unit
connection
failure
Are the electrodes on
the drum unit and
machine body dirty?
Ye s
Clean both electrodes.
(Refer to Fig. 1-1, Fig. 1-2.).
4
HVPS PCB
failure
Is the problem solved
after replacing the
HVPS PCB ASSY?
Ye s
Replace the HVPS PCB
ASSY.
5
Main PCB failure Is the problem solved
after replacing the main
PCB ASSY?
Ye s
Replace the main PCB
ASSY.
 Loading...