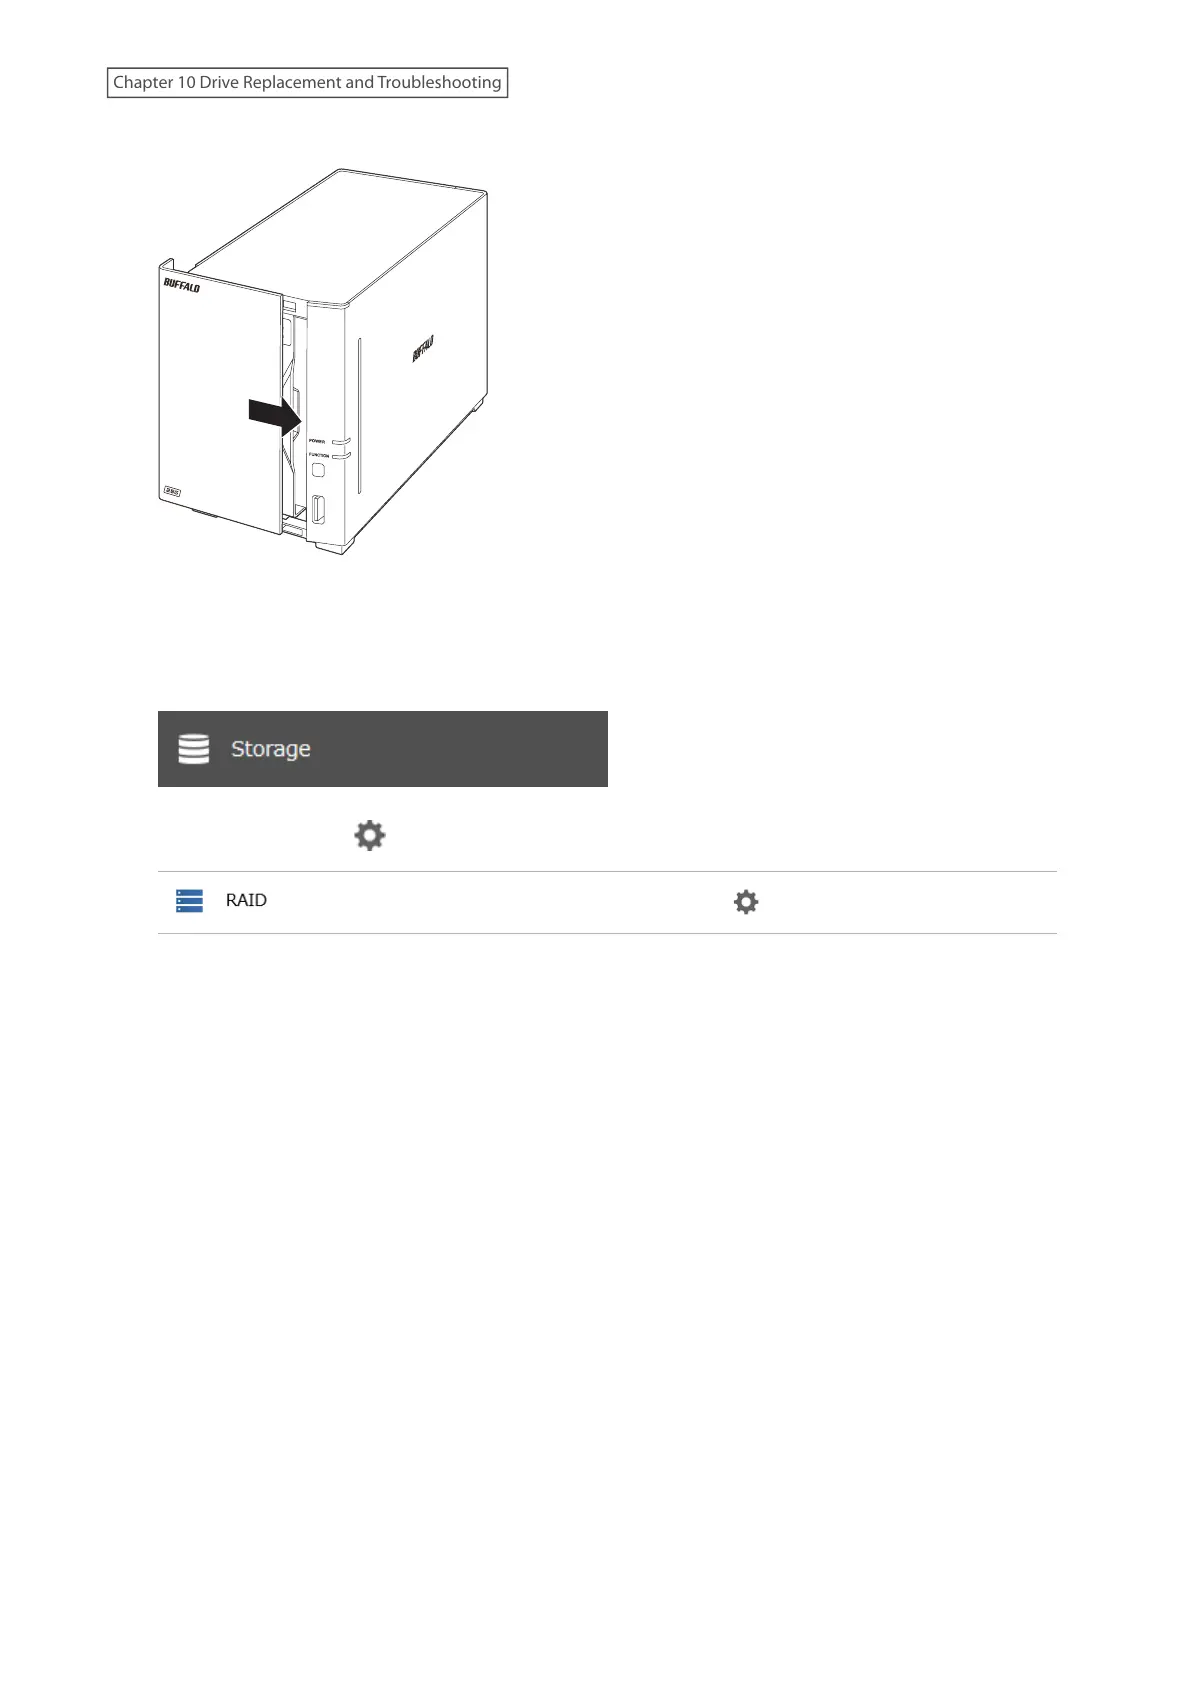
9 Return the front panel and slide it right to close.
10 Connect all cables, then turn on the LinkStation. When the replaced drive is detected, the power LED will glow
amber.
11 From Settings, click Storage.
12 Click the settings icon ( ) to the right of “RAID”.
13 Click Array 1.
14 Select the replaced drive and click Recover RAID Array.
15 The “Confirm Operation” screen will open. Enter the confirmation number, then click OK.
The LinkStation will start recovering the RAID array. After a few minutes, the I18 message will be displayed until the
array is recovered.
Using a Mobile Device
1 Back up the saved data to another location before replacing the failed drive. If one or more drives fail during
drive replacement, data can no longer be retrieved from the LinkStation.
2 Turn the LinkStation off and remove all cables.
187
Chapter 10 Drive Replacement and Troubleshooting