Live and Selected Memories
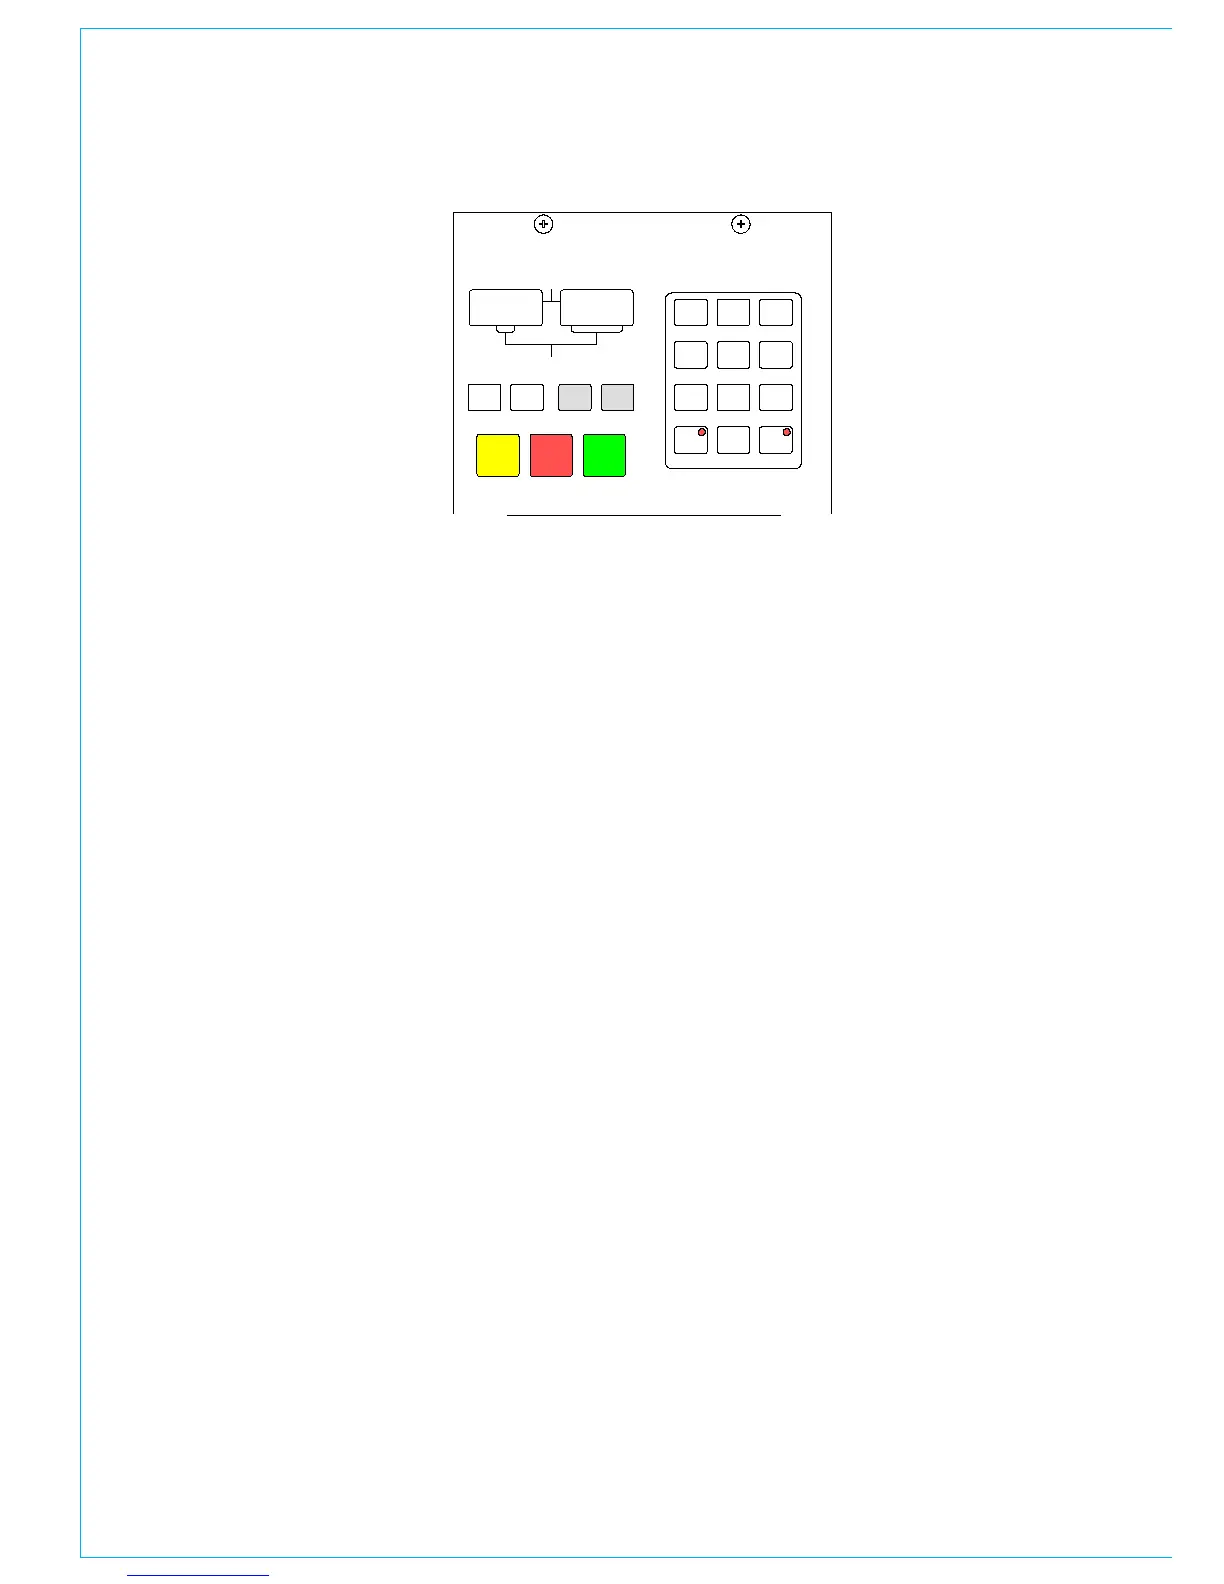
The display at the top of the panel shows
the “Live Memory” on the top half, and the
“Selected Memory” on the bottom half.
The Live Memory shows the last memory
loaded onto the console. Changes made
since this memory was loaded will not be
stored in this memory number unless it is
re-saved. They will however be stored in the
“Hidden” memory so that they are restored
after a power down.
The buttons on this panel will affect the
Selected Memory. The Selected Memory
can be thought of as the “Ready” position,
where the operator can place the next
required memory until it is needed.
Pressing LOAD+EXEC will launch the
Selected Memory into the Live Memory
position, overriding the previous settings.
Choosing the Selected Memory
Enter the two digit memory number
followed by EXEC on the keypad to call
that memory number into the Selected
Memory position. In addidtion, selecting the
required memory in the Flash ROM list on
the left of the Mem-Setup screen will call it
into the Selected Memory position.
Saving Memories
SAVE + EXEC will save console settings
to the Selected Memory. Alternatively,
SAVE+Memory Number + EXEC will
save into that memory number. To create
a new memory, choose an empty memory
from the list on the left of the Mem-Setup
screen, either by clicking on it, or by typing
its number on the keypad. Memories can
be given a user-friendly label on the Mem-
Setup screen.
MEMORy CONTROLS
Preview Memory
When the Preview button is held down, the
Selected Memory settings will be displayed
on the control surface without actually
changing the current settings. The Assign
panel displays will be blanked out. Upon
release of the Preview button, the live
settings will be displayed again.
Stacked Memories
Memories can be arranged into a pre-set
list, known as a stack. This is useful for
setting up an easy-to-access shortlist of
specific memories for use during a show.
Stacks can be saved to the hard disk or
removable media on the MEM-SETUP
screen. INSERT INTO STACK adds the
Selected Memory to the stack. The >
and < buttons scroll through the stack.
Pressing both > and < together, will reset
the position so that the last number loaded
is back in the central position.
To allow the stack to use the Selected
Memory position, any memory which has
been selected manually, and is not part of
the stack (shown in inverse text), must first
be removed from the Selected Memory
position, by pressing REMOVE. If REMOVE
is pressed while a stack memory occupies
the Selected Memory position, it will be
removed from the stack. A second press
will remove it from the Selected Memory
position.