The two memories either side of the
Selected Memory will appear in the
windows either side of the Selected
Memory window. With the Auto > or Auto
< check box ticked, the next memory
in the stack will automatically move to
the Selected Memory position after the
previous Selected Memory has been
loaded from the stack.
All the available Flash ROM memories are
listed on the memories screen, and when
selected will occupy the Selected Memory
position. Memories will be shown as empty
if they have not yet been used. To create
a new memory, choose an empty memory
from the list either by selecting it, or by
typing its number on the keypad in the
memory section of the control surface.
The contents of the Selected Memory can
be cleared by selecting Clear Memory.
When loading, saving or clearing memories
from the memories screen, a confirmation
box must be accepted before the action
is carried out to prevent memories from
being accidentally overwrittten, cleared or
loaded onto the console at an inappropriate
time. When a stored memory is loaded,
the system checks that the current desk
configuration matches that of the stored
memory. If there are discrepancies, a
warning message is reported.
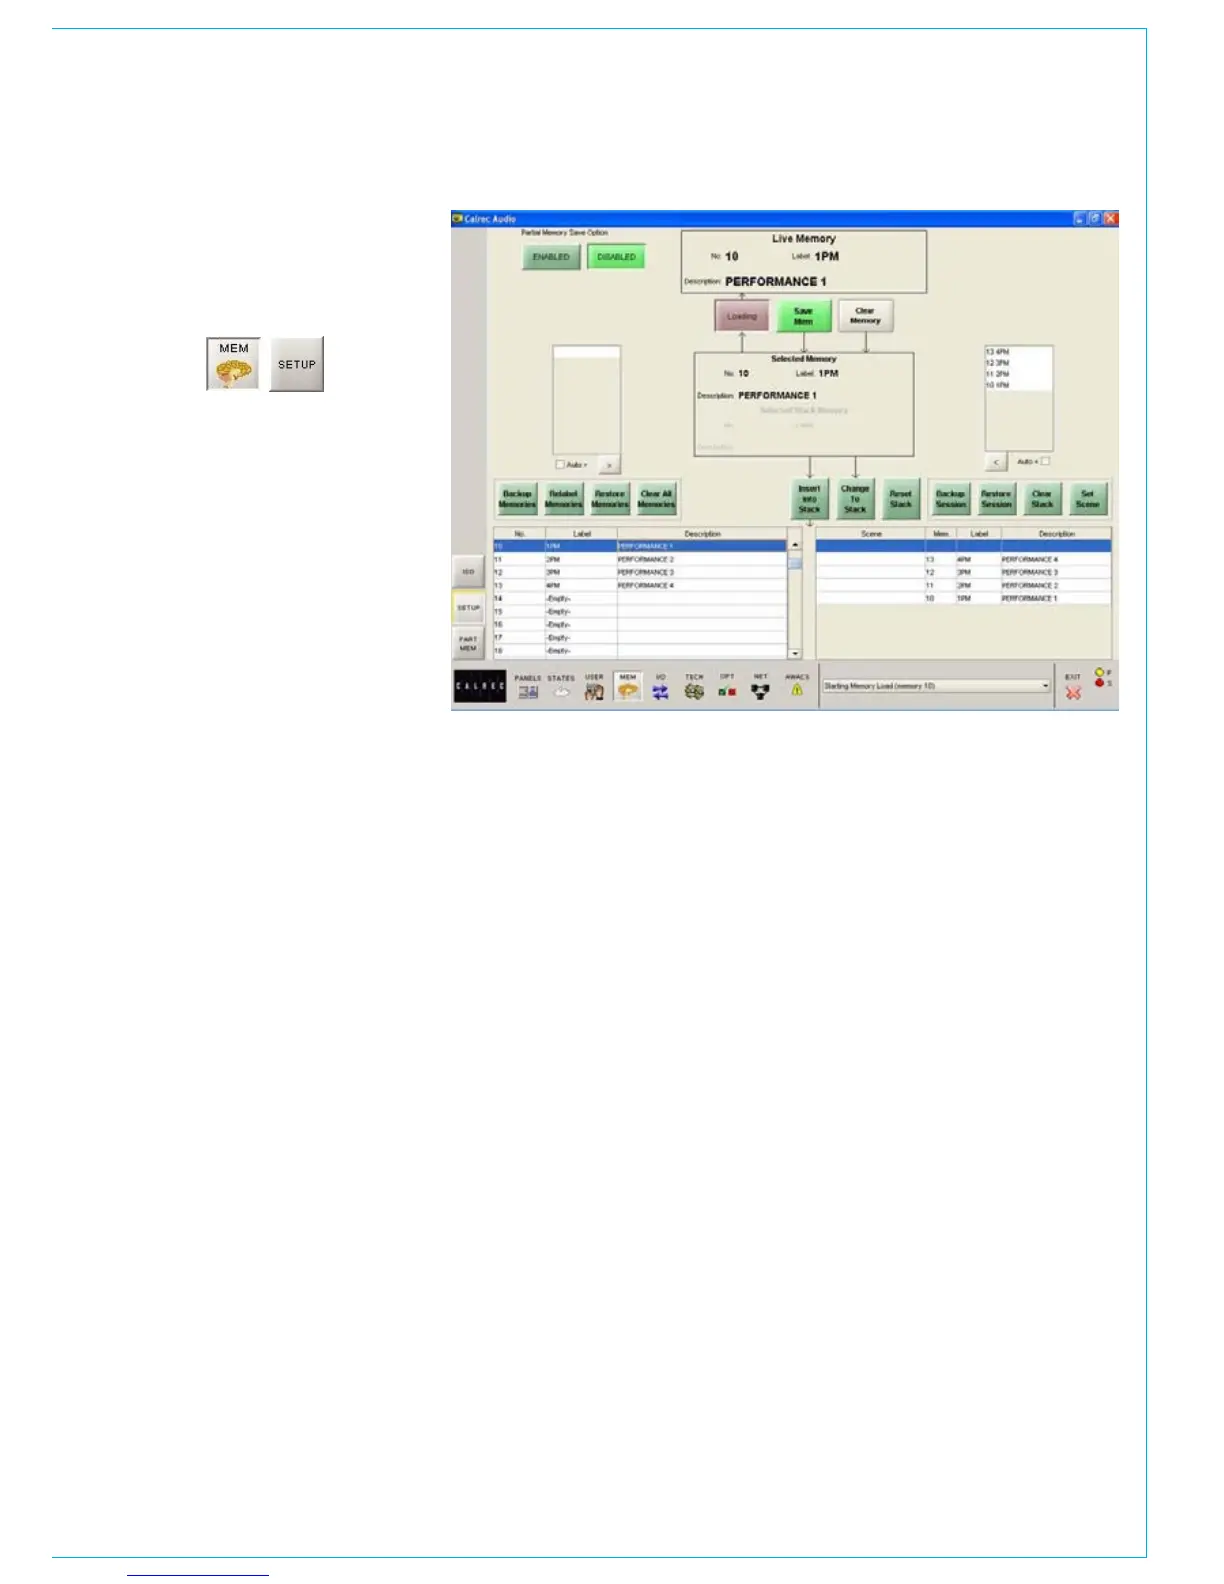
MEMORy SET UP SCREEN
Managing Memories in the Flash
ROM List
It is possible to back up all memories to the
hard disk by selecting “Backup Memories”.
Previously backed up memories can be
restored from the hard disk or other media
into Flash ROM by selecting “Restore
Memories” . Memories can be re-named by
selecting “Re-Label Memories”. Selecting
“Clear All Memories” will remove all
memories from the Flash ROM.
Sessions
Stacks can be saved to the hard disk or
removable media as sessions. Selecting
“Back Up Session” backs up the stack and
all the memories in it. “Restore Session”
allows previously backed up sessions to
be restored. “Clear Stack” will remove all
memories from the stack.