Customizing Standard Features
Configuring Phone Information and Display Settings
Cisco Small Business SPA300 Series, SPA500 Series, and WIP310 IP Phone Administration Guide 58
3
By using a USB device attached to the phone:
STEP 1 On the USB device, make sure the image you want to use meets the size and
format requirements (see above), and is located in a folder named “pictures.”
STEP 2 Insert the USB device into the phone and press the Setup button.
STEP 3 Choose User Preferences > Screen Preferences > Wallpaper.
STEP 4 Images on the USB device should display on the phone screen. Select the image
you want and then press Select.
STEP 5 Press Set and then Back to return to the previous screen.
Configuring the Screen Saver
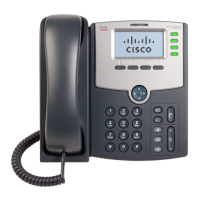
You can configure a screen saver for the Cisco SPA300 Series and Cisco SPA500
Series IP phones. (Not applicable to Cisco WIP310 or the Cisco SPA501G.) When
the phone is idle for a specified time, it enters screen saver mode. (Users can set
up screen savers directly by using phone Setup button.)
Any button press or on/off hook event triggers the phone to return to normal mode.
If a user password is set, the user must enter it to exit screen saver mode.
To configure the screen saver:
Cisco SPA303 or Cisco SPA5XXG
STEP 1 Click Admin Login > advanced > Voice > Phone.
STEP 2 In the General section, in the Screen Saver Enable field, choose yes to enable.
STEP 3 In the Screen Saver Wait field, enter the number of seconds of idle time to elapse
before the screen saver starts.
STEP 4 In the Screen Saver Icon field, choose the display type:
• A background picture.
• The station time in the middle of the IP phone screen.
• A moving padlock icon. When the phone is locked, the status line displays a
scrolling message “Press any key to unlock your phone.”
• A moving phone icon.
• The station date and time in the middle of the IP phone screen.