Appendix A: RAU Upgrades P/N 709C011801 Page 130
Installing the RxU Module in the RAU
Note: There is no need to disconnect the cables leading from the ceiling.
To install RxU module in RAU enclosure:
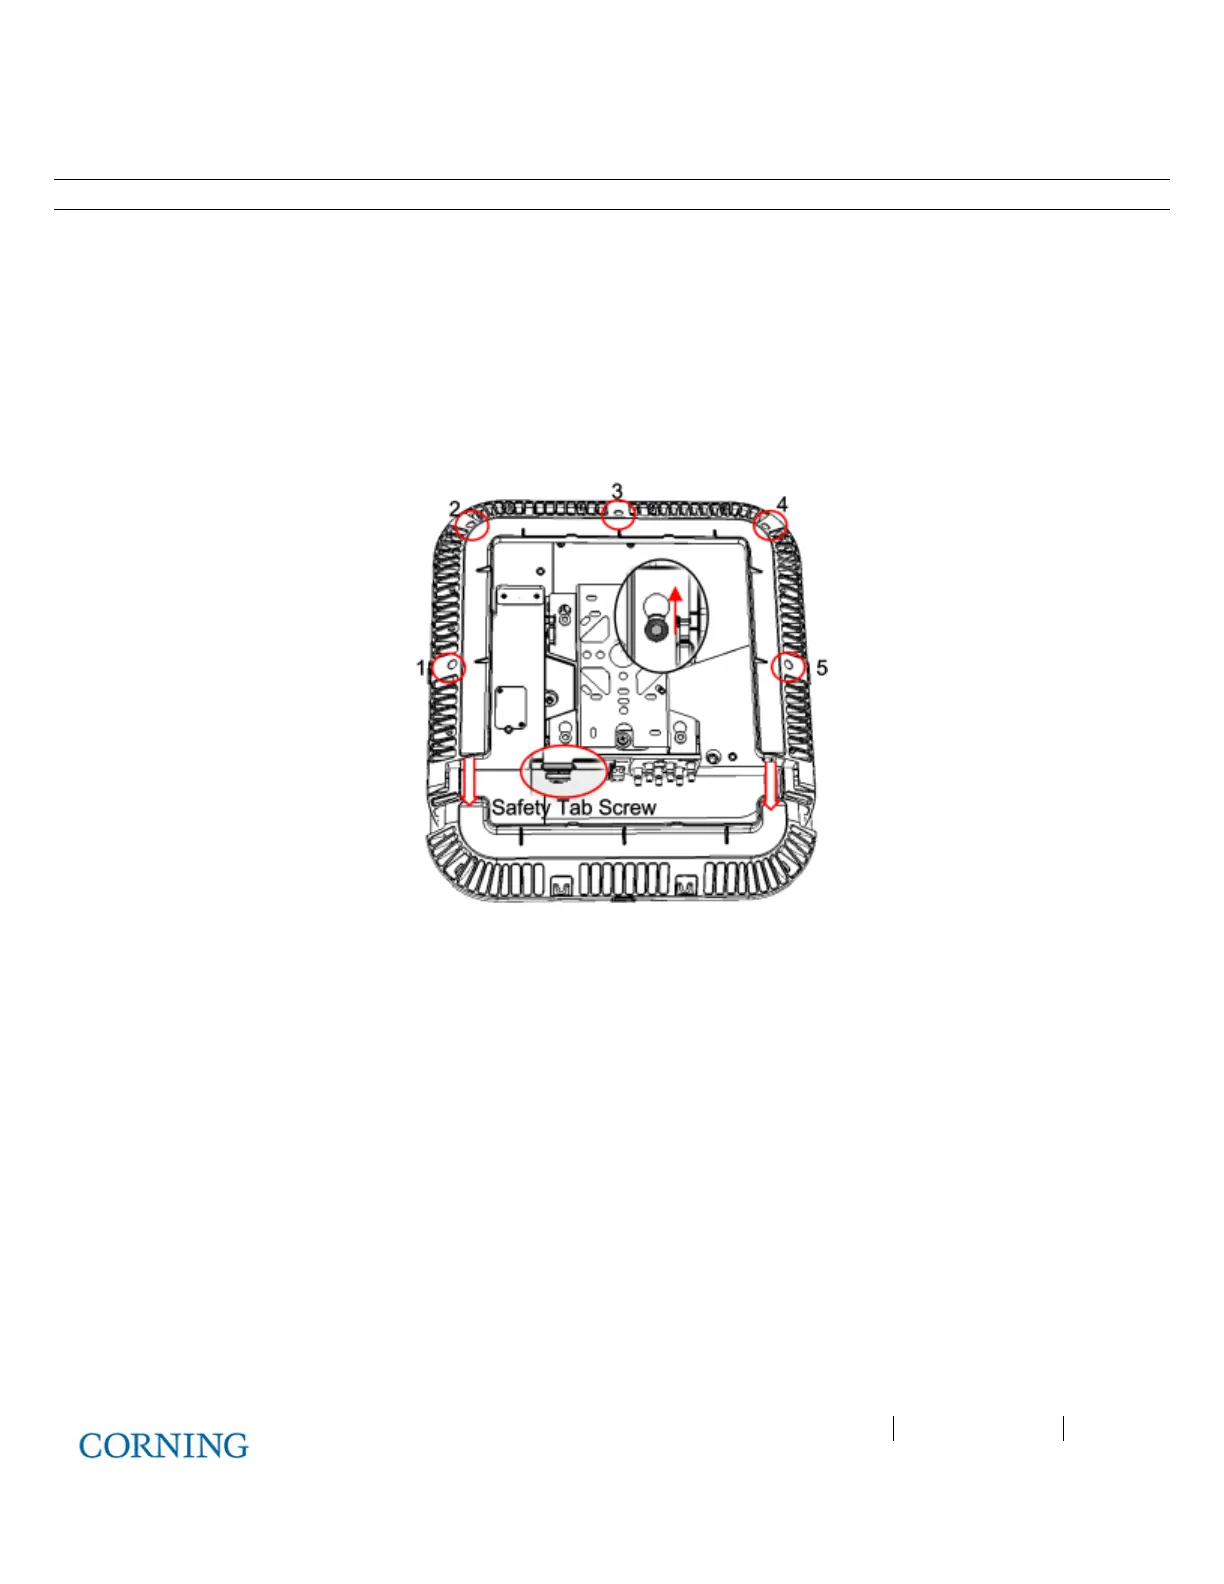
1. Referring to Figure 6-15, remove RAU enclosure cover:
A. Remove the Safety Tab Screw, securing the bracket to the RAU (located above MGMT port).
B. Slide the RAU back into wide end of bracket screw holes, so that it “clicks” and remove unit.
C. Unscrew (5) screws securing the RAU enclosure cover and remove cover..
D. Remove front flap in direction of arrows.
Figure 6-15. Removing RAU Enclosure Cover
2. Assemble the RxU in the RAU enclosure:
A. Plug the RxU in to the right
side of the RAU as indicated in Figure 6-16.
B. RxU and RAU interface ports should face the same direction.
C. Replace the cover except for the front access panel.