D
Turn the [Dial] and select [AUTO Z CONTROL].
E
Press [ENTER/PAUSE].
F
Turn the [Dial] and select [OFF].
* The engraving depth varies according to the engraving data created using Dr. Engrave Plus.
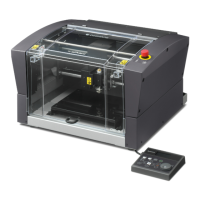
SETTINGS
OPERATING MODE
SPINDLE REVOLUTION ON
AUTO Z CONTROL OFF
012345678901234567 READY
G
Press [ENTER/PAUSE] to conrm.
After the following message is displayed for three seconds, the previous screen appears again.
Please set the lock lever
at the 3 position.
012345678901234567 READY
Important: Accurately perform P. 99 "3. Set the lock lever." later in this procedure.
H
Press [MENU/TOP].
The main screen appears again.
X 15.00mm
Y 23.00mm
Z 0.00mm S 5000rpm
012345678901234567 READY
2.
Install the end mill.
A
Open the front cover.
B
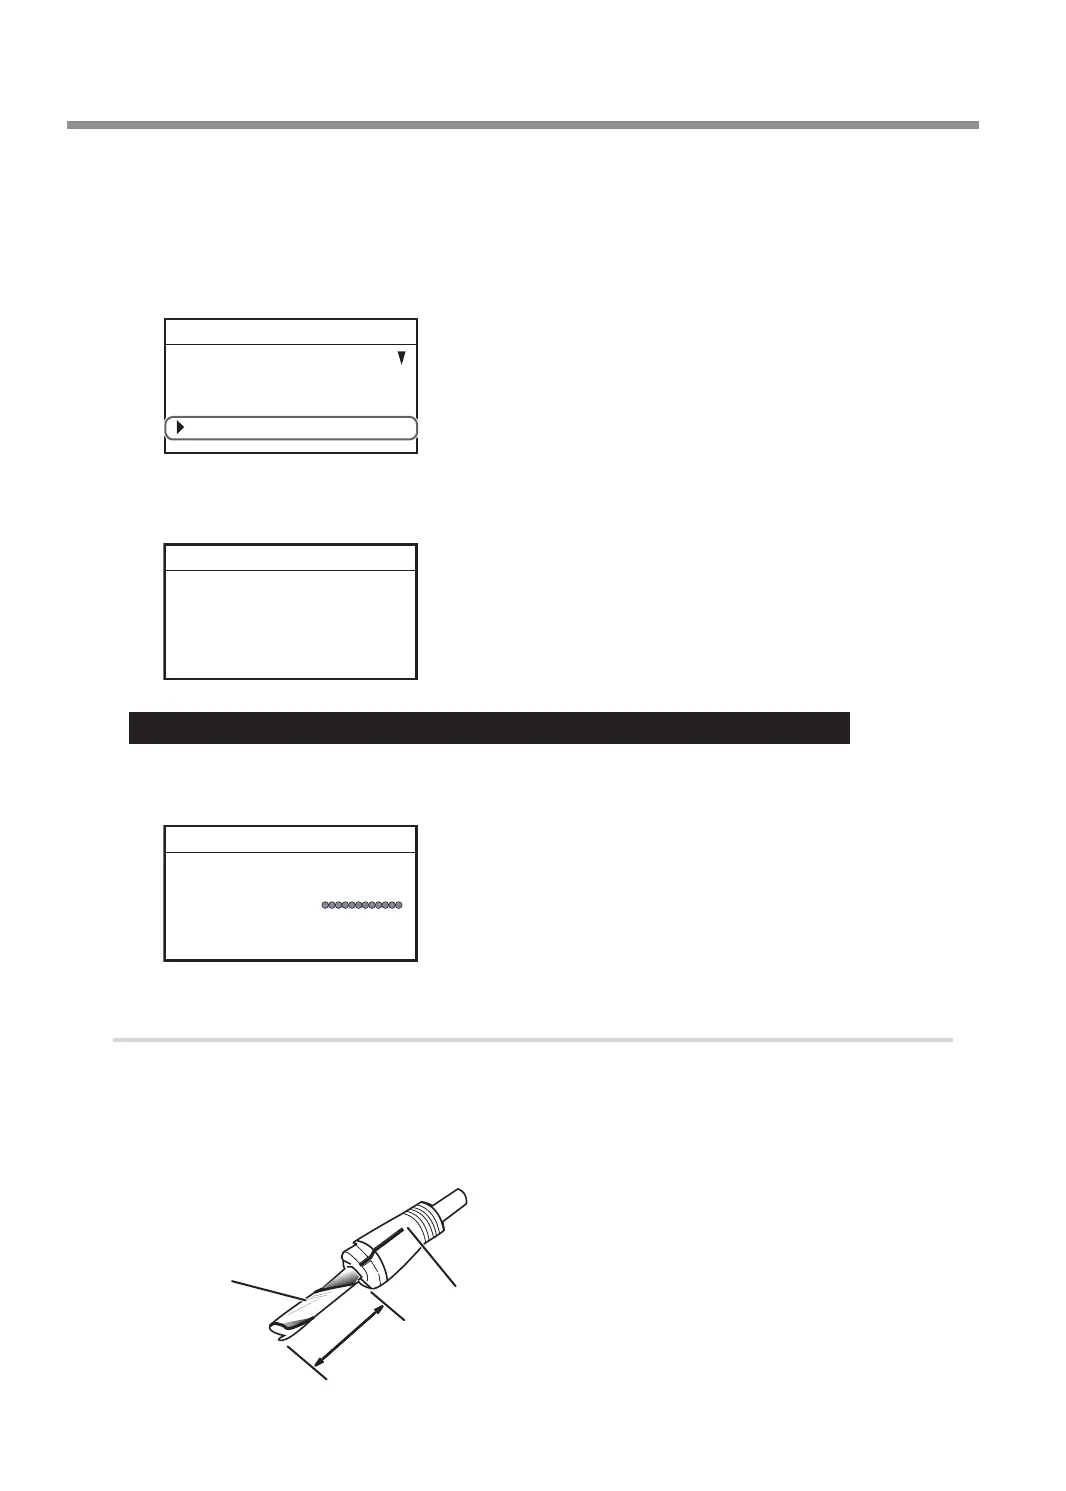
Insert the end mill into the collet for end mill.
The amount of extension of the end-mill tip differs according to the end mill and the workpiece type, but
as a general guide, an amount of about 20 to 25 mm (0.8 to 1.0 in.) may work well.
20 to 25 mm (0.8 to 1.0 in.)
Collet for end mill
End mill
Using Various Tools
98
Chapter 5 Various Engraving Methods