Distance Correction
Important
These settings aect the engraving accuracy. Set these values with great care. We do not recommend the
operation if you are not condent about the settings.
The distance correction for the X-axis and Y-axis can be set.
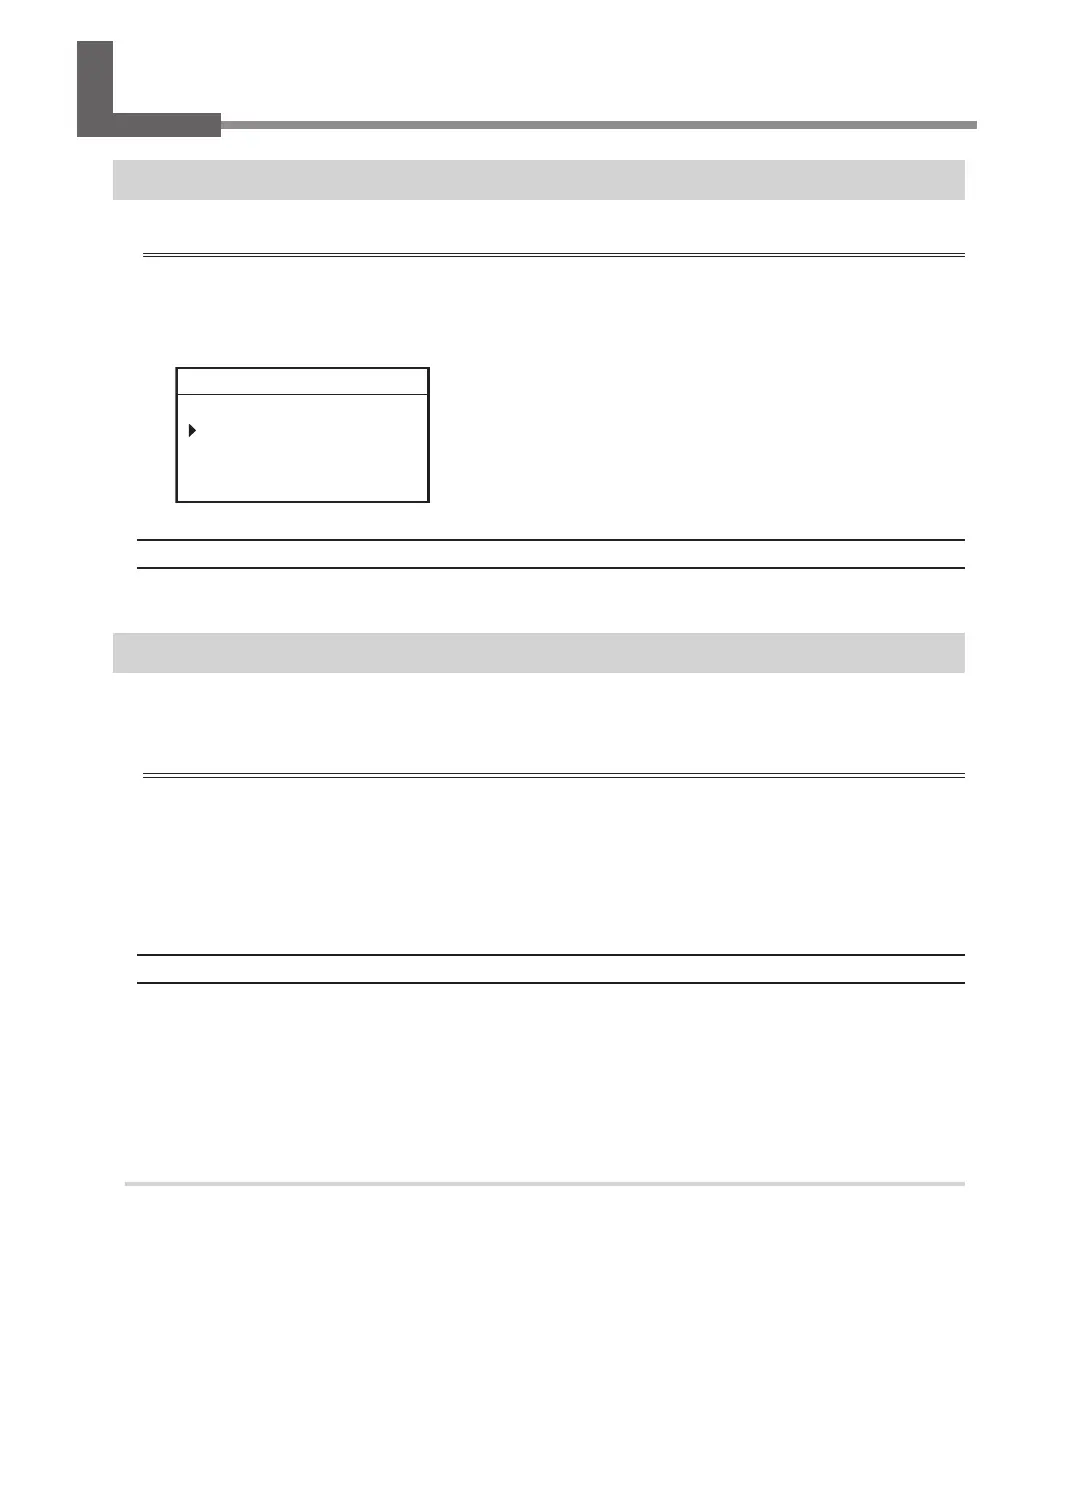
X 100.00%
Y 100.00%
012345678901234567 READY
Setting Range
99.5% to 100.5%
Laser Correction
If the previewed engraving position diers from the actual engraving position, correct the irradiation position of
the laser pointer.
Important
• Perform laser correction with the distance correction set to "100%."
When distance correction has been set to a value other than “100%," temporarily set the distance correction
to "100%" and perform laser correction. After laser correction nishes, return the distance correction to its
previously set value.
" P. 75 "Distance Correction"
Items Used in This Procedure
• Workpiece: Scrap board
• Tool: Character cutter
• Implements required for installing the tool
" P. 104 "Using a Character Cutter/Parallel Cutter (without Nose Unit)"
1.
Mark the workpiece.
A
Set the workpiece and tool.
" P. 38 "Step 1: Setting the Workpiece"
" P. 104 "Using a Character Cutter/Parallel Cutter (without Nose Unit)"
Correction
75
Chapter 4 Maintenance