1.
Make the settings for Z-axis control.
A
If the front cover is open, close it.
B
Press [ENTER/PAUSE].
When the initial operation is complete, the main screen appears.
C
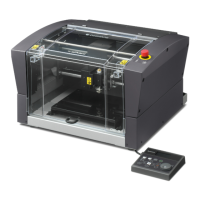
Press [MENU] several times to display the following screen.
SETTINGS
OPERATING MODE
SPINDLE REVOLUTION ON
AUTO Z CONTROL OFF
012345678901234567 READY
D
Turn the [Dial] and select [AUTO Z CONTROL].
E
Press [ENTER/PAUSE].
F
Turn the [Dial] and select [ON].
The machine automatically sets the Z-axis origin during engraving according to the height of the
workpiece.
* The [Depth] setting selected in the software is disabled.
SETTINGS
OPERATING MODE
SPINDLE REVOLUTION ON
AUTO Z CONTROL ON
012345678901234567 READY
G
Press [ENTER/PAUSE] to conrm.
After the following message is displayed for three seconds, the previous screen appears again.
Please set the lock lever
at the 1 or 2 position.
012345678901234567 READY
Important: Accurately perform P. 45 "3. Set the lock lever." later in this procedure.
H
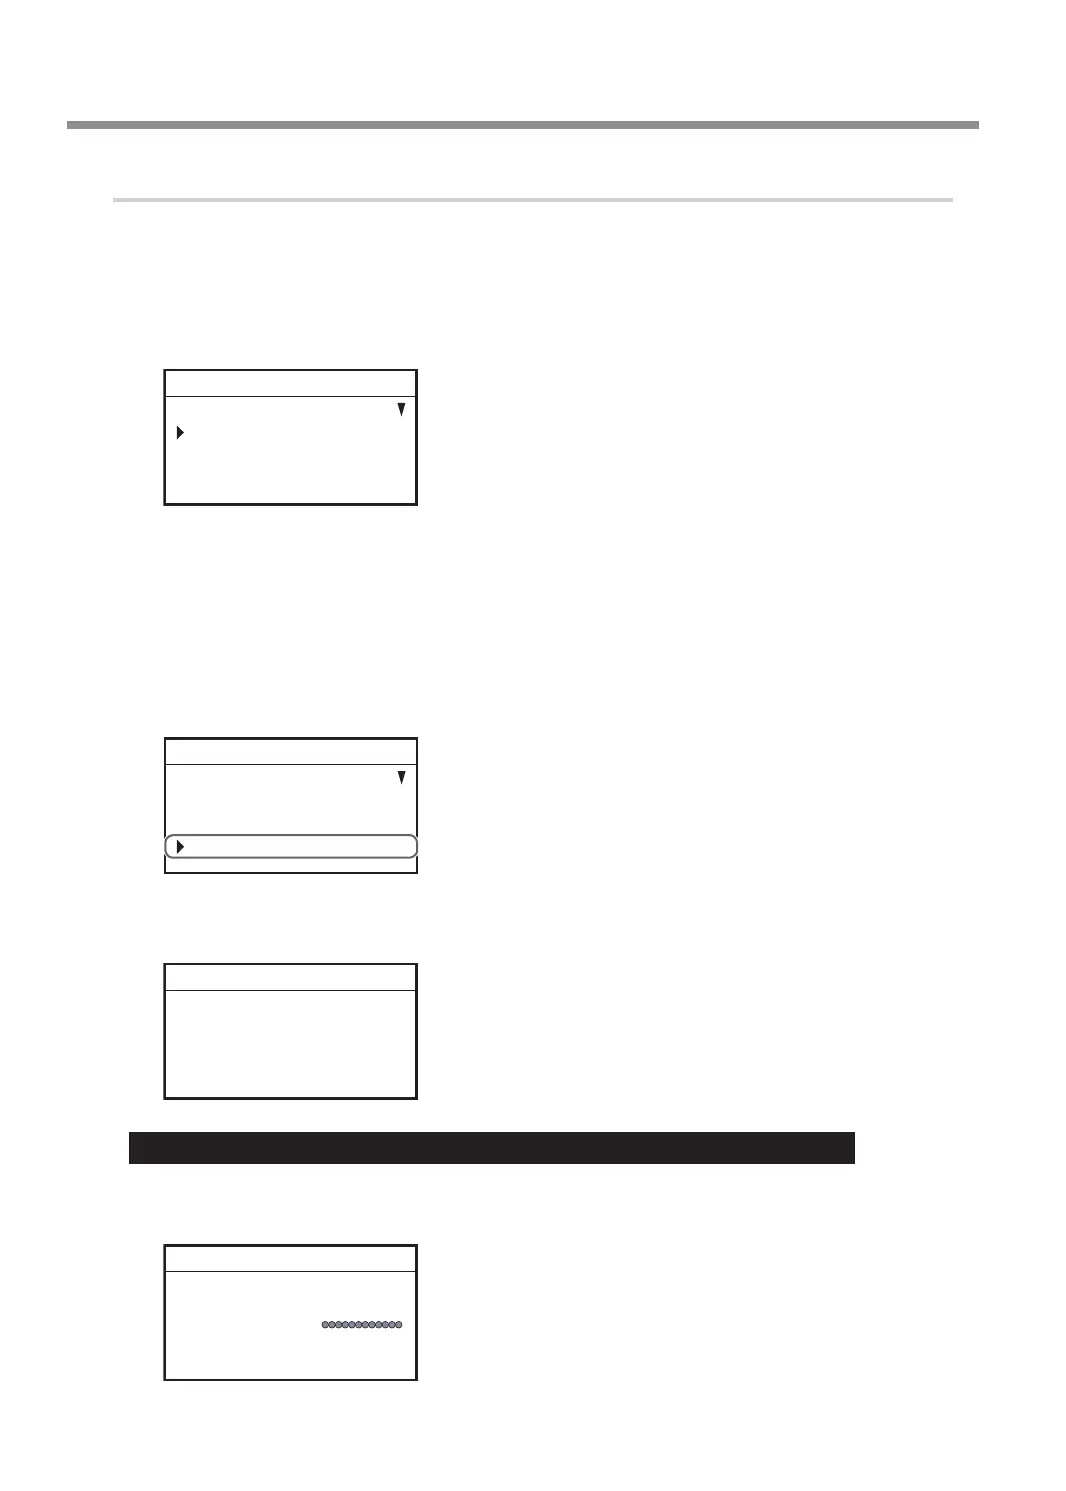
Press [MENU/TOP].
The main screen appears again. The Z-axis coordinate display changes to [AUTO].
X 15.00mm
Y 39.00mm
Z AUTO S 5000rpm
012345678901234567 READY
Starting Engraving
42
Chapter 3 Basic Engraving Methods