B
Press [ ], [ ], [ ], and [ ] to move the laser pointer to the position marked in step
1
-
I
.
C
Write down the XY coordinates displayed on the main screen.
3.
Set the correction values.
A
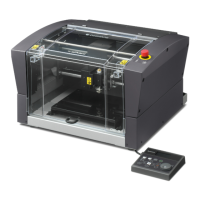
Press [MENU/TOP] several times to display the following menu.
SETTINGS
OPERATING MODE
SPINDLE REVOLUTION ON
AUTO Z CONTROL OFF
012345678901234567 READY
B
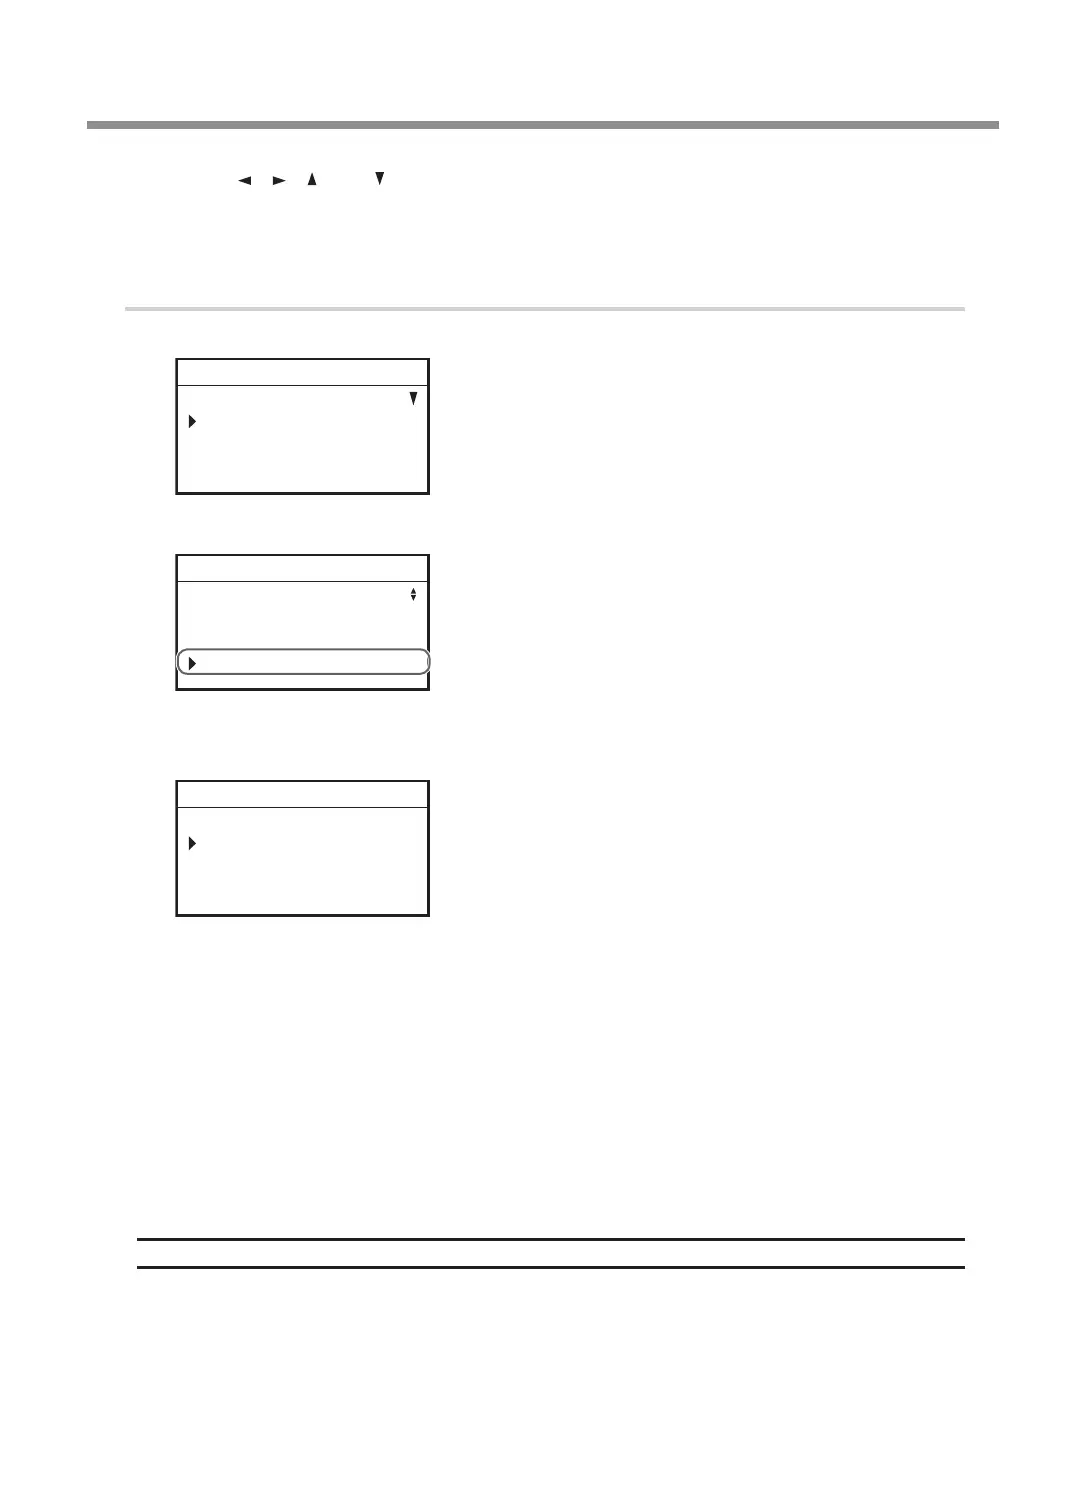
Turn the [Dial] and select [LASER CORRECTION].
AUTO Z SETTING
DISTANCE CORRECTION
LASER CORRECTION
012345678901234567 READY
C
Press [ENTER/PAUSE].
The following window is displayed.
X 00.00mm
Y 00.00mm
012345678901234567 READY
D
Press [ENTER/PAUSE].
You can now change the settings.
E
Use the [Dial] to set the X value written down in step
2
-
C
.
F
Press [ENTER/PAUSE].
The X value is set.
G
Select [Y] using the [Dial].
H
Repeat steps
D
to
F
to set the Y value as well.
Setting Range
−3 mm to +3 mm (−0.1 in. to +0.1 in.)
Correction
77
Chapter 4 Maintenance