Instructions for use Oxylog 3000 plus SW 1.n 103
Configuration
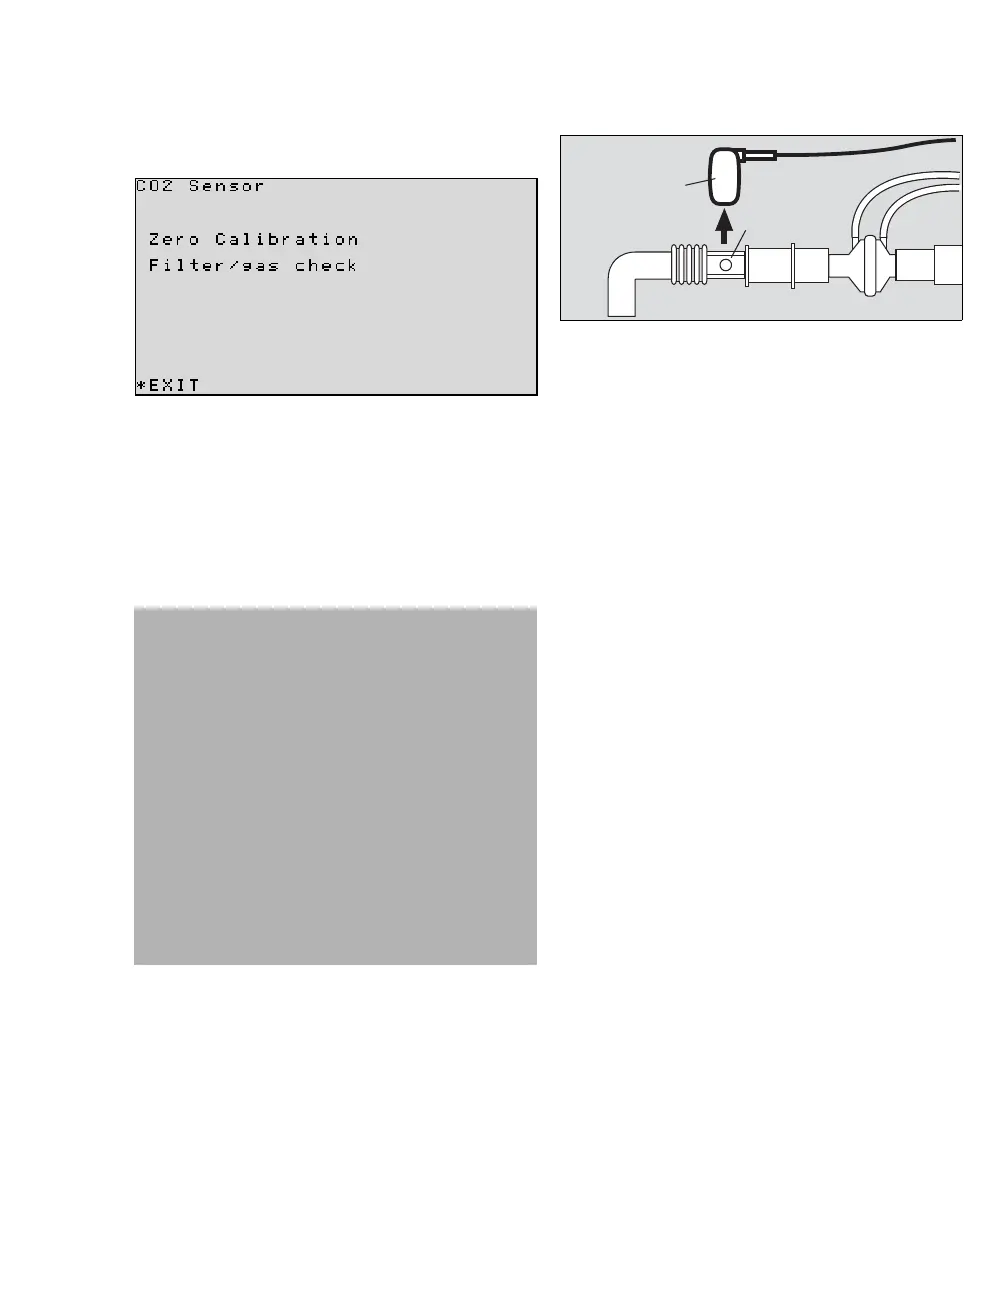
Checking and calibrating the CO2 sensor
Prerequisite: The CO2 option is activated.
The following actions can be selected:
– Zero Calibration;
– Filter/gas check
Performing zero calibration
1 Connect the CO
2 sensor to the ventilator. Wait
at least 3 minutes for the CO
2 sensor to
complete its warm-up phase.
2 Remove the CO
2 sensor (A) from the
cuvette (B).
3 Open the CO
2 sensor page, select the Zero
calibration line and confirm. The screen
displays the text Remove sensor from
cuvette.
4 Confirm with the rotary knob. Oxylog 3000 plus
performs the zero calibration and displays the
message Zero calibration in progress.
If zero calibration was successful:
After approx. 5 seconds Oxylog 3000 plus
confirms with the message Zero calibration
successful.
If zero calibration was not successful:
Oxylog 3000 plus displays the alarm message
Zero calibration failed.
Redo the zero calibration.
If zero calibration is still not possible:
1 Check whether the sensor (A) is soiled and
clean it if necessary. If the sensor is defective,
replace the sensor.
2 Redo the zero calibration.
054
WARNING
Risk of patient injury
The CO
2 measurement can be inaccurate and
lead to a risk of patient injury.
– Before the CO
2 filter check can be per-
formed, perform a CO2 zero calibration.
– Do not breathe on the CO
2 sensor during
the CO
2 zero calibration and the CO2 filter
check.
– Only perform the CO
2 zero calibration and
the CO2 filter check at ambient tempera-
tures between 10 and 40 °C (50 and
104 °F).
– Do not perform the CO2 zero calibration
when exposed to direct sunlight.
179
 Loading...