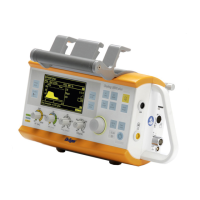
Instructions for use Oxylog 3000 plus SW 1.n 91
Monitoring
CO2 measurement (optional)
CO2 measurement only works when the CO2
option has been installed and the CO
2 sensor is
connected.
1 Connect the CO
2 sensor and the cuvette (refer
to "Connecting the CO
2 sensor and the cuvette"
on page 48).
2 Select the cuvette type in the settings menu
(refer to "Selecting the cuvette type").
The following will be activated:
– Curve window: CO
2 curve
– Measured values window: the parameter etCO
2
will automatically be displayed.
– Alarm window: etCO2 high and etCO2 low
alarms
For more information on curves and measured
values: refer to "Enlarged view of CO
2 curve"
on page 34.
For more information on configuring measured
value pairs: refer to "Customer Service Mode"
on page 97.
For information on connecting the CO
2 sensor and
cuvette, see page 48. For information on the CO
2
zero calibration and filter check before ventilation,
see page 58. For information on CO
2 configuration
in Customer Service Mode, see page 103.
Selecting the cuvette type
To select the cuvette type (reusable or disposable):
1 Press the Settings key.
2 Select and activate the line Cuvette type.
3 Select the cuvette type and confirm.
Checking the CO2 sensor during
ventilation
The following checks of the CO2 sensor are
recommended:
NOTE
The cuvette windows of the reusable cuvette and
disposable cuvette have different optical proper-
ties. Therefore, the correct cuvette type must be
selected in the settings menu. Otherwise the zero
point will be shifted by as much as ±8 mmHg CO
2.
NOTE
If a wrong cuvette type is selected,
Oxylog 3000 plus displays the alarm message
!!! Check cuvette type.
Check Interval
CO
2 zero calibration Weekly
CO
2 filter check Monthly
 Loading...
