Getting started
56 Instructions for use Oxylog 3000 plus SW 1.n
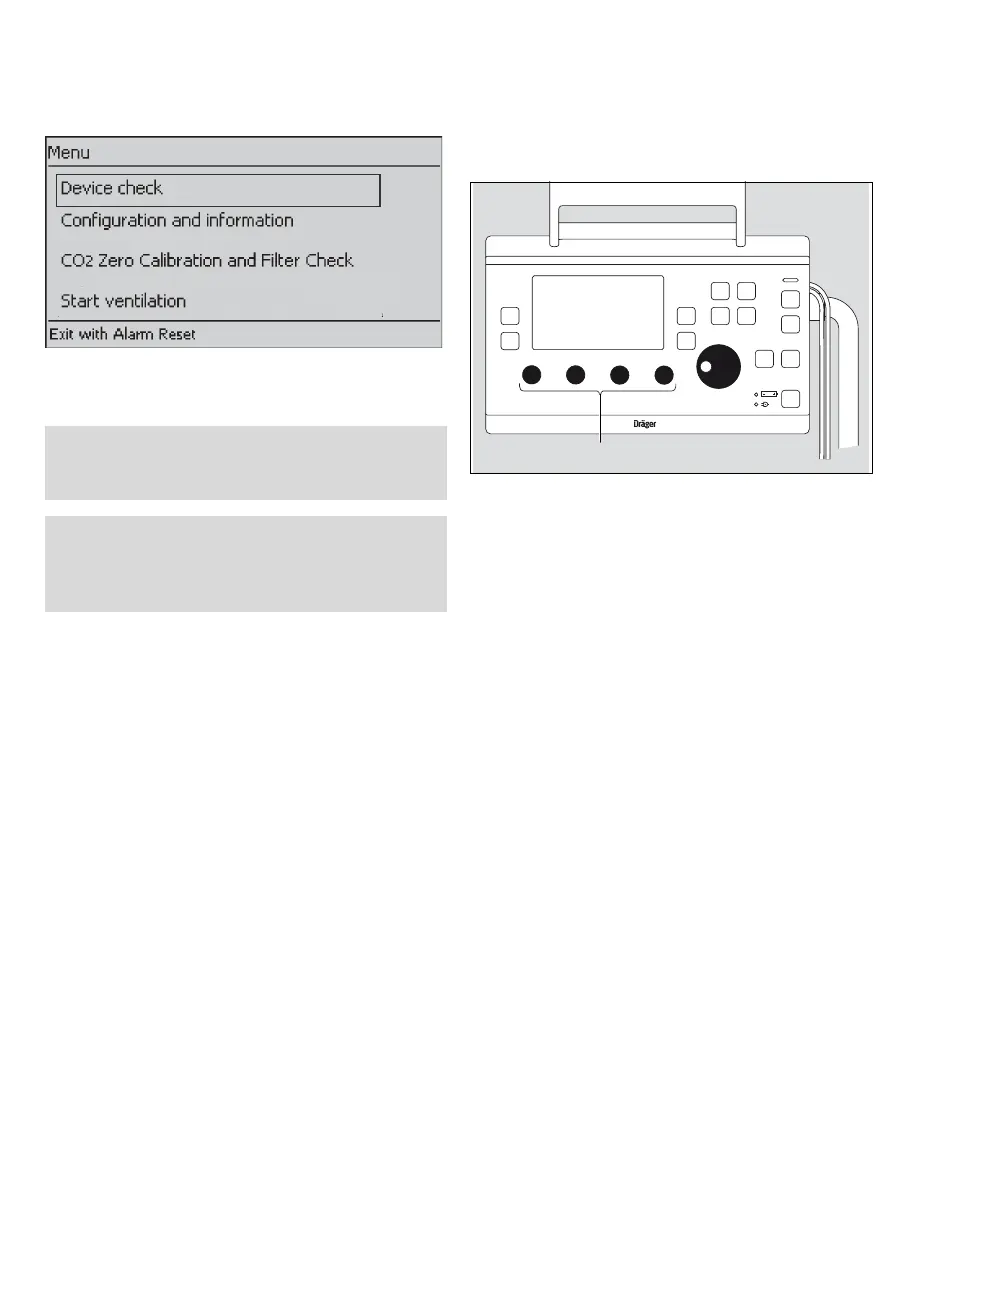
3 Select Device check in the start-up menu and
confirm.
Checking the connections
1 Ensure that the gas supply has been
connected.
2 Select and confirm the appropriate hose type.
3 Ensure that the test lung has been
connected.
Oxylog 3000 plus automatically checks if a test
lung has been connected. The device check is
interrupted if a test lung is not detected within
one minute. The check is continued when the
test lung is detected.
4 Oxylog 3000 plus automatically checks if the
detected hose matches the selected hose type.
If the wrong hose type is selected:
– Press the Alarm Reset key to cancel the
device check.
– Restart the device check.
– Select the correct hose type.
System check
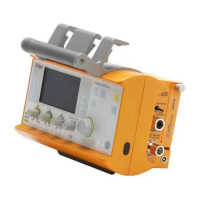
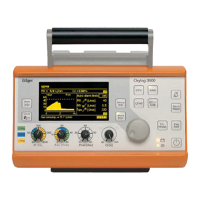
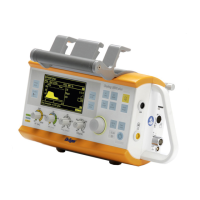
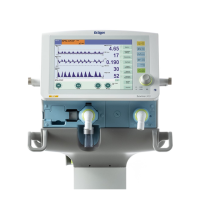
5 Set the control knobs (A) below the display to
the required values.
Oxylog 3000 plus successively activates the
acoustic and optical alarm signals and prompts
the user to acknowledge each signal.
6 Confirm the audible and optical alarm signals.
The device check continues automatically.
During the automatic test sequence,
Oxylog 3000 plus checks the flow control,
pressure levels and alarm signals.
Corresponding sounds are heard.
The progress bar shows the progress of the
check.
The result is displayed on the last page of the
device check screens. If all tests are completed
successfully, the device will go to the last page.
If a test fails, the device will go directly after the
failed test to the last page, without performing
the other tests.
After confirmation, the system returns to the
menu screen.
If the service inspection date has been passed
without servicing, the text Service date overdue !
will appear in the window after finishing the device
check. In this case the device must be serviced
immediately.
14737171
NOTE
The device check can be discontinued at any time
by pressing the Alarm Reset key.
NOTE
During device check, the connections (gas supply,
hose type) and the system (flow, pressure levels,
alarm signals and knobs) are checked.
023
 Loading...