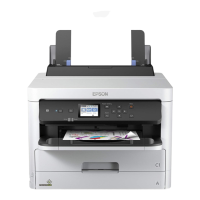
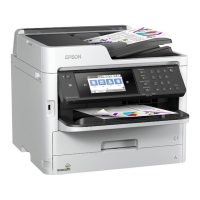
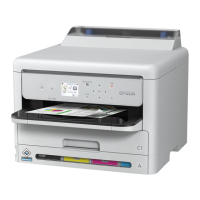
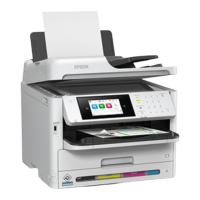
EPSON WF-C5790/WF-C5790a/WF-C5710/ET-8700/WF-C5210/WF-C5290/WF-C5290a Revision A
Troubleshooting Troubleshooting procedure 136
Confidential
Troubleshooting
Step Check and measure Yes No
1
Check whether printing or copying
Check whether the symptom occurs with printing or with copying.
Occurs with copying only
See ADF/scanner trouble (P.
154).
Occurs with printing and copying.
Go to the step 2
2
Check the settings
Check that the print settings and paper type setting is correct.
Go to step 3
Change the settings.
When the phenomenon is improved
Explain that the phenomenon is caused due to an
erroneous print setting, and get the setting corrected.
When the phenomenon is not improved
Go to step 3
3
Check the paper
Print with standard paper and check that there is no character distortion or blurring.
Go to step 4
Recommend using the standard paper.
4
Check the ink
Check that genuine ink packs are attached.
Go to step 5
Recommend using genuine ink packs.
Also, confirm recurrence by a genuine ink pack.
Note that it is necessary to fill ink due to ink replacement
inside the ink path.
If the symptom continues to occur after changing to the
genuine ink packs, go to step 5.
5
Check the nozzle check pattern
Print nozzle check patterns and check whether there are nozzles missing or deflection.
Nozzle condition is excellent?
Go to step 6
Execute the head cleaning.
The standard cleaning strength depending on the number
of missing nozzles is as described below.
• CL1: No. of missing nozzles (1 to 5)
• CL2: No. of missing nozzles (6 to 20)
• CL3: No. of missing nozzles (21 or more)
*If nozzle missing is not improved, refer to Nozzles
missing (P. 133).
If the symptom continues to occur, go to step 6.
6
Check the PG
Check the PG with the thickness gauge and check that it is within the specified value range
(1.55 ±0.10 mm).
Is the PG within the standard value?
Go to step 7
Perform the PG Adjustment (p. 559).
If the symptom continues to occur after performing the PG
adjustment, go to step 7.
 Loading...
