EPSON WF-C5790/WF-C5790a/WF-C5710/ET-8700/WF-C5210/WF-C5290/WF-C5290a Revision A
Adjustment Adjustment and Inspection Overview 553
Confidential
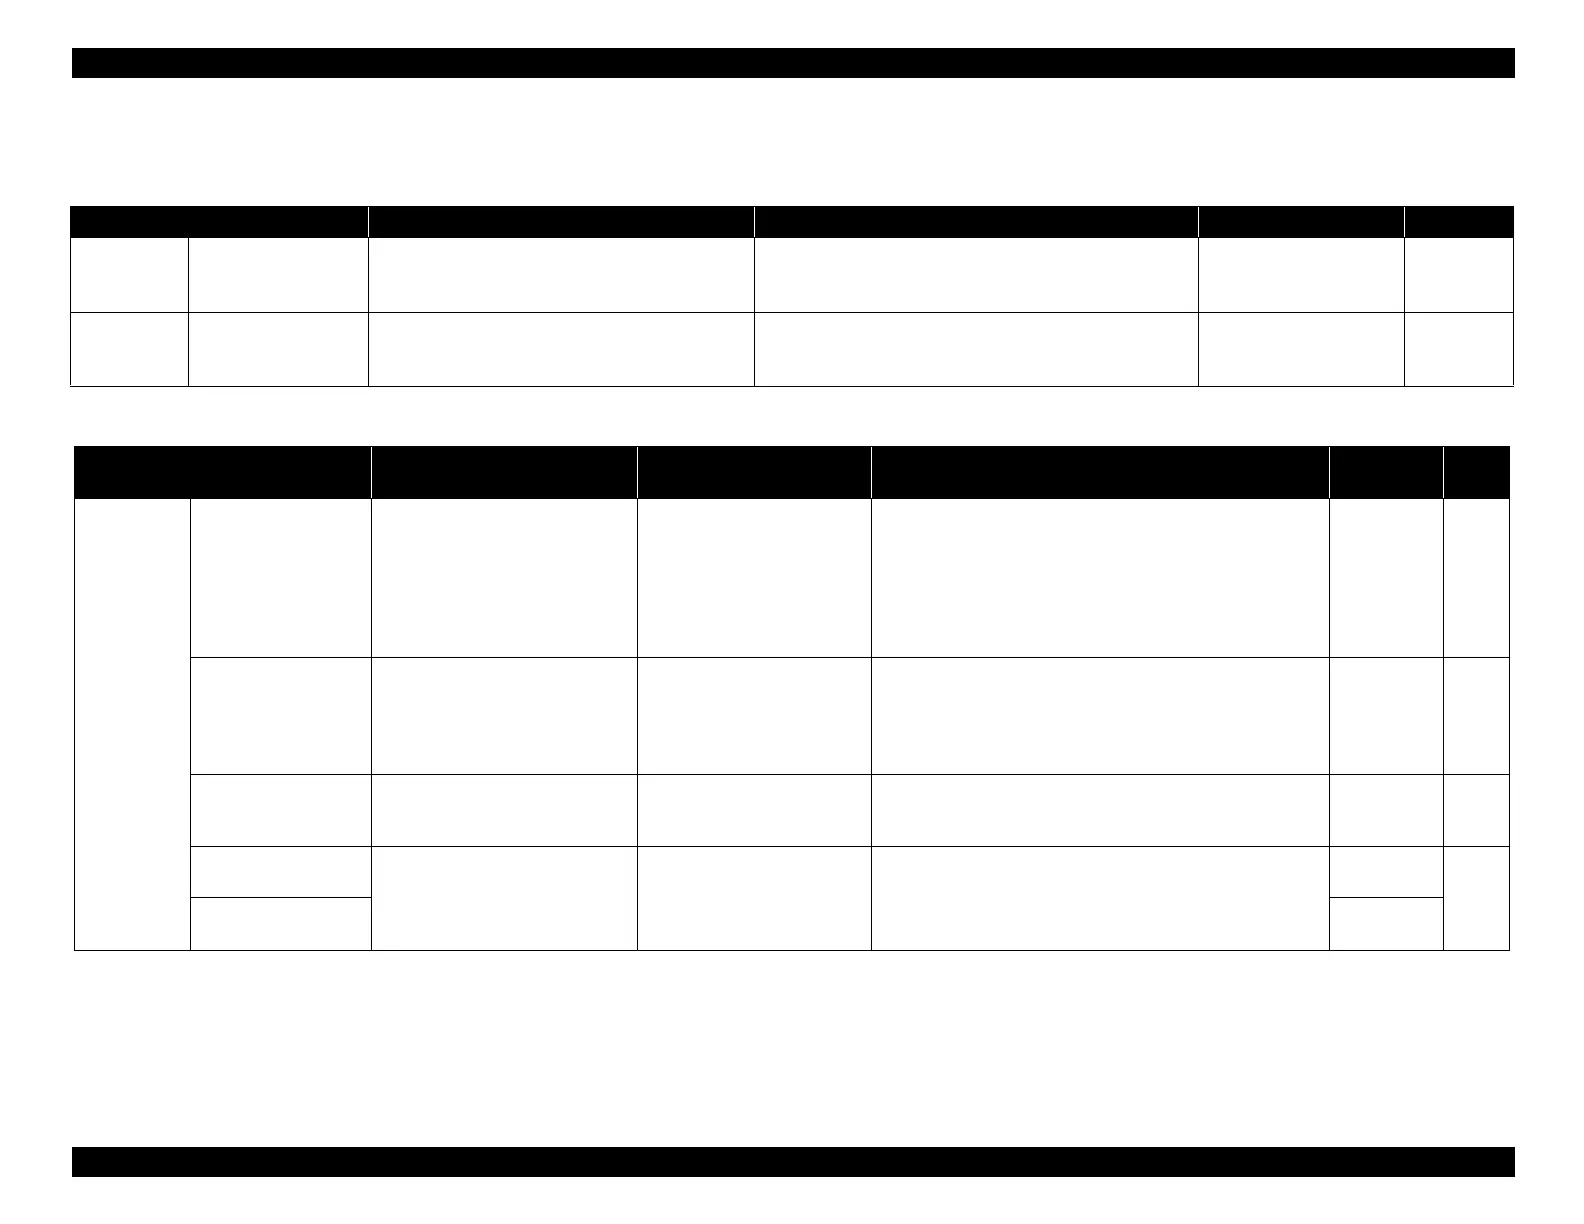
7.1.3 Adjustment and Inspection List
Mechanical adjustments and inspections
Software adjustments and inspections
Adjustment name Purpose Adjustment procedure overview
Tools Reference
Adjustment PG Adjustment Set the clearance of the gap between the nozzle
surface of the print head and the platen to an
appropriate amount.
Place a thickness gauge in the specified location and then
move the CR unit over the thickness gauge and check the
clearance.
Thickness gauge
Teflon tape
P. 559
Inspection Leak Check To prevent ink leaks, make sure there is no ink
leaking from the joints of the print head and ink
supply unit ink tubes.
When the ink supply unit ink tubes are attached to the print
head, insert the leak check jig and determine whether or not
there is a leak by whether or not ink adheres to it.
Leak tester sheet
P. 563
Adjustment name Purpose
Adjustment /
inspection paper /feed tray
Adjustment procedure overview Tools
Reference
Initial settings
EEPROM data copy
When the Main Board needs to be
replaced, use this to copy adjustment
values stored on the old Main Board to
the new board. If this copy is completed
successfully, all the other adjustments
required after replacing the Main Board
are no longer be necessary.
-
With the old Board installed, use the adjustment program to read
out the EEPROM data, and after exchanging with the new Board,
load the read out data.
Adjustment
Program
P. 564
Initialize Setting
This must be carried out after
replacing the Main Board to apply
settings for the target market, etc.
Perform MAC address Setting if
necessary.
-
Enter the product serial number of the printer using the
adjustment program, and write the initial setting information
onto the Main Board.
Adjustment
Program
P. 565
Head ID Input
Input the ID incorporating the
correction values for print head
production variations.
-
Select “Head ID Input” from the Adjustment Program and
execute the item. (Auto input) After the ID is input, check that
the correct print head ID has been written in the same menu.
Adjustment
Program
P. 566
Initialize PF
deterioration offset
Reset the deterioration correction
counter.
-
Select “Initialize PF deterioration offset” or “Initialize PW
sensor deterioration counter” from the Adjustment Program
and execute the counter reset.
Adjustment
Program
P. 566
Initialize PW detector
deterioration counter
Adjustment
Program