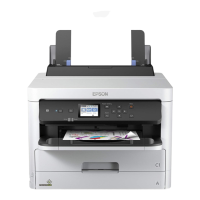
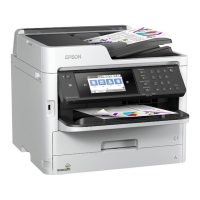
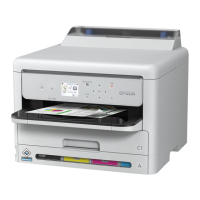
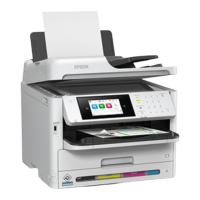
EPSON WF-C5790/WF-C5790a/WF-C5710/ET-8700/WF-C5210/WF-C5290/WF-C5290a Revision A
Troubleshooting Troubleshooting procedure 144
Confidential
Troubleshooting
Step Check and measure Yes No
1
Check the paper.
Check that suitable paper (1. paper is not printed. 2. paper don't have punch holes,
etc.) is being used.
Has the appropriate paper been used.
Go to step 2
Change the paper to suitable paper.
When the phenomenon is improved
Explain that the phenomenon is caused due to
the paper, and make sure the appropriate paper
is used.
When the phenomenon is not improved
Go to step 2
2
Check the settings.
Check the settings of the main unit/printer driver listed below.
Check that the paper type/size settings are appropriate.
Check that a value other than “0” is not input for the offset in the extended
settings of the printer driver.
Have the printer/driver settings been made correctly?
Go to step 3
Change the settings.
When the phenomenon is improved
Explain that the phenomenon is caused due to
an erroneous setting, and get the setting
corrected.
When the phenomenon is not improved
Go to step 3
3
Check the rollers.
Check that the pickup/conveyance rollers are not deformed or worn out.
Are the pickup and conveyance rollers normal?
Go to step 4
If roller is damaged, replace the rollers listed
below.
• Pickup Roller Assy (p. 453)
• Retard Roller (p. 453)
• Paper Guide Upper Assy (p. 468)
•Rear Unit (p. 453)
If the symptom continues to occur, go to step 4.
4
Check the PE Sensor Lever.
Check that the state and movement of the PE Sensor Lever are normal.
Is the PE Sensor Lever operating normally?
Go to step 5
Replace the PE Sensor Lever (p. 468).
If the symptom continues to occur, go to step 5.
5
Replace the CR Unit.
Replace the CR Unit. (p. 417)
Has the phenomenon been improved upon?
End Replace the Printer Mechanism. (p. 490)
 Loading...
