4 Scan
138
Scan
4
Scan to Mailbox
You can scan documents and save the scanned data to the machine's mailbox.
To use the Scanner to Mailbox feature, select [Scan to Mailbox].
An mailbox needs to be registered.
For more information on registering a mailbox, refer to "Mailbox" (P.371).
Note • For Document Centre 1100/900, this feature does not appear for some models. An optional
package is necessary. For more information, contact our Customer Support Center.
• For DocuCentre 9000 not equipped with scanner, scan features are not available.
1 Select [Scan to Mailbox] from the
[All Services] screen.
Note • If the [All Services] screen is
not shown, press the <All
Services> button.
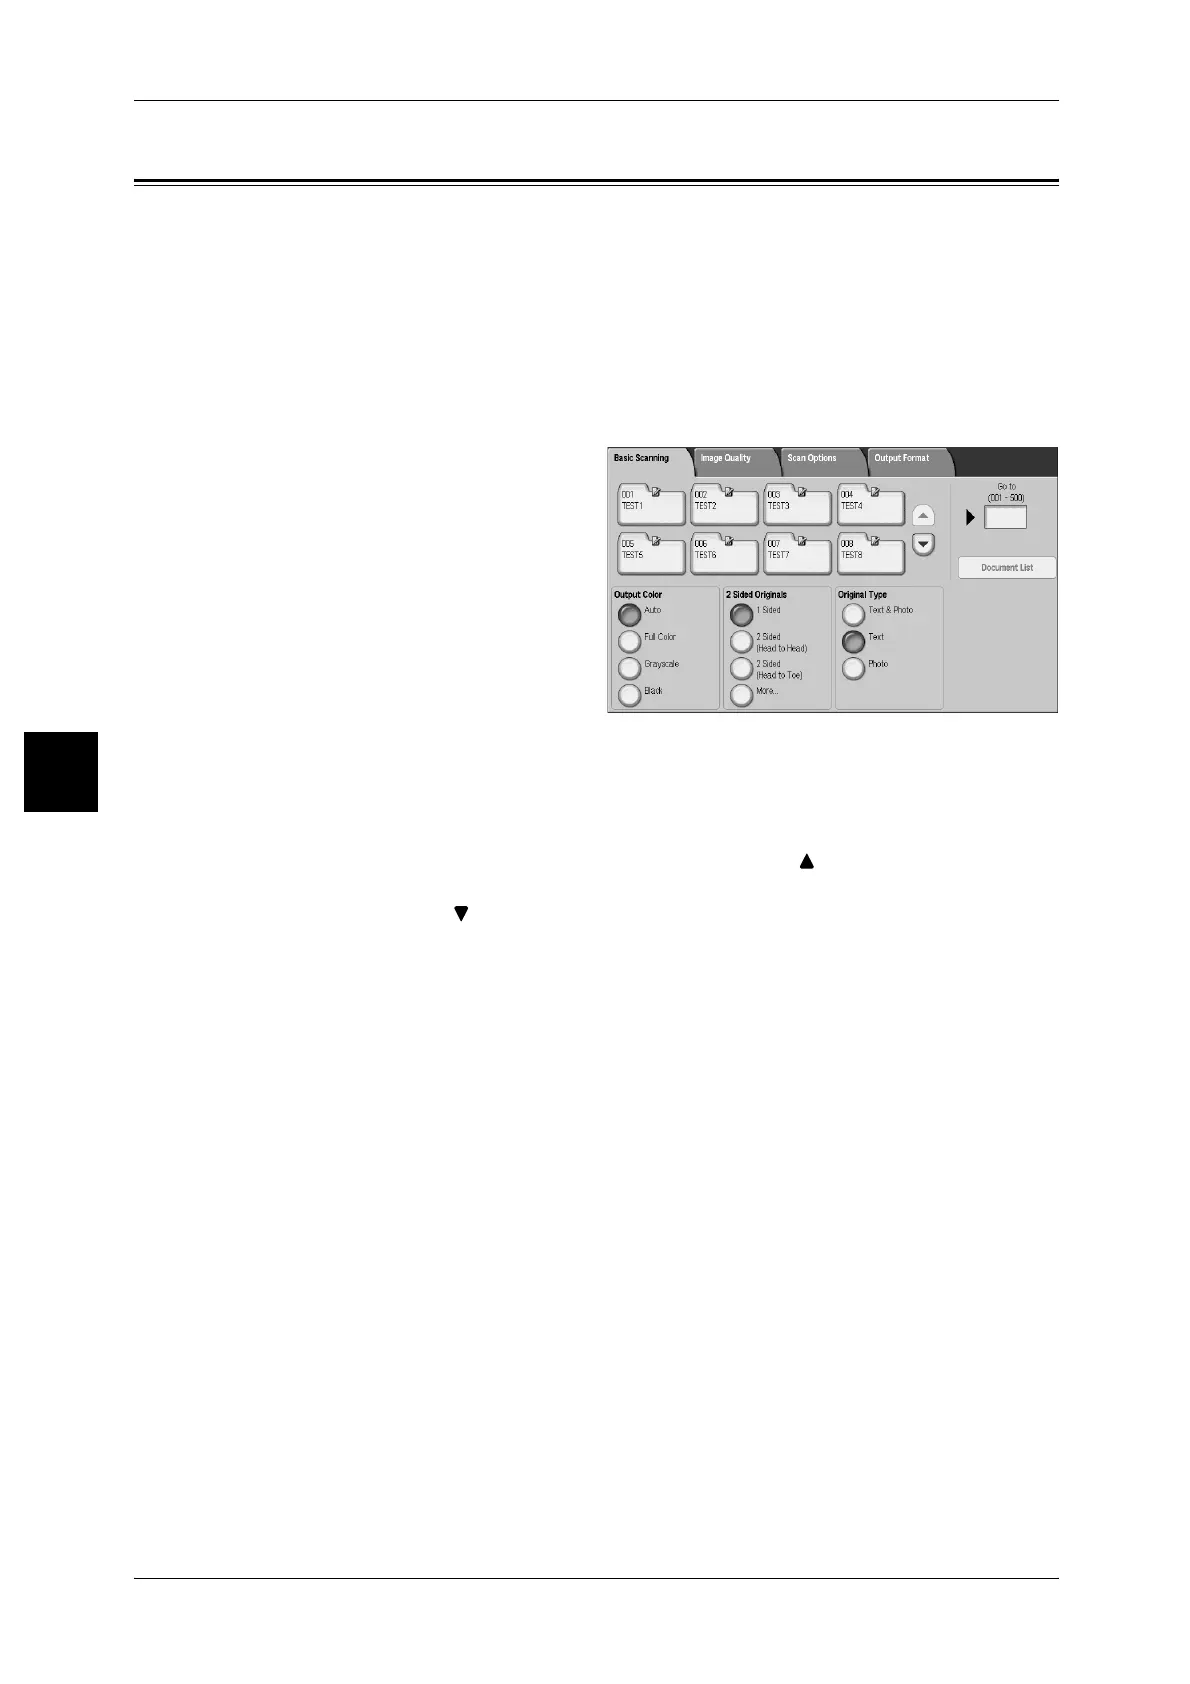
2 In the [Basic Scanning] screen,
specify a mailbox to save the
scanned data.
Note • The screen at right is from
DocuCentre 9000.
• If a password is set for the
mailbox, the password entry screen appears. Enter the password and select [Confirm]. If
you have forgotten the password, reconfigure the mailbox password in System
Administration mode.
Mailbox
Select the mailbox to store the scanned data. Select the [
] button to display the
previous screen.
Note • Select the [ ] button to display the next screen.
Go to
Use the numeric keypad to enter a 3 digit mailbox number. That mailbox then appears
at the top of the list.
Document List
Select a mailbox and press this button to check or delete documents stored within.
Output Color
For information about the feature, refer to "Output Color (Selecting a Color Mode)" (P.146).
Lighten/Darken
For more information, refer to "Lighten/Darken (adjusting the Scan Density)" (P.147).
2 Sided Originals
For more information, refer to "2 Sided Originals (Scans Both Sides of the Document)" (P.147).
Original Type
For more information, refer to "Original Type (Select the Document Type)" (P.149).
 Loading...