are automatically renumbered sequentially from left to
right after points are set or deleted.
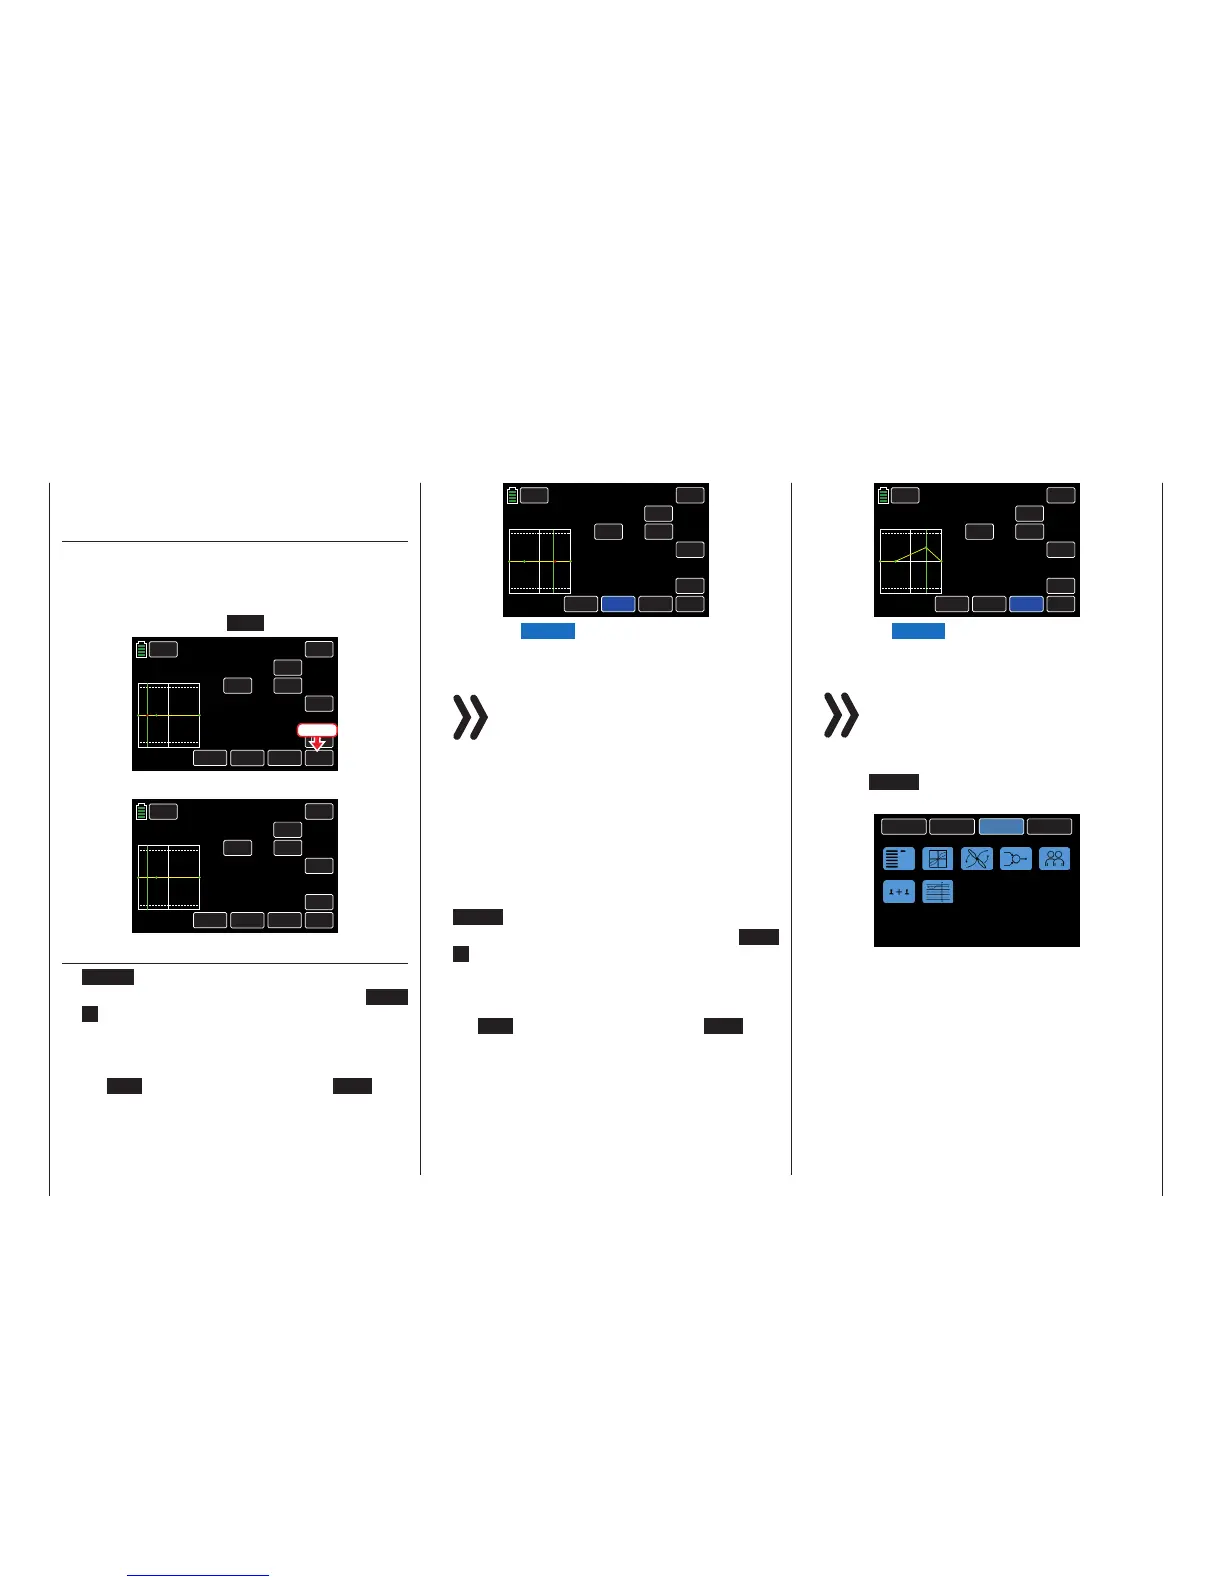
Deleting a Support Point
To remove a set support point, move the control stick
until the vertical green line aligns with the point to be
deleted. The support point will turn red and its number
and associated value will appear in the POINT line. To
clear the point, press the ENT button:
BACK
PHASE 1
IN
OUT
POINT
ON
INC
ENT
DEC
Y-axis
X-axis
ST ON
ACT
000%
000%
1
SERVO
Prog.MIX
ON
CTL
CH8 >> CH10
–085%
TRIM
ON
Press
The red point disappears:
BACK
PHASE 1
IN
OUT
POINT
ON
INC
ENT
DEC
Y-axis
X-axis
ST ON
ACT
000%
000%
?
SERVO
Prog.MIX
ON
CTL
CH8 >> CH10
–085%
TRIM
ON
Changing the Support Point Value
• X-axis Button (X-axis)
Activate this function, press to highlight the X-ax-
is button at the bottom edge of the display. Point
values can be changed only when the button is
blue.
Move the active (red) point to the right by pressing
the INC button or to the left with the DEC but-
ton. In the example below, Point 1 (set at -45%)
and Point 2 (set at +45%) is moved and placed
precisely between the end position and middle po-
sition:
BACK
PHASE 1
IN
OUT
POINT
ON
INC
ENT
DEC
Y-axis
X-axis
ST ON
ACT
000%
000%
SERVO
Prog.MIX
ON
CTL
CH8 >> CH10
+050%
2
TRIM
ON
Press the X-axis button to deactivate the func-
tion. The button changes back to black.
Notices
• Moving the red point horizontally away
from thecurrentcontrol position will cause
the point to become green after a short
while, and a ? will appearin the Point line.
This question mark does not relate to the
point which has been moved, rather, it in-
dicates that another point can be set at the
current control position.
• Remember that the percentages in the in-
put (IN) and output (OUT) line always refer
to the temporary position of the control
stick and not to the position of the point.
• Y-axis Button (Y-axis)
Activate this function, press to highlight the Y-ax-
is button at the bottom edge of the display. Point
values can be changed only when the button is
blue.
Move the active (red) point to the right by pressing
the INC button or to the left with the DEC but-
ton:
BACK
PHASE 1
IN
OUT
POINT
ON
INC
ENT
DEC
Y-axis
X-axis
ST ON
ACT
SERVO
Prog.MIX
ON
CTL
CH8 >> CH10
2
+050%
+050%
+050%
TRIM
ON
Press the Y-axis button to deactivate the func-
tion. The button changes back to black.
Notice
Remember that the percentages in the input
(IN) and output (OUT) line always refer to the
temporary position of the control stick and not
to the position of the point.
Press the BACK button at the top left of the display
to return to the mixer selection.
BACK
SYSTEM
BASE
FUNCTION
Phase
D/R,EXP
THR.CRV
Prog.MIX
Trainer
Sequence
Logical sw
140 Function menu | general - Free mixer

 Loading...


