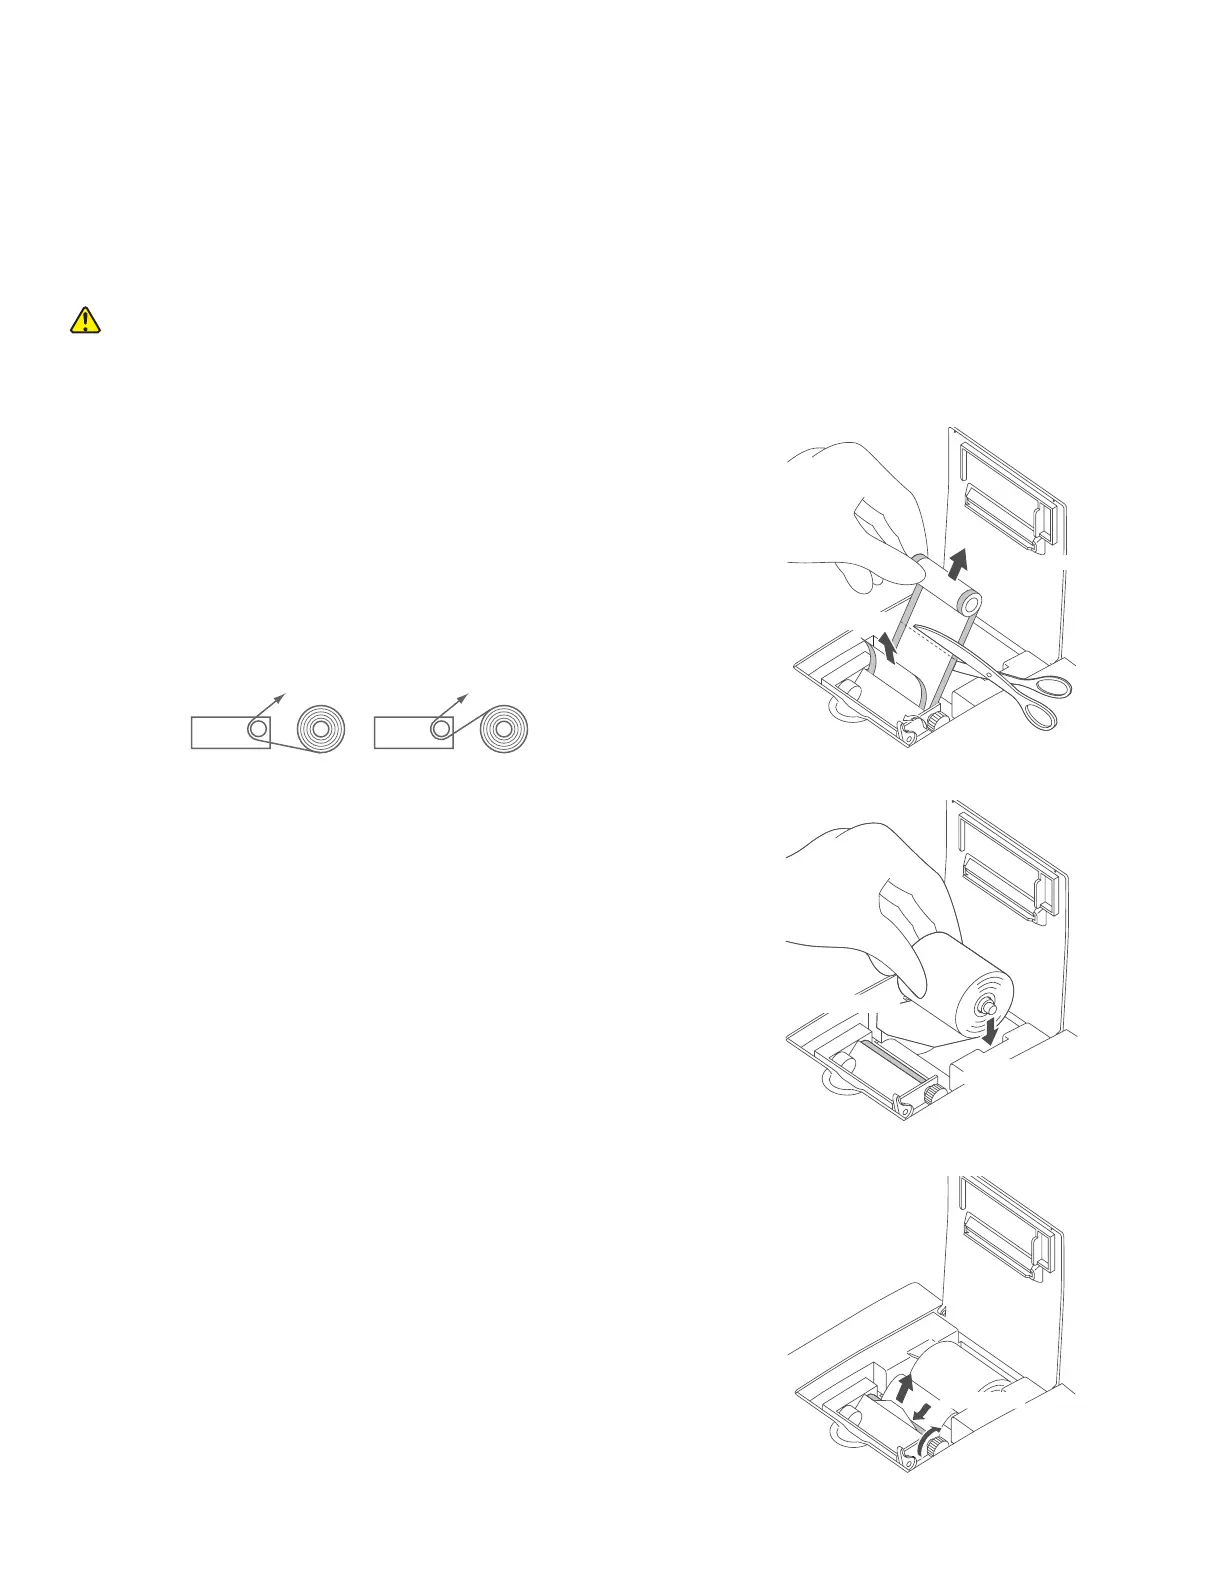
4.5.1 Replacement procedure
1. Open the printer cover.
CAUTION
Do not touch the edge of the paper cutter with bare hands.
2. Cut off the remaining paper to remove.
Lift the remaining paper roll and cut it off before the
insertion opening to remove.
3. Lift the lever to release the paper lock.
4. Pull the remaining paper out in the advancing direction.
5. Cut off the left-hand and right-hand corners of the end of
the new paper.
6. Insert the core into the paper roll and put the paper roll into
its loading space.
NOTE: Set the paper roll so the paper is pulled from under the
paper roll as shown below.
NOTE: Set the paper roll so the paper is pulled from under the
paper roll as shown below.
7. Insert the paper under the rubber roller.
8. Turn the finger grip to advance the paper and remove
any slack.
(1)Open cover
(2)Cut off to remov
(4)Pull out
(3)Lift lever
4.5 Replacing the Recording Paper
A red line appearing along the sides of the recording paper means that the printer is nearly out of paper. Replace the
recording paper roll with a new one.
NOTE: Use specified recording paper for the Element DC.
(5)Cut corners
(6)Insert core
and set paper roll
(8)Turn finger grip to feed
(7)Insert paper
55