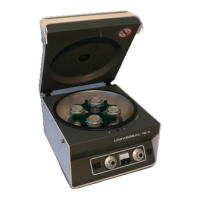
Fig. 104: ‘Program segment settings
Start time’
1
‘Start time’
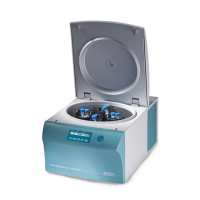
Fig. 105: ‘Program segment settings
Start time
Input start time’
1 Editing the time
‘hours’
2 Editing the time
‘minute’
3
[Cancel]
button
4
[Clear input]
button
5
[Conrmation]
button
6 Keypad
4.
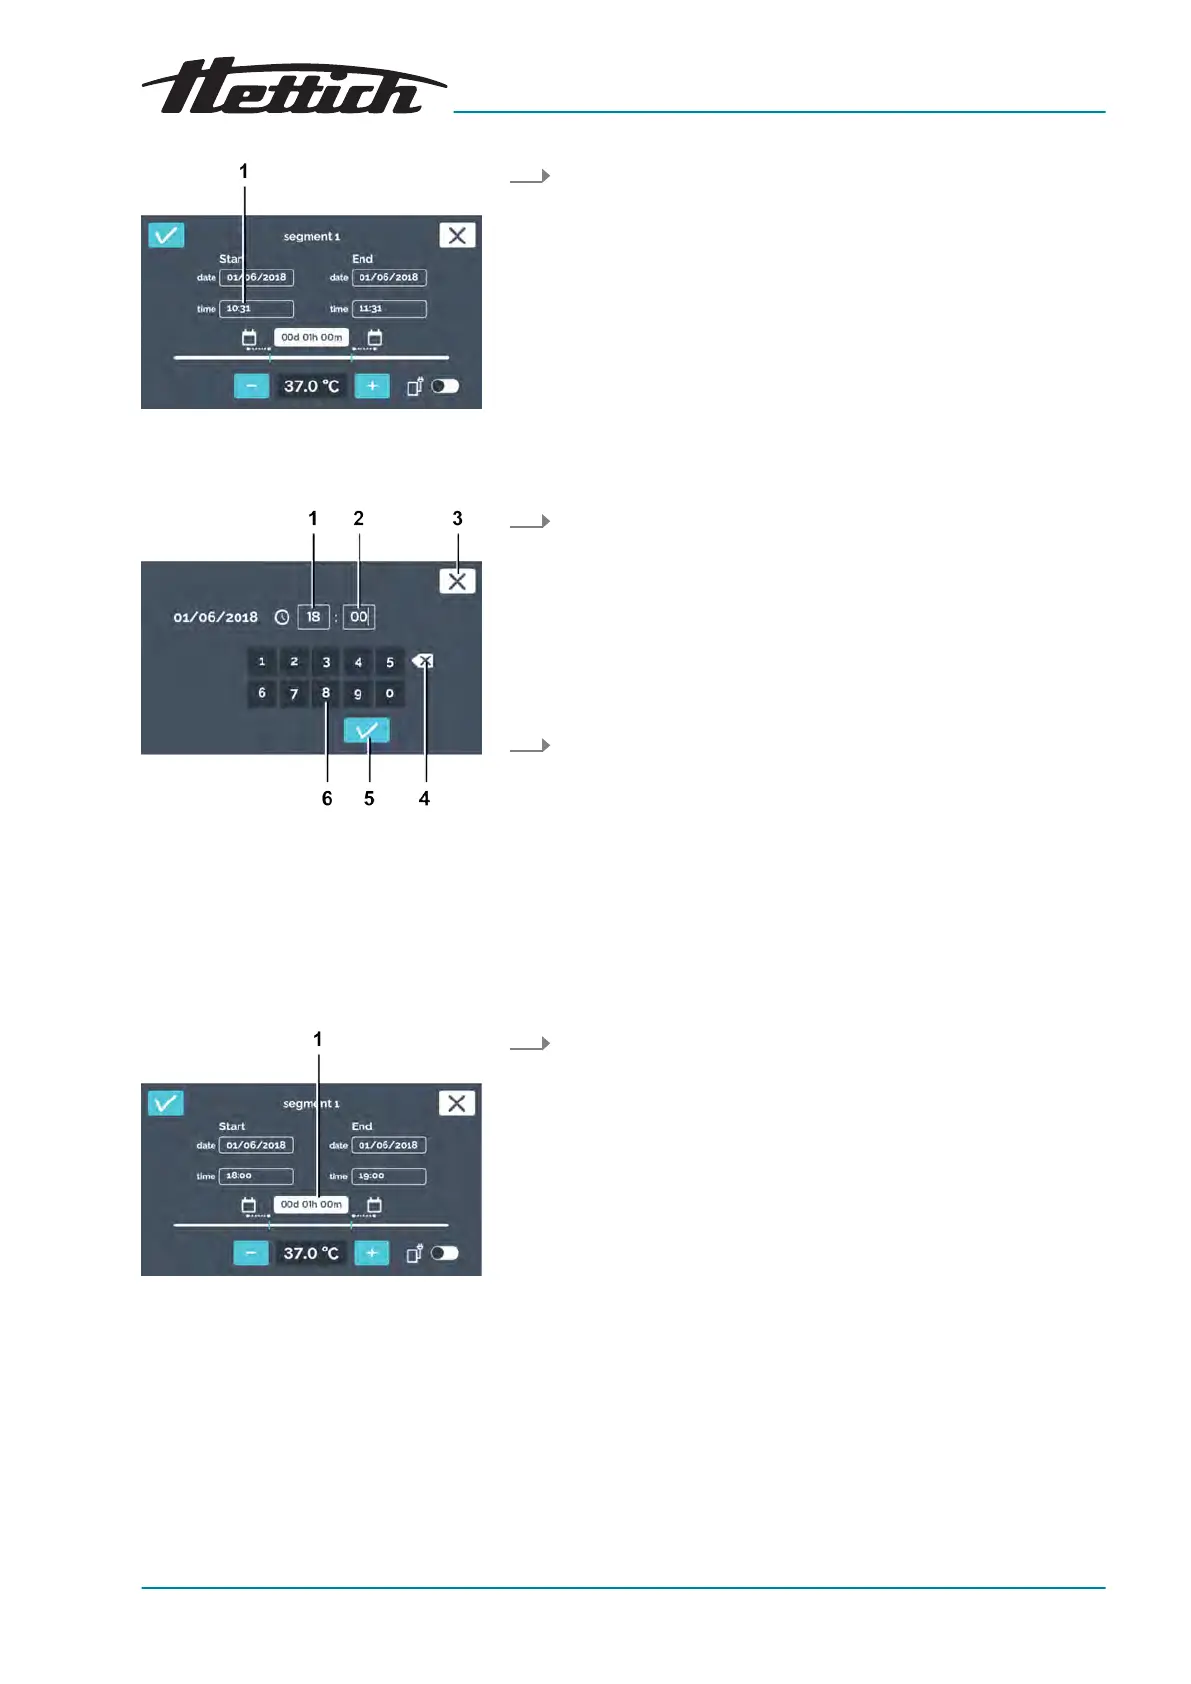
Fig. 106: ‘Program segment settings
Duration’
1 Duration setting
3. Tap on the start time (can only be set for the rst segment).
Y
ou can now either
■ select the existing values by tapping them and entering new
values via the keypad or
■ delete the existing values with the
[Delete entry]
button and
entering new values via the keypad.
Conrm the entries with the
[Conrmation]
button.
You will go back to the
‘Program segment settings’
menu.
5. If you would like to specify the end time via the date and time
specication, select the end date and the end time the same
way you did for the start date and start time. In this case, skip
steps 6 and 7.
6. If you would like to set the end time via the duration and not via
the end date and end time, tap the duration.