6.1 Using the TIME PLOT Screen
79
Switching screen display
About screen configuration
❖ 2.2.2 "Screen Configurations"(page 18)
❖ 2.2.3 "Screen Details"(page 28 to 32)
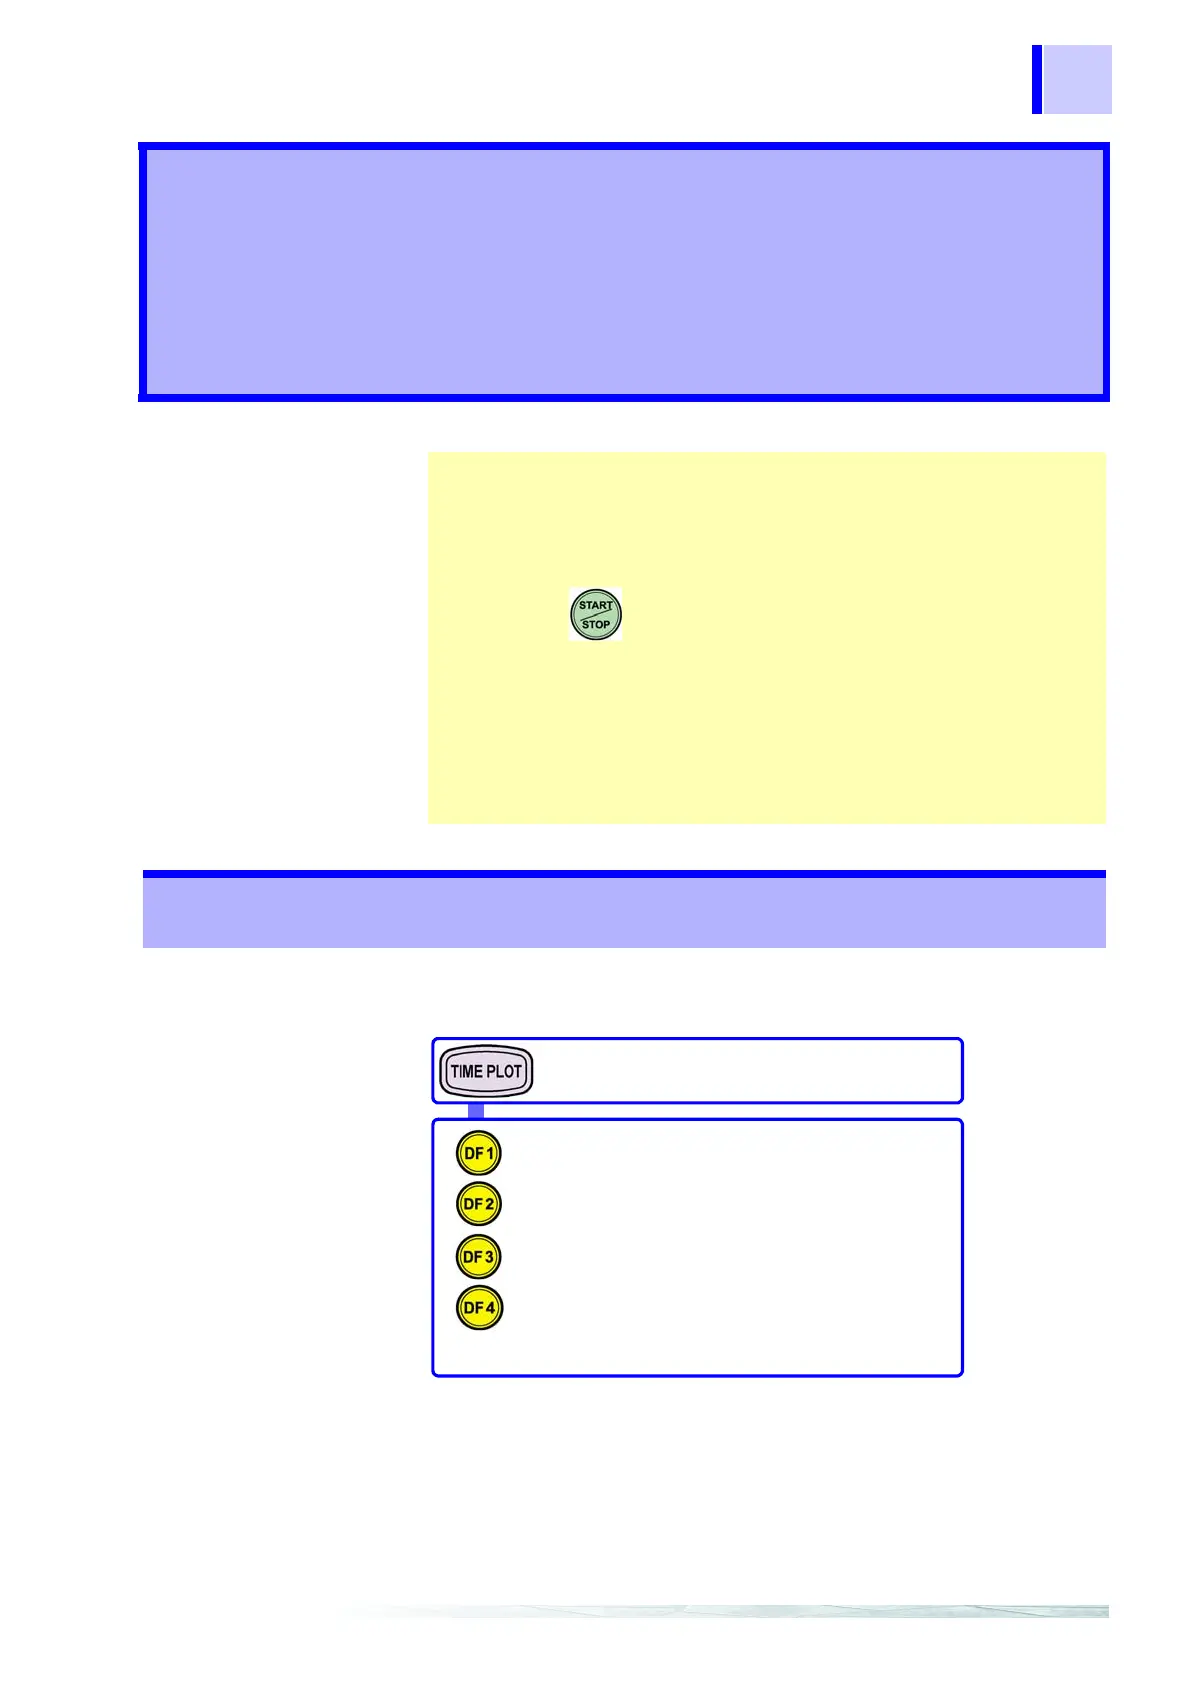
The TIME PLOT screen is composed of a number of screens that cor-
respond to the DF1 to DF4 (DF: display function) keys.
When you press a DF key, the screen corresponding to that key
appears. Each time you press the same DF key, the display changes.
Using the Time Series Graph
(TIME PLOT Screen) Chapter 6
Make time series settings
❖ Time Plot Settings (page 81)
2. Perform measurements
Press to record data.
3. Analyze time series data
❖ Changes in RMS Value (page 89)
❖ Changes in Voltage (page 93)
❖ Changes in Harmonics (page 100)
❖ Flicker (page 104)
6.1 Using the TIME PLOT Screen
TIME PLOT screen selector
RMS
❖ 6.3 "Changes in RMS Value" (page 89)
VOLTAGE
❖ 6.4 "Changes in Voltage" (page 93)
HARMONICS
❖ 6.5 "Changes in Harmonics" (page
100)
FLICKER
❖ 6.6 "Flicker" (page 104)
Display screen selector