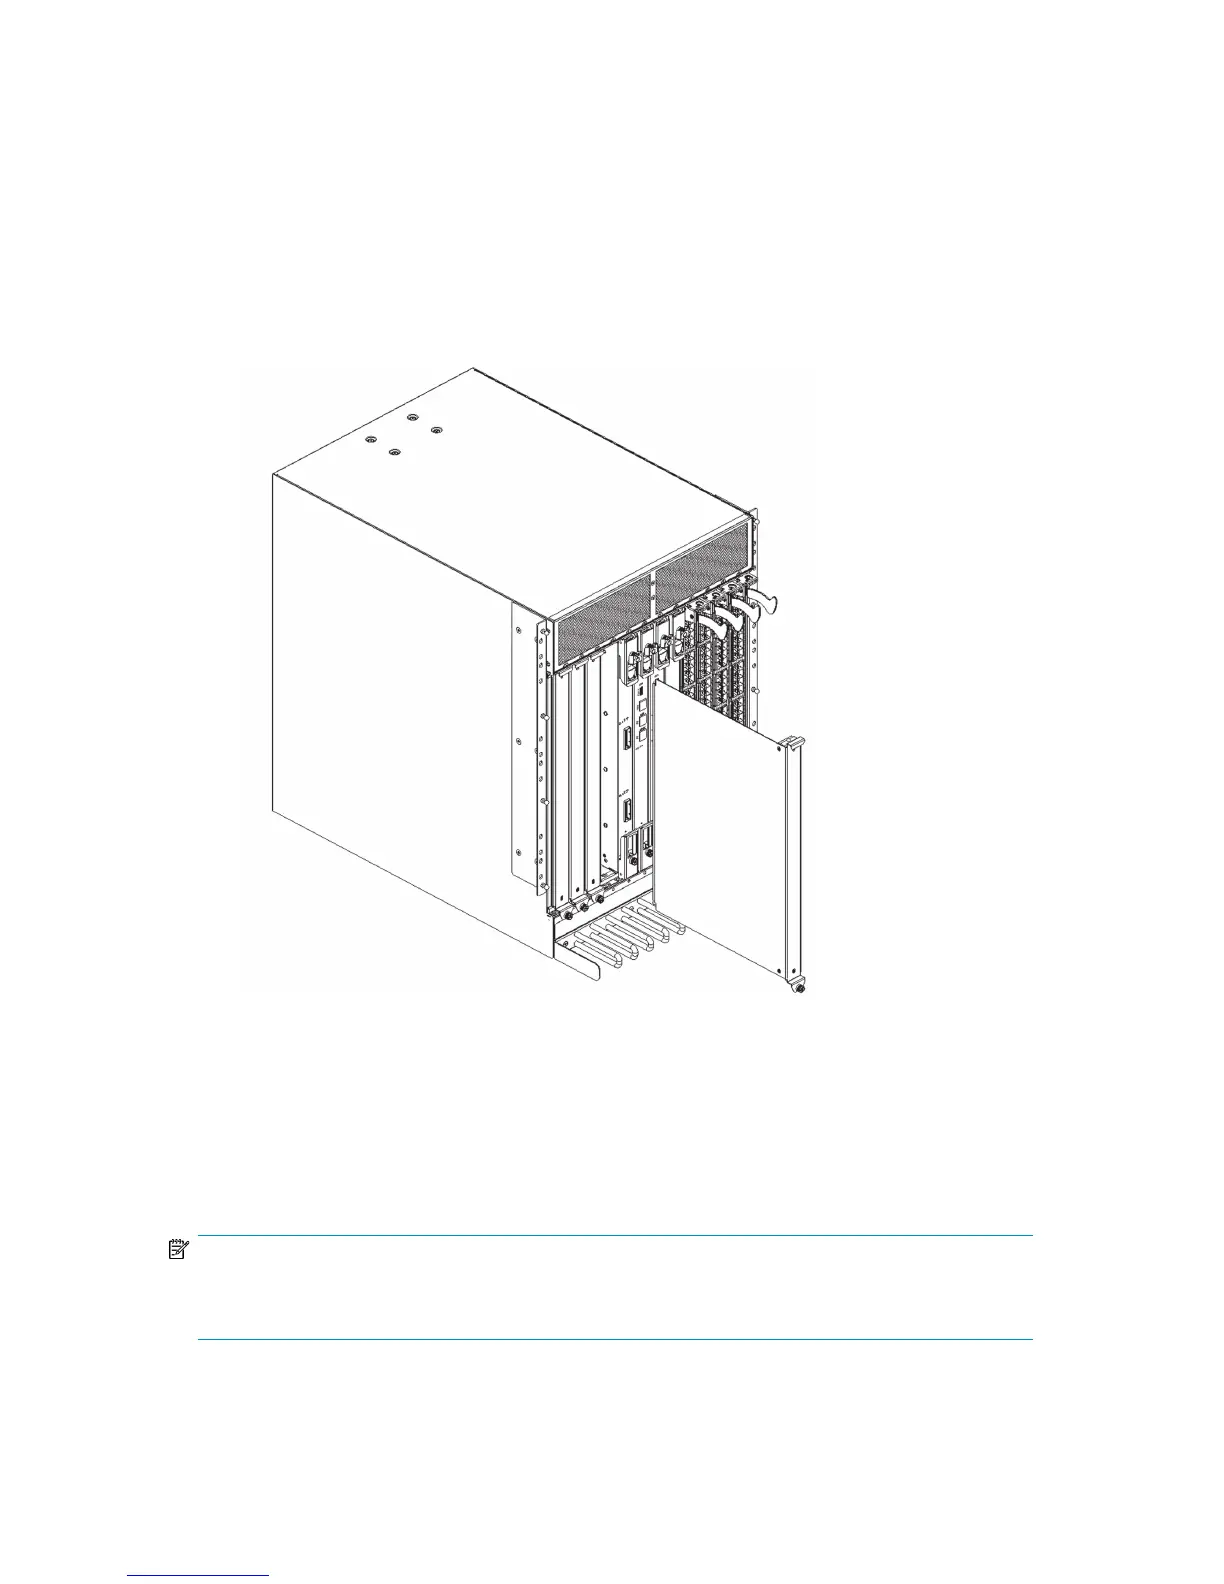
3. Pull the filler panel out of the chassis (see Figure 29).
Installing a filler panel
To install a filler panel:
1. Orient the filler panel (see Figure 29).
2. Slide the filler panel into the slot until it is firmly seated.
3. Tighten the thumb screw at the bottom of the panel.
4. Replace the chassis door (see “Installing the chassis door” on page 74).
26395a
Figure 29 Director blade filler panel
Replacing a control processor blade (CP8)
This section describes how to remove and replace a control processor (CP8) blade. Each DC SAN
Director has two CP8 blades, which are located in slot 6 and slot 7.
NOTE:
If the new CP blade does not have the same firmware as the active CP blade, you must upgrade the
new blade to the active CP blade's firmware version.
HP StorageWorks DC and DC04 SAN Backbone Director Switches 79
 Loading...