4. Wait until the WWN card data is backed up. Do not type continue until the mechanical
replacement is complete. See
“Installing the WWN bezel (logo plate) and WWN card” on page 95.
switch:admin> frureplace wwn
This is the WWN card hot swap interface.
Continuing from this point will require
the whole process to be completed.
If this process is not complete due to a
power cycle, or CP failover, please follow
the recovery procedure in
Core Switch WWN Card Removal and
Replacement document.
Do you wish to continue [y/n]?
Backing up WWN card data, please wait about 25 seconds for further instruction.
Please install the new FRU now.
If this session lost for any reason, please re-enter the frureplace command and
follow the instructions to complete the operation.
Please enter the word `continue' after the new WWN card has been installed:
5. Wait until all the LEDs on the WWN bezel turn off.
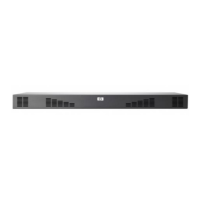
6. Remove the four screws from the WWN bezel (see Figure 34). Pull the bezel away from chassis
and set it aside. The WWN cards are visible.
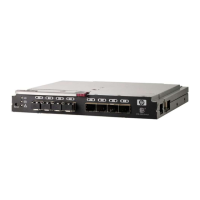
7. Remove a WWN card as follows:
• To remove a WWN card that has handles: Use the handles to remove the card.
• To remove a WWN card that does not have handles: Use a Phillips screwdriver to unscrew
the two screws which secure the WWN card to the chassis. Hold the card by the edges and
remove it.
8. Set the WWN card on a static-free surface, such as a grounding pad.
Replacing DC SAN Director field-replaceable units (FRUs)94
 Loading...