2. If you plan to position the mounting plate under the cash drawer (for an
integrated appearance), install the three extra feet as follows (see Figure 79 on
page 80) :
a. Attach one on each of the front cash-drawer feet.
b. Attach one on the rear cash-drawer foot opposite the display.
Note:
Cables will be routed down the post and out the back under the cable cover.
Installing the large CRT table post mount to a pedestal
Follow these steps to attach the pedestal to the large CRT table post mount:
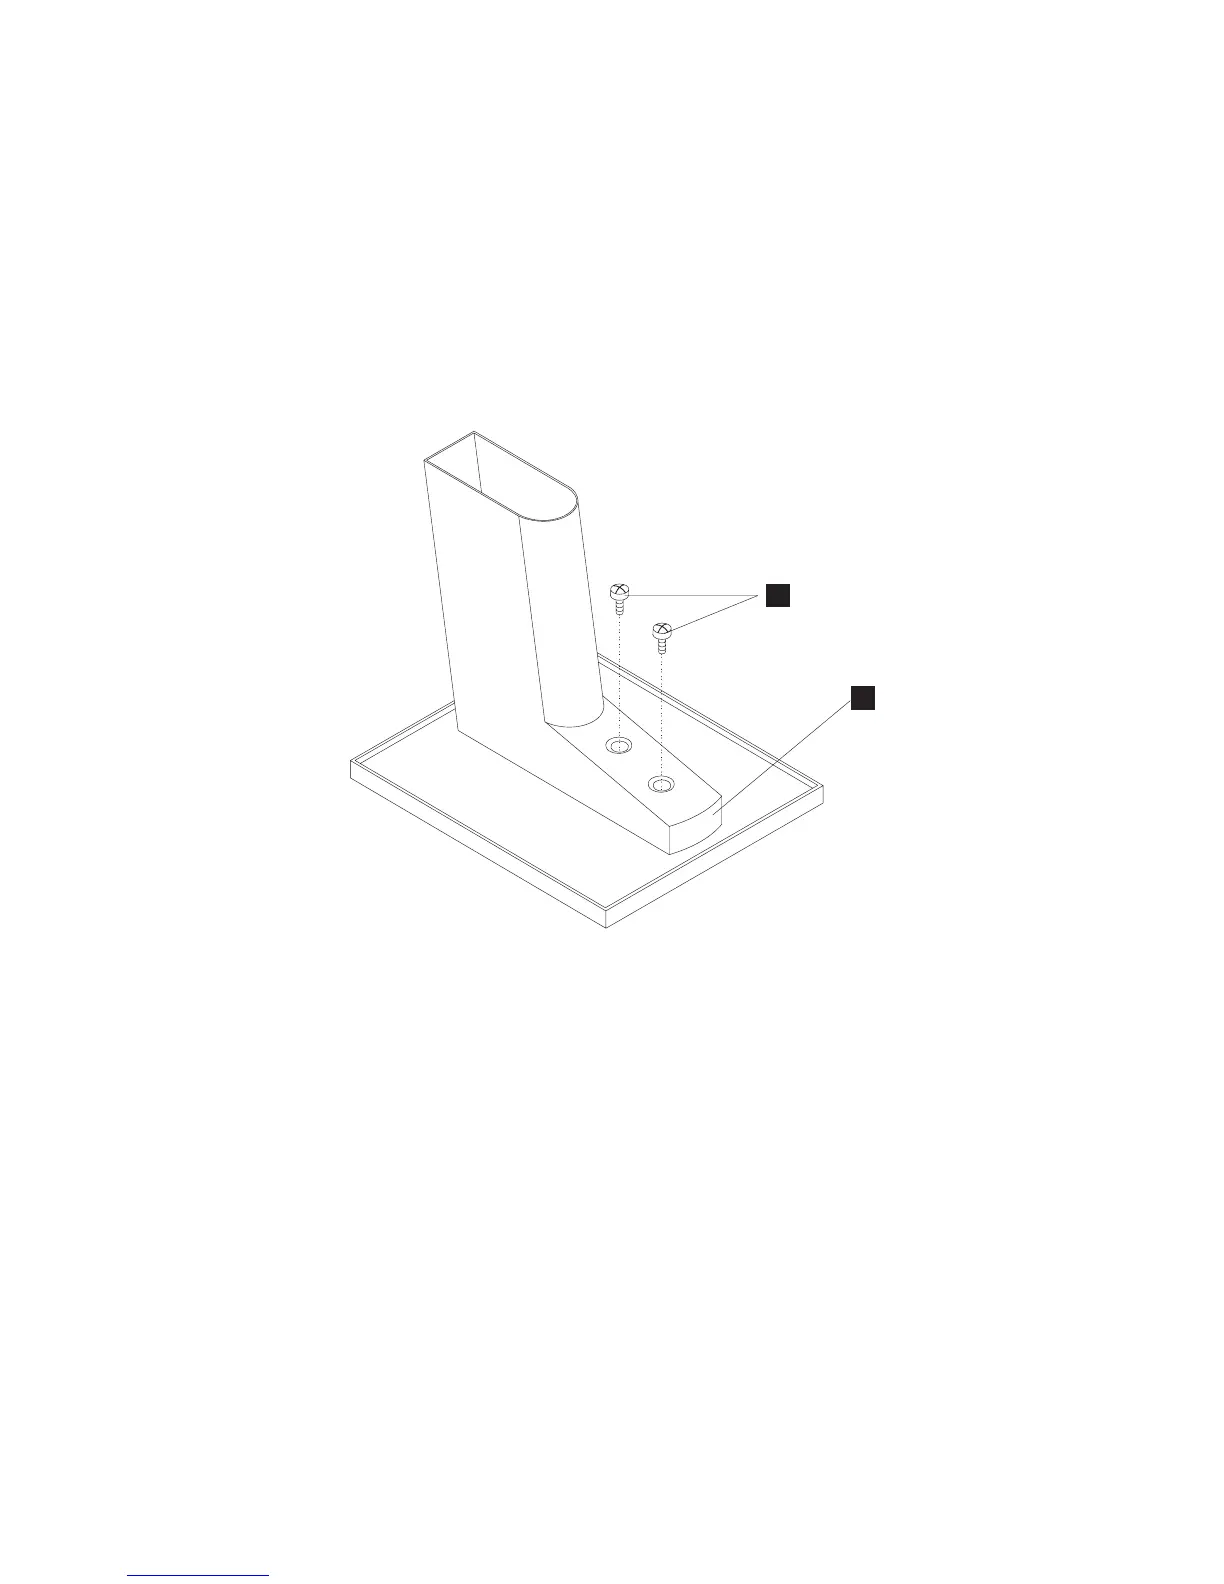
1. Verify that the panel is installed at position A in Figure 80.
2. Place the large CRT table post mount upside down on the counter. Attach the
short CRT post mount to the two center holes of the large CRT table post
mount and attach with two screws B.
3. If you are using a short post and a mounting plate, install it now. See “Attaching
the pedestal to the short-post mounting plate” on page 80.
4. If the post is going to be installed to the counter, install it now. See “Attaching
the distributed pedestal to the counter” on page 78.
5. Route the power cables and the video cables down through the pedestal.
6. Attach the cables to the appropriate port in the system unit.
Attention: Secure the front and back of the base of the CRT with two large
tie-wraps. Route the tie-wrap up through the slot, over the top of the CRT base, and
down through the other slot. Secure the tie-wrap and cut the excess tie-wrap flush
on the end. Repeat this procedure to secure the front and back of the CRT.
B
A
Figure 80. Attaching the short CRT post mount to the large CRT table post mount
Updated October 31, 2007
Chapter 4. Installing external options 81
 Loading...