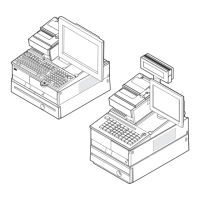
Installing a slanted I/O tray on the full-size cash drawer
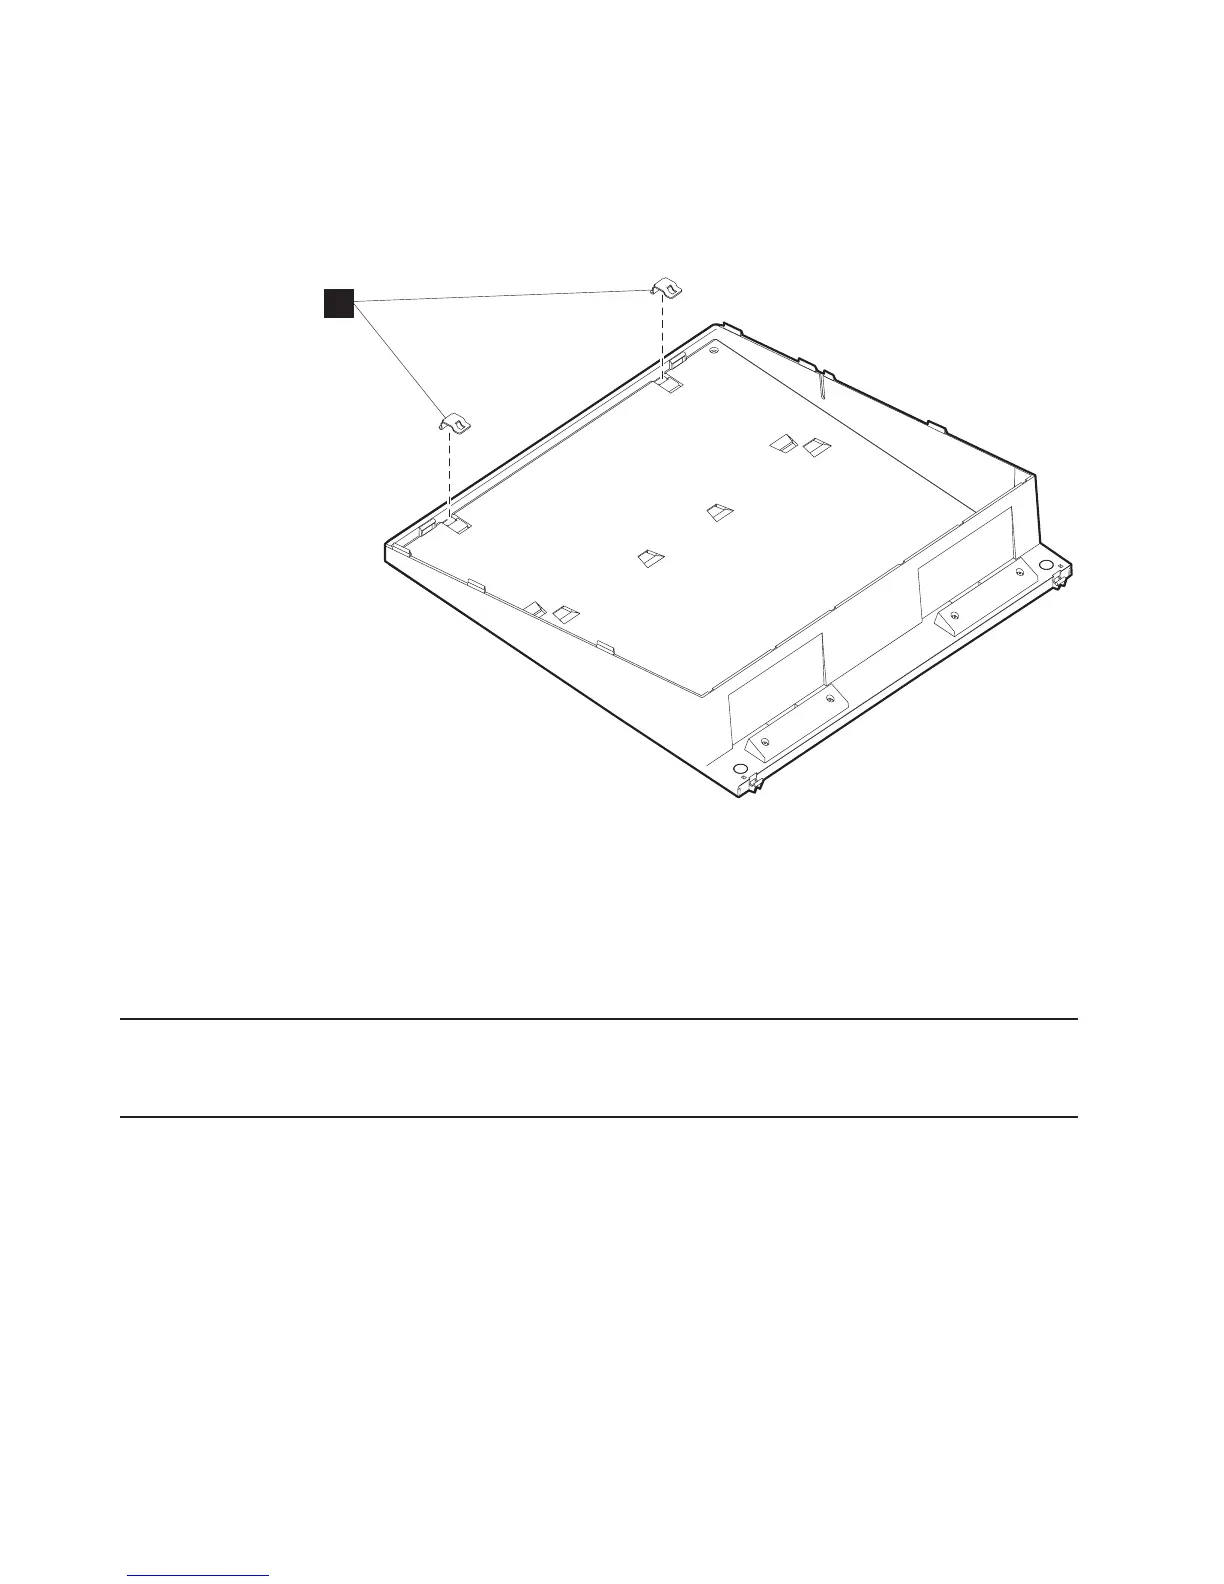
1. Install the two mounting tabs (A) into the slanted I/O tray. From the inside of
the I/O tray, insert the back of the tab first and push the front part into the
opening.
2. Turn the I/O tray over. Push on the front of the tab until it clicks into place.
3. Set the I/O tray on top of the full-size cash drawer, and connect the tabs in front
of the cash drawer.
4. Attach the I/O tray to the cash drawer by inserting and tightening the two plastic
thumbscrews into the holes at the back corners of the I/O tray.
Installing the fillers
See “Step 7. Installing the fillers on a slanted I/O tray” on page 40.
Installing the tape-holder kit
To install the tape-holder kit, follow these instructions:
1. Using a screw driver or a coin, remove the tape-holder latch (see Figure 51 on
page 61).
A
Figure 50. Installing two mounting tabs into the slanted I/O tray
Updated October 31, 2007
60 SurePOS 700 Series: SurePOS 700-721/741/781, 722/742/782 Planning, Installation, and Operation Guide