3. Place the hooks of the mount into the base of the CRT and slide the mount
forward. Turn the CRT right side up.
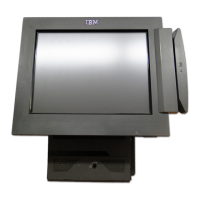
Installing a CRT in a slanted I/O tray
1. Switch the power OFF.
2. Remove any display or printer filler that is installed.
3. If the wedge mount is installed on the left side of the printer, rotate the base so
that the display moves to the far left.
If the wedge mount is installed on the right side of the print, rotate the base so
the display moves to the far right position. It will snap into place.
If the wedge mount is installed for a distributed setup, you can install it left
centered (as shipped from the factory).
Note:
If a wedge mount is adjusted with the monitor locked into the far right
position and you want to move out of that position, use a screwdriver and
lift the spring loop over the retaining ramp on the bottom of the mount.
4. Thread the CRT’s video cables and the CRT’s power cord down through the
rear of the system unit.
5. Attach the CRT’s signal cable to the video port on the system unit.
6. Plug the display power cord into a wall using an adapter cable, or into the
uninterruptible power supply (if installed).
7. Power ON the SurePOS 700.
Updated October 31, 2007
76 SurePOS 700 Series: SurePOS 700-721/741/781, 722/742/782 Planning, Installation, and Operation Guide
 Loading...