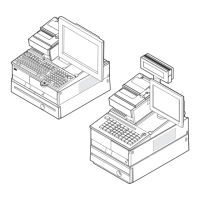
Step 5. Routing the cables
If you are setting up the unit as an integrated terminal, route the cables for the
keyboard, display, or printer through the openings on the top of the unit. If you are
setting up the unit as a distributed terminal, route the cables for the keyboard,
display, or printer through the back of the unit.
Figure 31 shows how to route the cables through the slanted I/O tray
Step 6. Attaching your I/O devices
Chapter 4, “Installing external options,” on page 53 provides instructions on
installing your I/O devices. “Connectors” on page 4 identifies the SurePOS Models
721/741/781 and 722/742/782 connector locations for attaching the I/O devices.
Notes:
1. Install your IBM cash drawer to port 3A for automatic-sensing function.
2. Refer to “Cash drawers” on page 18 for information on installing non-IBM cash
drawers.
3. Customers with 4689 DBCS SurePOS Receipt Journal printers should see
“Voltage setting for the 4689 DBCS SurePOS Receipt Journal printer” on page
19.
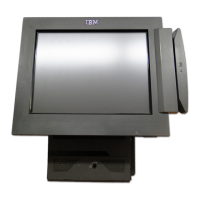
Slanted I/O tray
System unit
Figure 31. Routing the cables through the slanted I/O tray
Updated October 31, 2007
Chapter 2. Installation and system setup 39
 Loading...