Selecting And Running Tests
220
Selecting And Running CE Tests
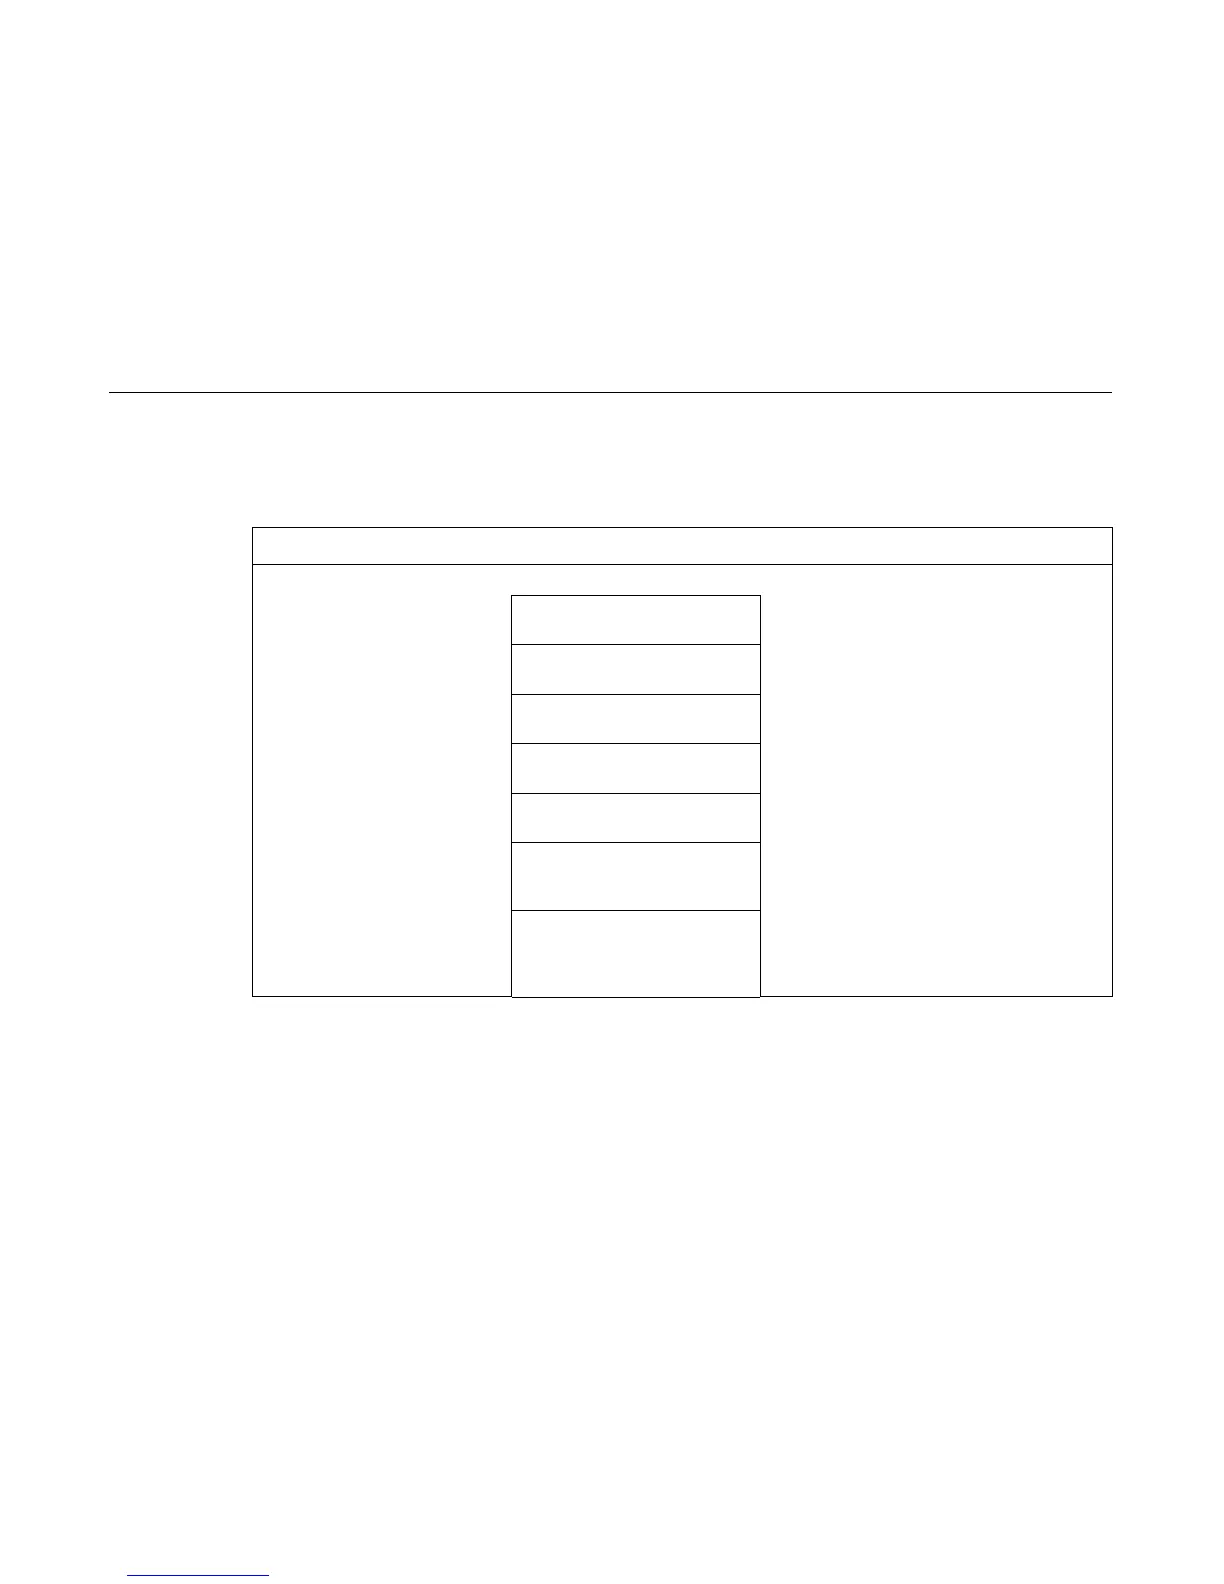
To run CE Tests you use the printer configuration menus, as shown below:
Step Press Displayed Result Notes
1. Load paper and power on the printer.
2. STOP NOT READY Printer must be in NOT READY mode to access
the tests.
3. MENU + SCROLL↑ +
CONFIG + SCROLL↓
SERVICE
PRINTER MECHANISM TESTS
Press all four keys at the same time.
4. ENTER PRINTER MECHANISM TESTS
Burn In Test
Press ENTER to view the different mechanism
tests.
5. SCROLL↑ until PRINTER MECHANISM TESTS
Plot Test
Cycles through list of tests. Stop when your test
displays.
6. RETURN + ENTER OPERATOR MENU
UNLOCKED
Unlocking ENTER key allows you to test the
printer.
7. ENTER Plot Test
Running
The test you selected starts printing. See
Chapter 6 for instructions in the use of the
Hammer Phasing and End of Forms Adjust tests.
8. STOP or START NOT READY STOP halts the test, exits the menu, and puts the
printer in the NOT READY state. START halts
the test, exits the menu, and puts the printer in
the READY state.

 Loading...


