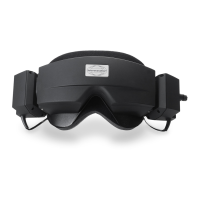
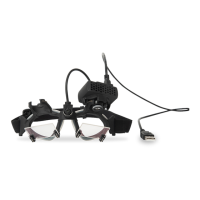
VIsualEyes 515/525 - Additional Information Page 13
Click the Start Calibration button to begin the calibration routine. (Figure 2.1.4)
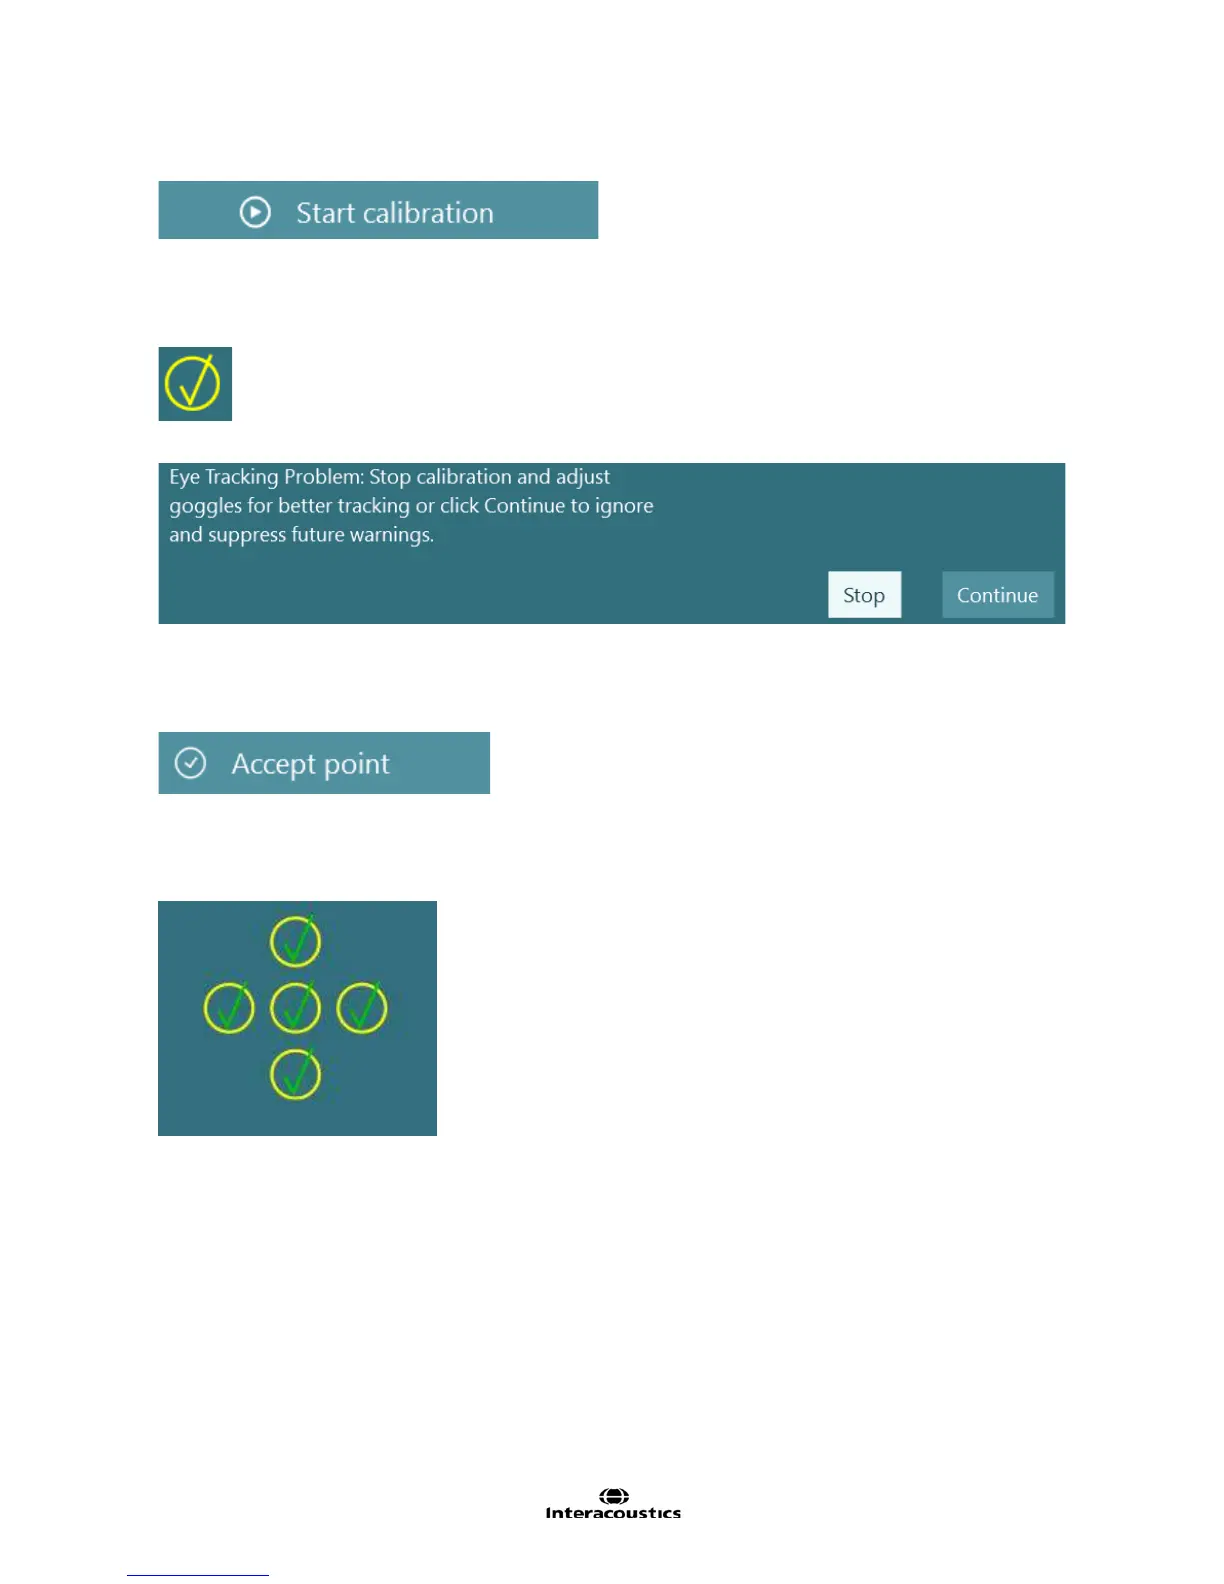
Figure 2.1.4 Start calibration button
Ask the patient to look at the first calibration point. After a few seconds of fixation a target confirmed mark
(Figure 2.1.5) will appear to confirm calibration of the center point. If the patient fails to fixate on the center
point, the software will present a warning message. (Figure 2.1.6)
Figure 2.1.5 Target confirmed mark
Figure 2.1.6 Eye tracking problem warning
Automatic fixation detection may not be achieved successfully in some patients. In such cases, by observing
the video image of the calibrated eye on the screen, if the calibration point has been fixated upon, clicking
the Accept point button will manually accept the value and move to the next target position. (Figure 2.1.7).
Figure 2.1.7 Accept point button
Ask the patient to fixate on the target to the left without moving his / her head. After a few seconds of fixation,
a yellow target confirmed mark will appear to confirm calibration. The target will then move to the right,
center, up, and then down.
Figure 2.1.8 Calibration completed with all positions accepted
Once calibration is complete, the yellow tick marks will change to green, indicating the patient has achieved
appropriate calibration that is within tolerance at each of the calibration points. (Figure 2.1.8)
Below the calibration diagram are the numerical results from the calibration separated by eye and direction.
In cases where the calibration was unsuccessful, the numerical results may have additional information that
explains why the calibration failed.