VIsualEyes 515/525 - Additional Information Page 79
7.2 Creating a new protocol
The left side panel displays the existing protocols. The New Protocol button is used to create a new blank
protocol.
Figure 7.2.1 New Protocol button
Enter a name for the new protocol. By default this will be called New Protocol 1.
Figure 7.2.2 Enter Protocol Name
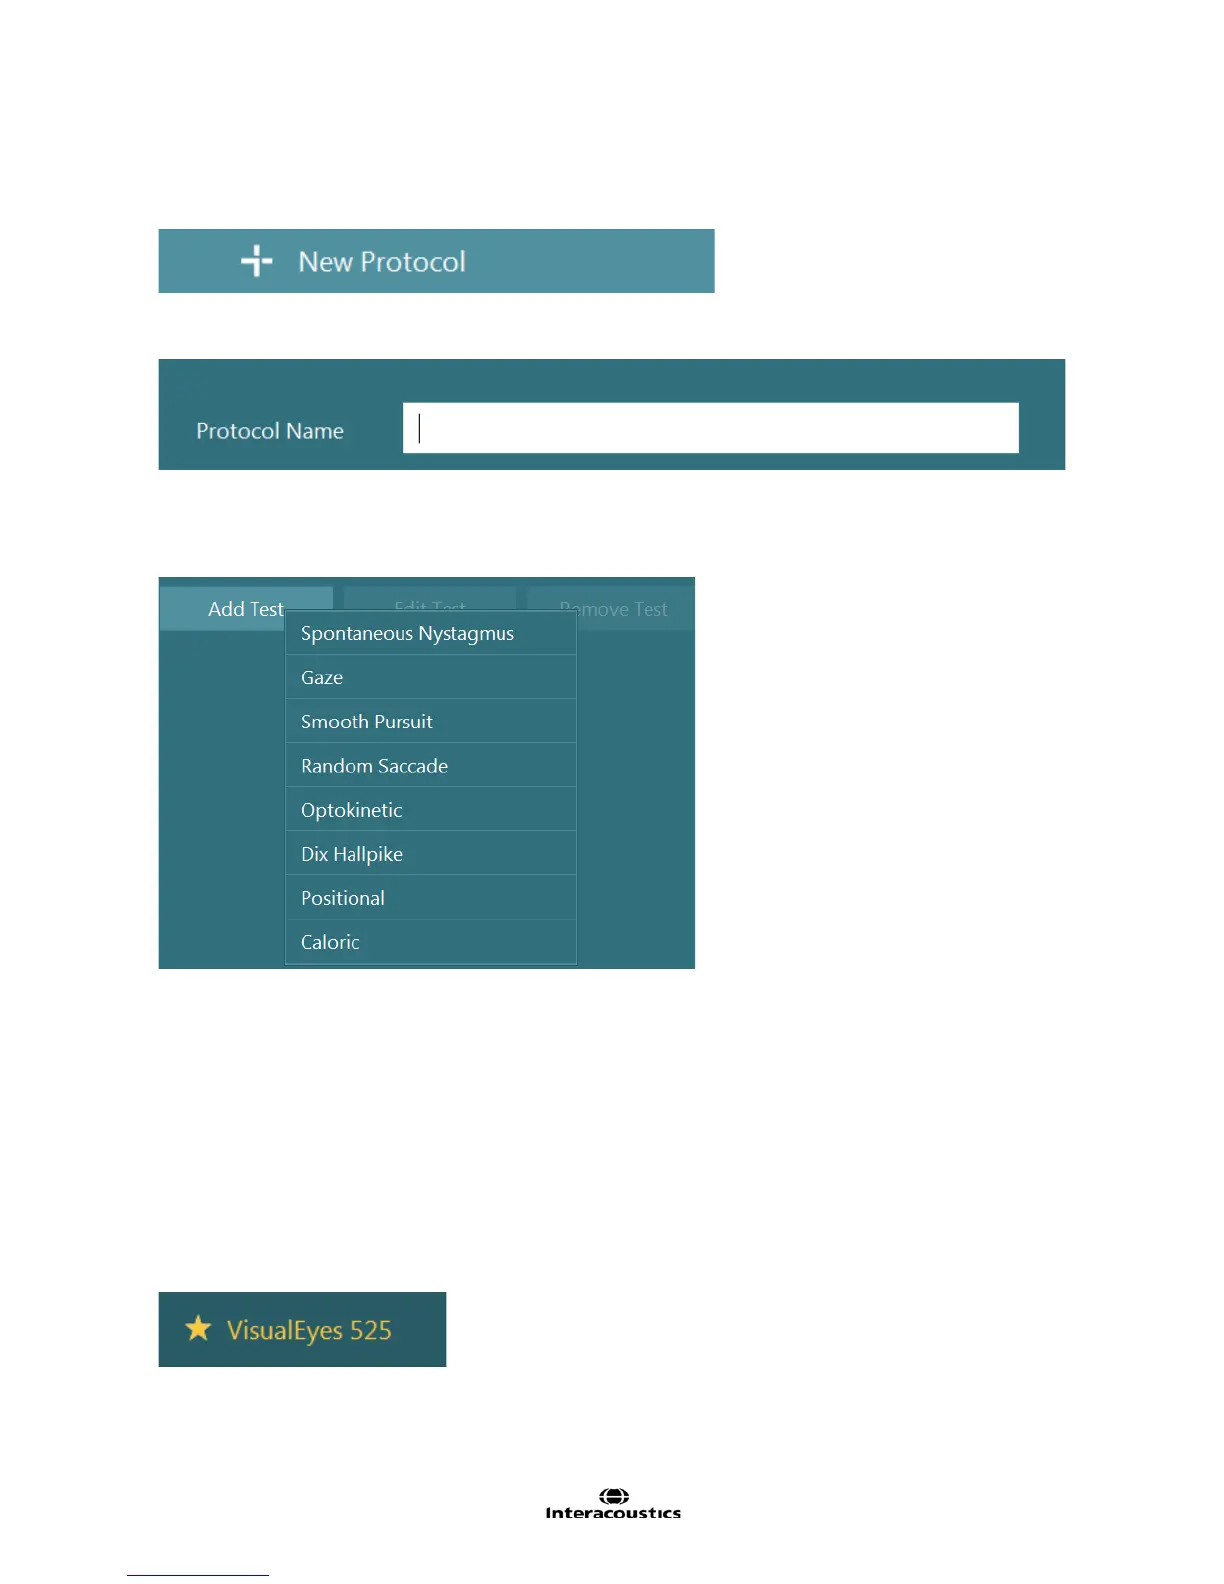
To add tests to the protocol, press the Add Test button and select one of the tests. Tests that don’t match
one of the default test types (e.g. Fistula test, Head shake test, etc.) can usually be entered as a basic
Spontaneous Nystagmus test.
Figure 7.2.3 Add Test button
If two or more of the same test type are desired, click on the test of interest. The test title will appear with an
additional numeric ending to indicate its position (i.e. Spontaneous Nystamus2, Spontaneous Nystagmus3
etc…). These test titles can be renamed for easier identification or customization.
When added to the protocol, these tests will appear in the bottom of the protocol test sequence. The tests
within the protocol can be reordered by clicking the specific test and dragging it up or down the list to the
desired position using the mouse.
7.3 Setting default protocol
The Default protocol will be marked in the side menu with a star (Figure 7.1.6). When a new patient is
entered into OtoAccess and the VisualEyes software is started, this default protocol will be selected
automatically.
Figure 7.3.1 Default Protocol
Select the protocol of interest, then select the Set Default button (Figure 7.1.7) to confirm its designation as
the Default protocol. A star shall appear next to the Protocol name to symbolize the change.