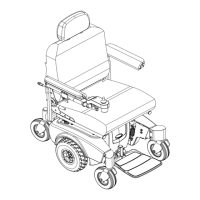
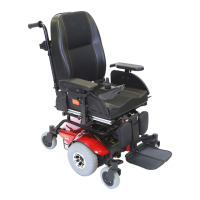
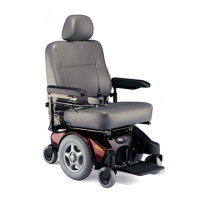
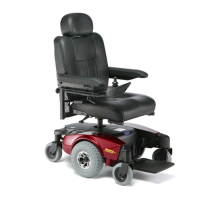
SECTION 13—ANTI-TIPPERS
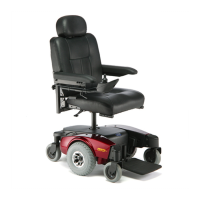
Part No 1125104 87 ProSPIN™ X4™
SECTION 13—ANTI-TIPPERS
WARNING
After ANY adjustments, repair or service and before use, make sure all attaching
hardware is tightened securely - otherwise injury or damage may occur.
Installing/Removing the Anti-tippers
WARNING
Anti-tippers MUST be fully engaged and release buttons fully protruding out of
release button holes before using wheelchair.
Make sure the anti-tipper wheels are pointing towards the ground/floor before using
the wheelchair.
Anti-Tippers MUST be used at all times. When outdoors on wet, soft ground or on
gravel surfaces, anti-tippers may not provide the same level of protection against tip
over. Extra caution must be observed when traversing such surfaces.
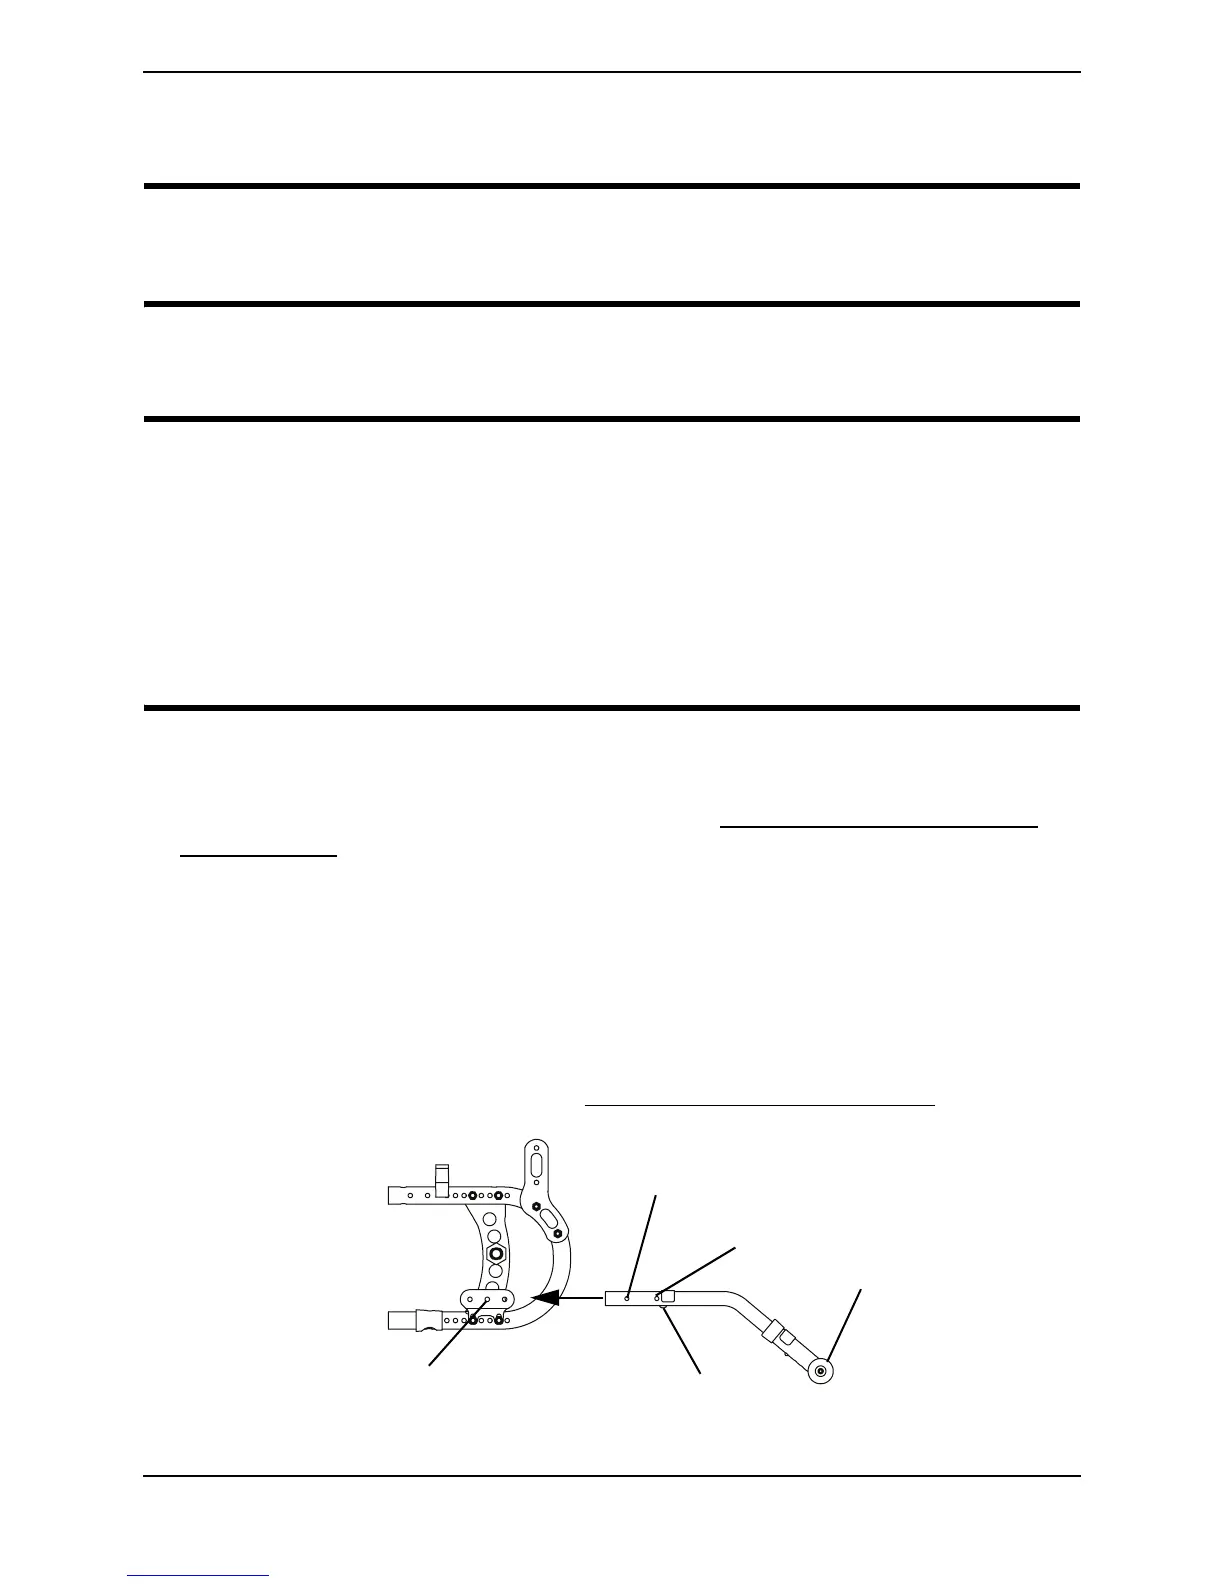
NOTE:Forthisprocedure,refertoFIGURE13.1.
NOTE:ReverseSTEPS2‐3toremovetheanti‐tippers.
1. Ifnecessaryinstalltheanti‐tipperbracket.RefertoInstalling/RemovingtheAnti‐
TipperBracketonpage 88.
2. Pressthereleasebuttoninandinserttheanti‐tipperswiththeanti‐tipperwheels
pointingtowardtheground/floorintotheanti‐tipperbracketuntilthestopscrew
meetstheanti‐tipperbracket.
3. Ensurethesnapbuttonissecuredintheanti‐tippermountingholes.
NOTE:A1‐½to
2‐inchclearancebetweenthebottomoftheanti‐tipperwheelsandthe
ground/floorMUSTbemaintained.
4. Adjusttheanti‐tipperheight.RefertoAdjustingtheAnti‐tipperHeightonpage 89.
FIGURE 13.1 Installing/Removing the Anti-tippers
Anti-tipper Bracket (Mounting Holes)
Anti-tipper (Wheels)
Snap Button
Release Button
Stop Screw